Stamp carving seems pretty straight forward right? You carve — you stamp. It’s simple if you look at it that way, but this hobby can be extremely challenging. In this beginner’s guide, we’ll focus on the foundations, and if you like it, we’ve added resources to challenge yourself at the end.
Stamp carving is one of the best hobbies, because it’s fun and rewarding to create in this manner, but it also serves a practical function. You can personalize so many everyday items – turning the ordinary into a one-of-a-kind creation.
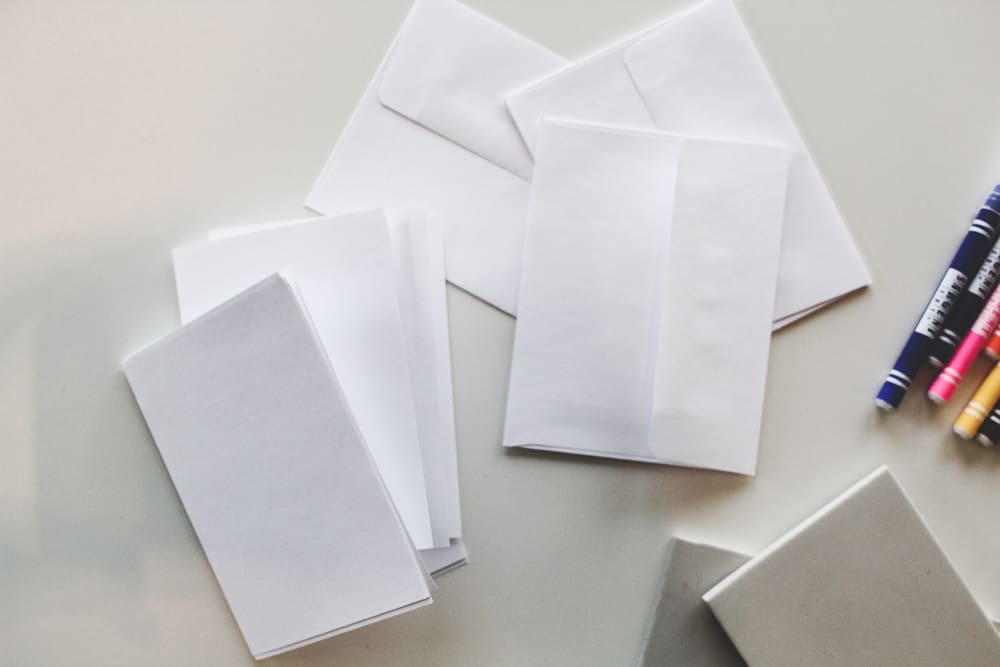
Whether you’re adding a custom touch to envelopes and cards, or applying it to other crafted creations, like handmade paper, a handmade stamp takes the ordinary to the next level.
Speaking of which, if you want to learn how to make paper by hand, certainly check out the paper-making tutorial after you complete the stamp making how-to.
As for the stamp making, this tutorial covers the materials you’ll need, the basic steps, and some tips and tricks for creating a small work of art. Let’s begin!

SUPPLIES NEEDED FOR CARVING STAMPS
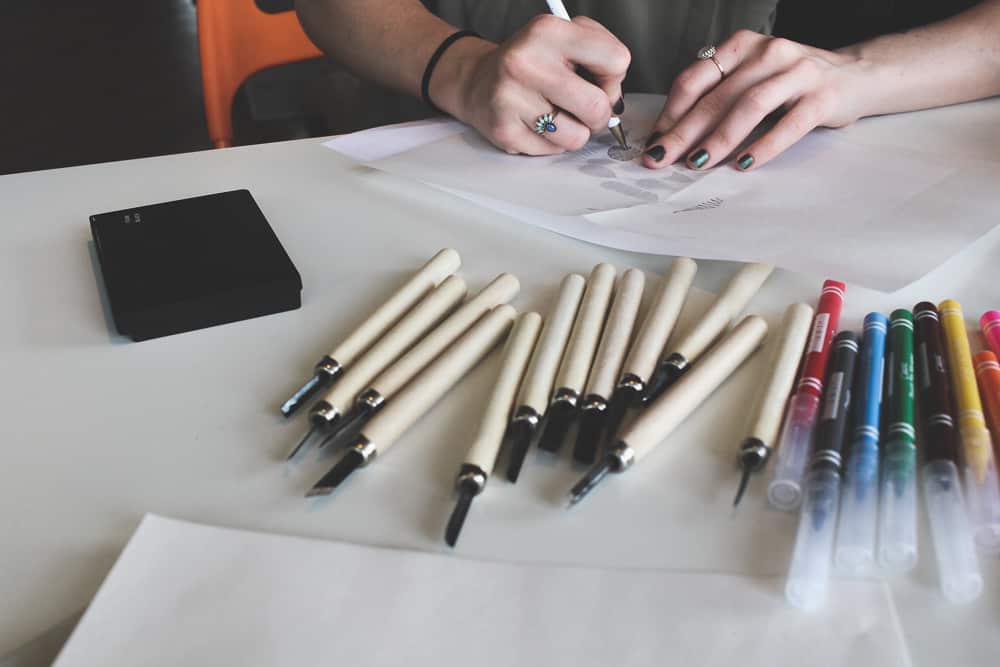
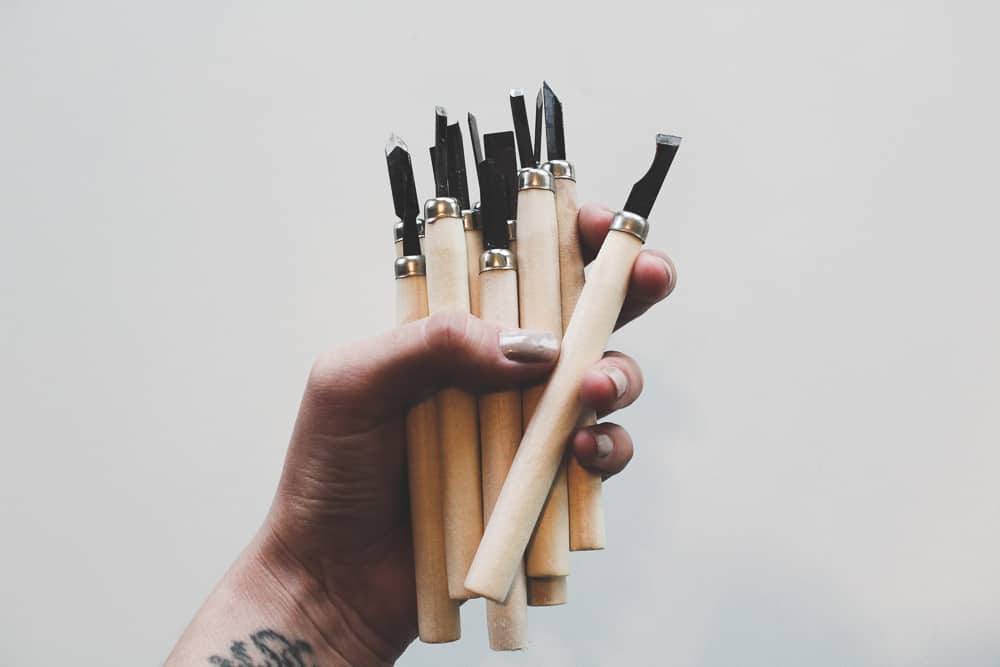
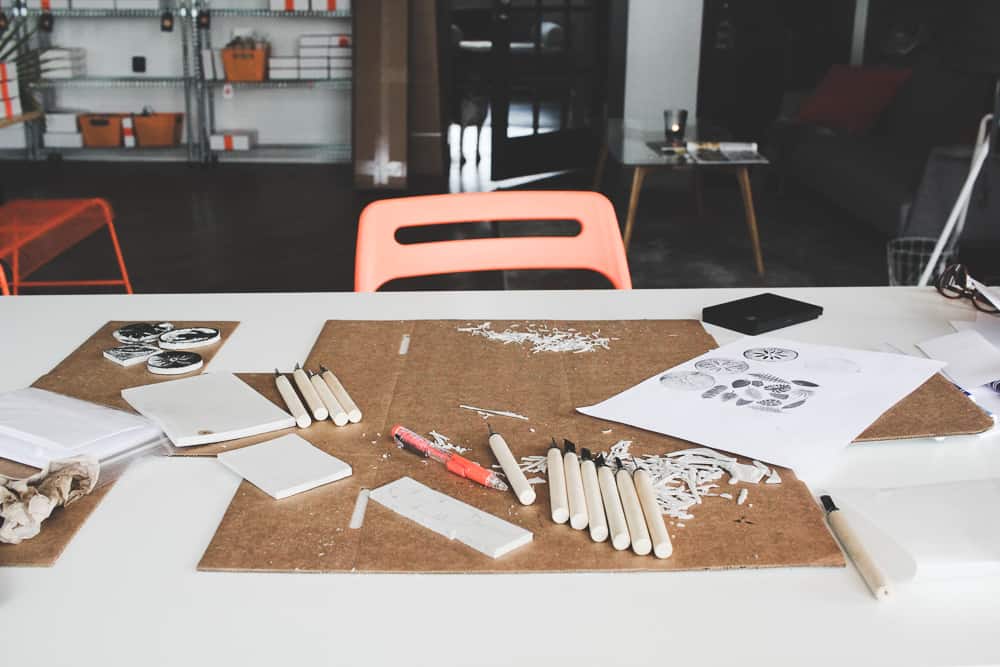
- Carving Tools: This is higher quality than what you’ll see in this tutorial, but costs the same as a larger set. Speedball (a brand we recommend often) manufactures this tool set, and they are known for quality in the industry. This comes with 5 total blades, but they are extremely versatile, and certainly provide enough variety for a number of different projects.
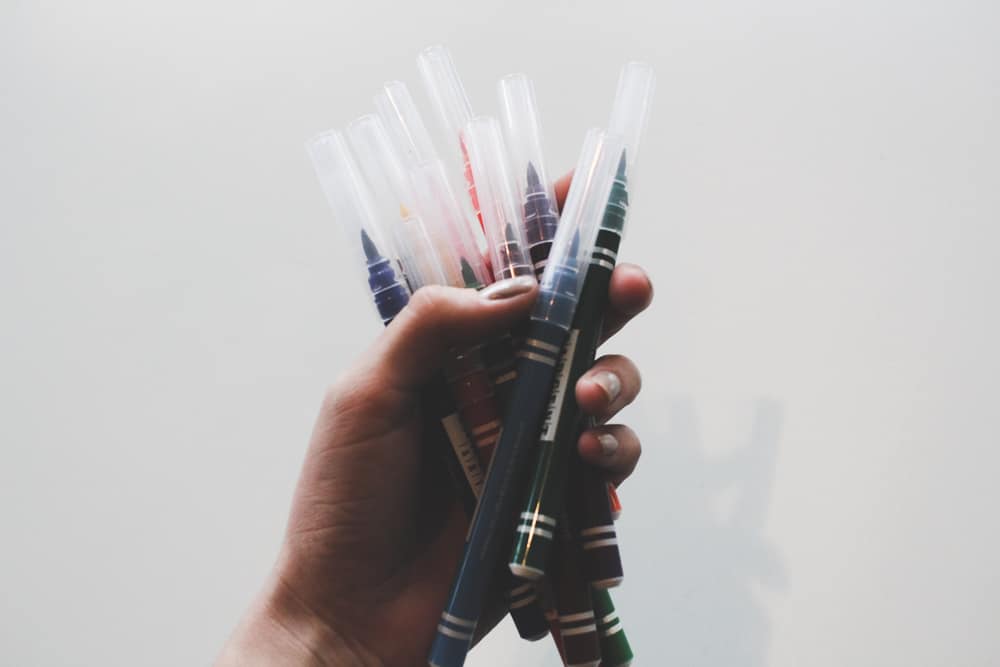
- Ink Pad: You can find ink pads everywhere and in just about any color, so don’t feel limited by the recommendation here. Whatever you pick, go with something that is acid-free and non-toxic.
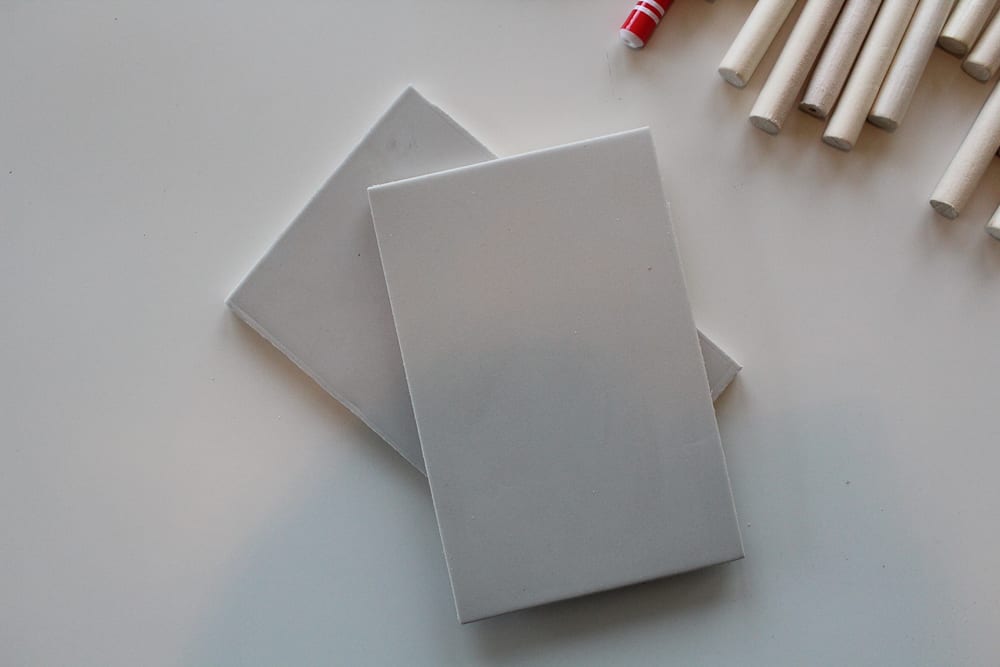
- Rubber Blocks (6 inches by 4 inches)
- Tracing Paper (Optional)
- Brush Tip Markers (Optional)
- Blank Cards + Envelopes (Optional)
At the core of this DIY, you really only need a rubber block, an ink pad, and carving tools – the rest of the items you may already have around your house, or could add on at a later point.
RUBBER STAMPING KITS FOR BEGINNERS
We get it, starting a new hobby isn’t always easy or affordable. You don’t want to buy something too expensive that won’t provide value for your money – and you aren’t even sure if you like the hobby yet.
But you do need items of quality to follow tutorials properly.
That’s why we always add kits to our recommendations. We know this well as we used to sell them ourselves (including rubber stamping kits).
For a kit to get our stamp of approval (see what we did there?) it needs to fit with our process and tutorials, as well as maintain a high-value exchange yet be affordable. If these checks come back positive, then the kit at least meets the bare minimum of New Hobby Box requirements
Many stamp-making kits meet those requirements, but only one gets the New Hobby Box stamp of approval (sorry, forgot we already dropped that pun once.)

Recommendation: The Fabulous Stamp Making Kit
We normally put some sort of modifier next to any kit we recommend, something like “best kit for deal seekers” or “best kit for gift giving.”
But the only modifier you’ll find next to The Fabulous Stamp Making Kit is that it gets our recommendation. That’s because it’s great for anyone and any occasion.
It’s a crazy high value – you get a ton of supplies, materials, and tools, to experiment with, plus they are made extremely well. None of that cheap stuff you’d normally find off Amazon. And the price is quite moderate still – making it a great kit for deal-seekers.
And for the gift givers out there, whether that gift is for someone else or yourself, you’ll appreciate the beautiful design and packaging. But most of all, you’ll love the cute patterns and instructions that walk you through it.
Don’t be put off by seeing Spanish on the packaging – it comes from a niche handmade crafting kit brand called Fabrica de Texturas (Textures Factory), that’s based in Madrid, Spain.
While you’ll stumble across Spanish, the directions are simple enough to understand – but you also have the entire tutorial below to guide you as well. We can’t say enough great things about Textures Factory and the handmade attention to detail that go into their kits – you should absolutely look at some of their other kits – many fit New Hobby Box tutorials as well.
So whether you want to try your hand at making a stamp without breaking the bank, or you want to send a thoughtful gift, go with The Fabulous Stamp Making Kit.
Now then, with supplies and kit recommendations out of the way, it’s almost time to begin the tutorial! Don’t skip this next section though, it’s meant to prevent trips to the first-aid kit, so you can enjoy this hobby without any bandages.
THINGS TO NOTE BEFORE CARVING STAMPS
- Unless you’re a wildcard, work on a flat and stable surface – a table, desk, or counter space.
- The carving tools are extremely sharp, so you’ll need a protective layer to put on top of your table, or wherever you work. In this tutorial, we just unfolded a C-flute box and worked on top of that. It was thick enough to prevent any damage reaching the table.
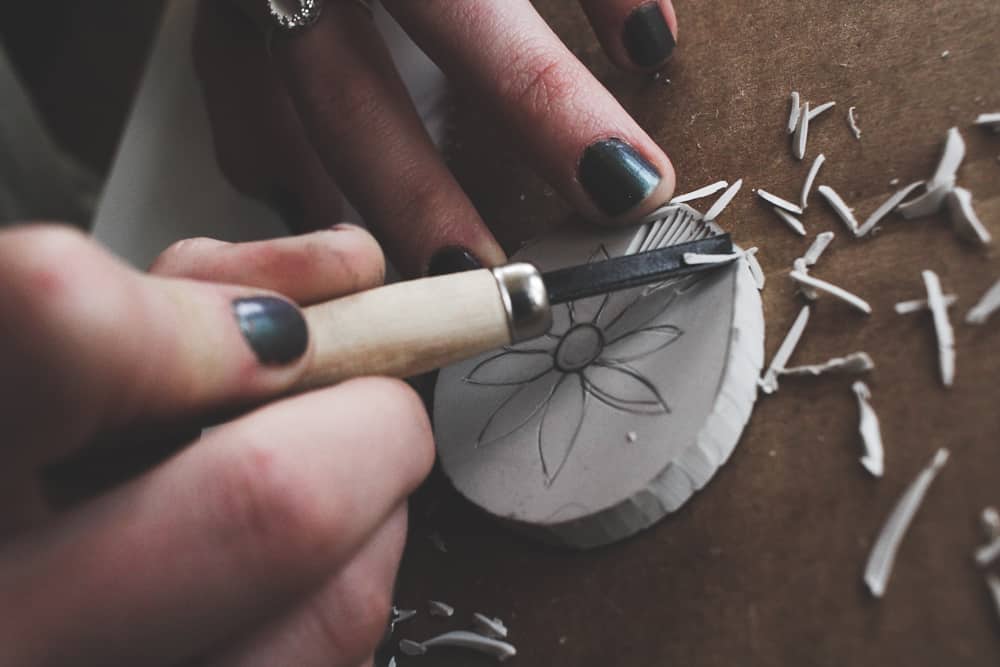
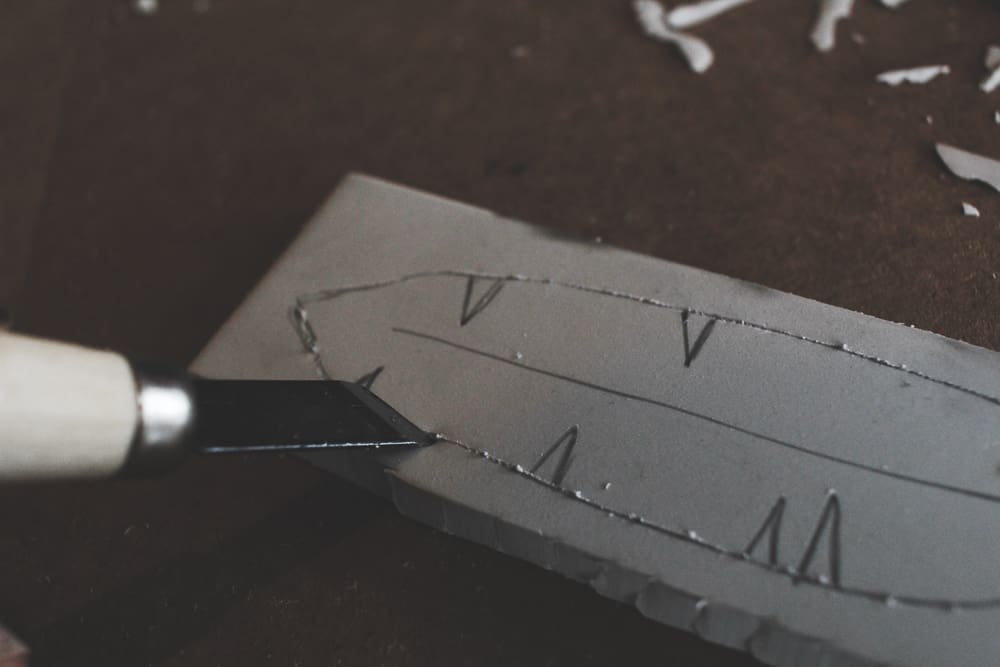
- AGAIN: Your tools are extremely sharp, and unfortunately skin will not win this battle. When using any carving tools, always carve AWAY from your body. Oh, would you like a pneumonic device? “Like a ship going out to sea, I carve my stamp away from me.” Like so:
- DO NOT carve toward your hand, like this:
- There will be times where it might feel more natural to carve toward your body, but trust us. Get into the habit of carving away from hands at all times.
Now, let’s carve some stamps.
HOW TO CARVE STAMPS
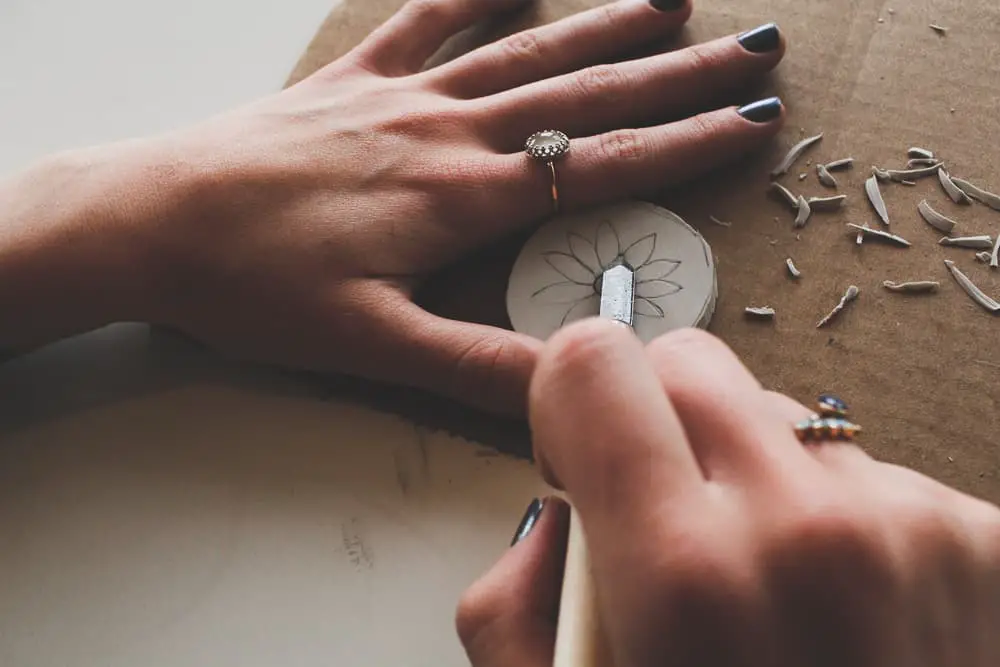
1. Outline Your Shape in Pencil
Whether you decide to freehand or use a pattern, you’ll want to start by drawing the outline of the shape first with a pencil.
2. Carve Your Outline
Using a straight edge carving tool, cut lightly into the outside area of your shape. It’s important to not dig too deeply at this point, if this is your first time, try going no deeper than the width of a head of a pencil (1/64″).
This perimeter is the basis of what will need to be carved out. It provides an easy access point for the scooping tool.
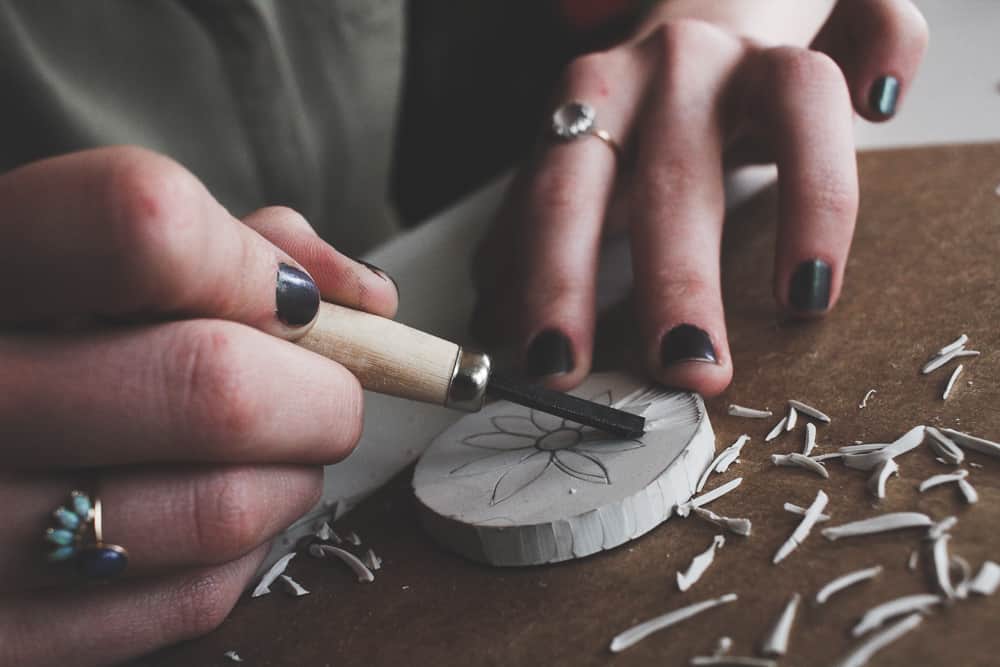
3. Scoop Out Your Working Area
Start out with light and shallow digs. It’ll help you see “the big picture” before you really commit to carving out certain areas. You can always go back and dig deeper, but you can’t dig deep then add rubber back.
Because of the shape used in this DIY, you’ll notice that the scooping was done outside of the perimeter, but depending on your style or shape, you could scoop the inside as well. It comes down to preference.
Once you feel like you’ve got the shape and depth you want for your stamp, it’s time to test it out.
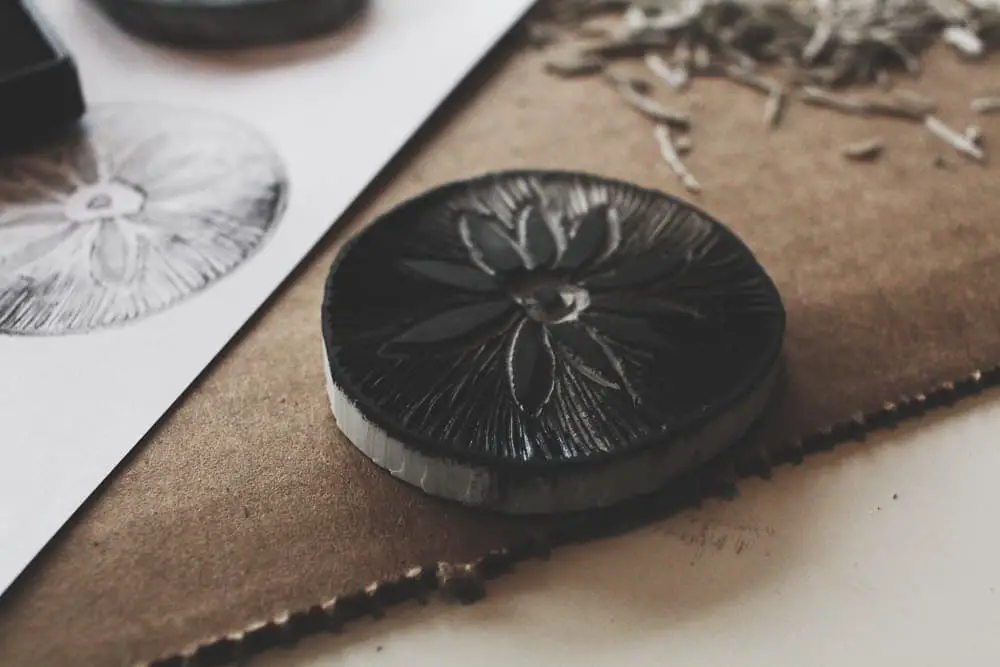
4. Press Your Stamp In Ink
Place your stamp on the ink pad, and press firmly on the rubber stamp. You want to get ink evenly distributed to the rubber stamp. It helps to move your hand to different positions on the stamp – you can’t break the ink pad, so don’t be wimpy with it.
There’s no wrong way to stamp… but if you think you have stamped wrong, or it doesn’t look exactly how you wanted, just go back to the rubber and start carving.
If you haven’t dug deep enough in a certain area, your ink will reflect this… just have another go at it.
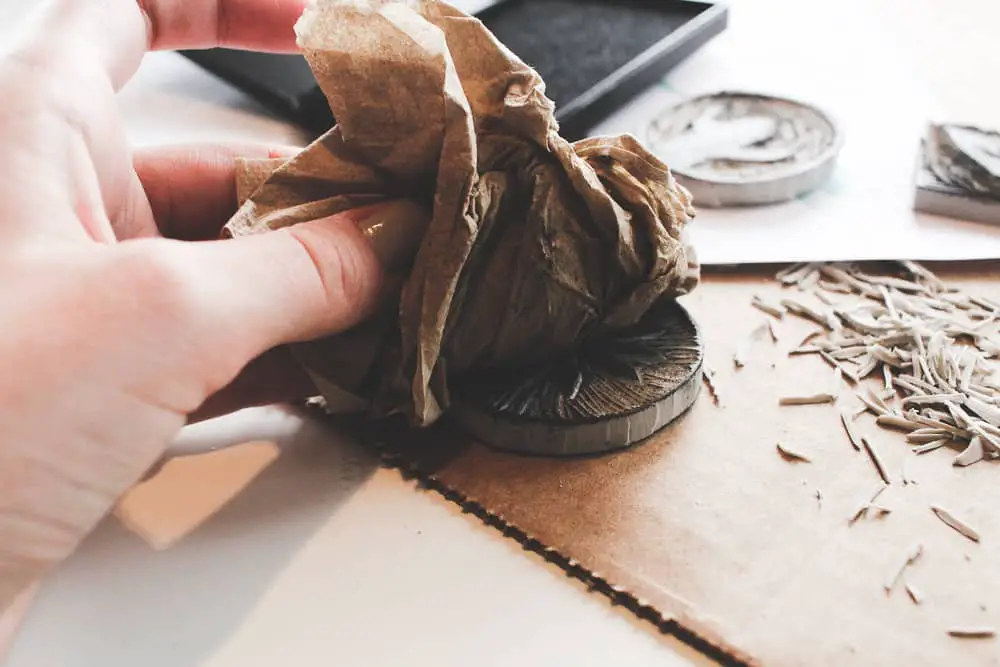
5. Clean Your Stamp
This isn’t absolutely a requirement, but there’s a lot to like about cleaning your stamp.
For one, ink gets everywhere and this is ink after all – so it doesn’t come out of items very easily. Certainly consider cleaning your stamp before you go back to carving again.
Secondly, washing and cleaning your stamp in between uses can lengthen the life and versatility of your stamp. It’s nothing crazy either – here we just used a wet napkin.
This is especially important if you make a stamp that you enjoy and plan to use in the future. You won’t have to worry about different colors muddying your designs, or if you use markers, not turning each one black.
Future you will appreciate the 20 seconds you took to clean the stamp afterwards.
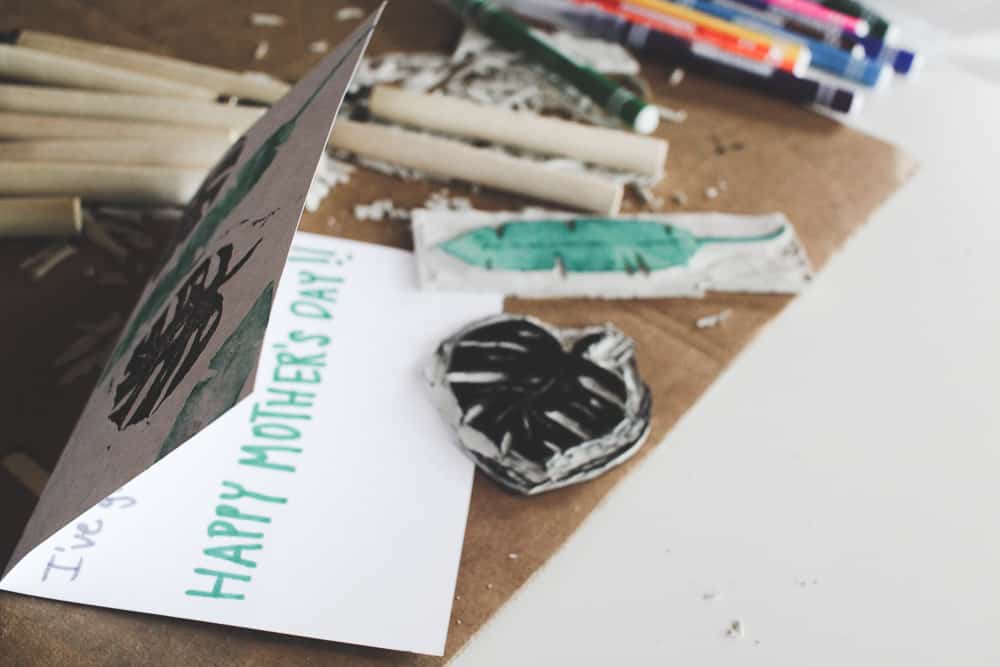
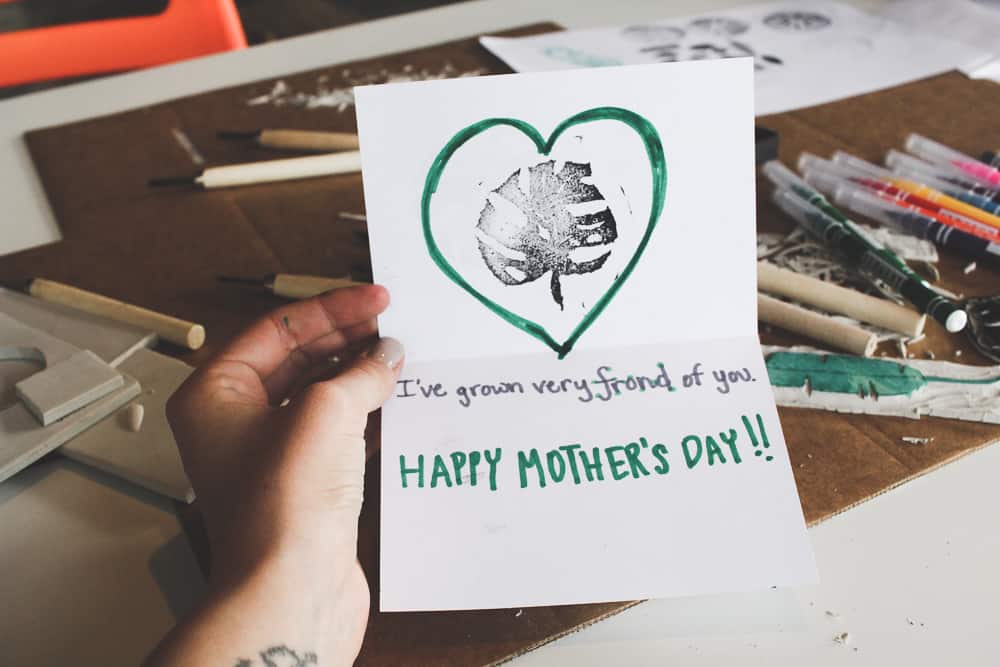
6. Customize Your Creation
We decided to create two stamps in total, but applied two different techniques for ink. Using markers to color one stamp, and using ink to color the other. Markers are great for having a wide range of color options without having to invest in an ink pad.
It was all with the purpose of making a card, but not just any card. A Mother’s Day card. We have a special affinity for plants and our mothers, so this felt appropriate.
As you can see, making a stamp is really only 6 steps. In total, we spent around 30 minutes to make the stamps, and now we have two more unique stamps in our collection.
It certainly can get more complicated depending on how you want to approach stamp making, but for a beginner, you’ll step back shortly after this session with a work of art you can call your own.
Want to see what others are doing? Look no further.
STAMP CARVING INSPIRATION
Have a project in mind? Awesome! But if not, here’s a look at how people are carving their stamps and what they are making.
PRO TIP: If you use a “splatter technique” … Be sure to have some sort of cover on your working space. 😉
Happy Hobbying!