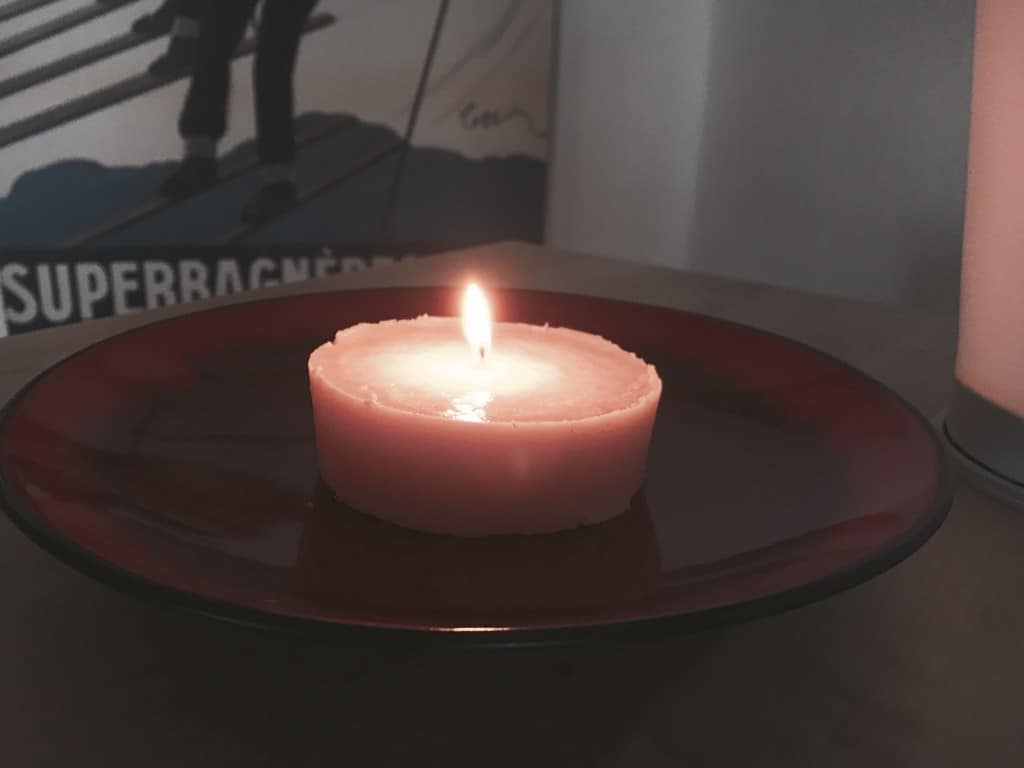
Making candles is a fun and easy way to bring a little light and fragrance into your home. Plus, they make great gifts!
If you can’t decide if candlemaking is the right hobby for you, especially if you’re trying to save money by making them instead of buying them, read our post “7 Reasons To Make Your Own Candles.”
If you’re already convinced and just need a guide to get started, read on for a full candle making tutorial built for beginners. You’ll find a list of the exact supplies needed as well as every required step to make amazing candles in your own home.
Alright then, let’s melt some wax!
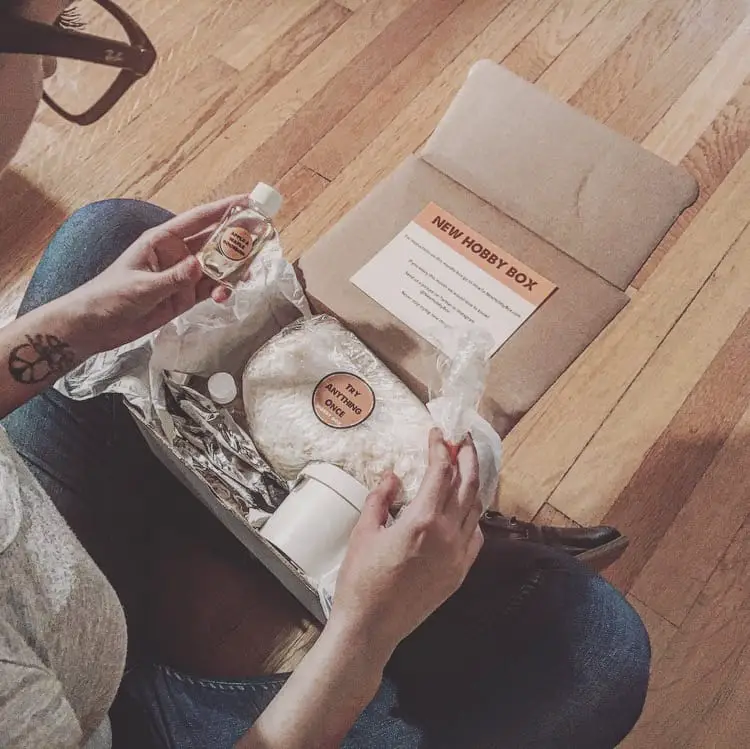
SUPPLIES NEEDED TO MAKE CANDLES AT HOME
There are a few ways you can be scrappy when it comes to making candles to save some money, which is especially useful if this is your first time making candles.
One of the best ways to do that is to grab glass jars or vessels from your recycling bin and use those as containers for your candles. If you have essential oils around the house, you can also use those as your fragrances.
And if you have old pots or cookware, that could be a useful way to save yourself some money instead of having to buy a pot specifically for candlemaking. I’m going to add extra emphasis on “old pots or cookware” since you won’t want to reuse this for making food. You’ll see why in a bit.
Outside of those money-saving hacks for candlemaking supplies, you can either get individual supplies or a full kit. If you’re the type of person who wants the whole candlemaking kit without the fuss of gathering pieces, then skip a little further down in the tutorial.
For those who want to gather individual items, check out the list below; you’ll find New Hobby Box recommended candle supplies and where to get them:
- Wicks
- Fragrances
- Soy wax
- Color blocks
- Glass jars
- Clothes pin
- Paper mold (optional, but used in this tutorial)
About Your Candlemaking Ingredients
Most of these ingredients probably make sense, but we’d like to go ahead and make the proper introduction for each.
- Wicks: These will be added to your melted wax to burn your candle!
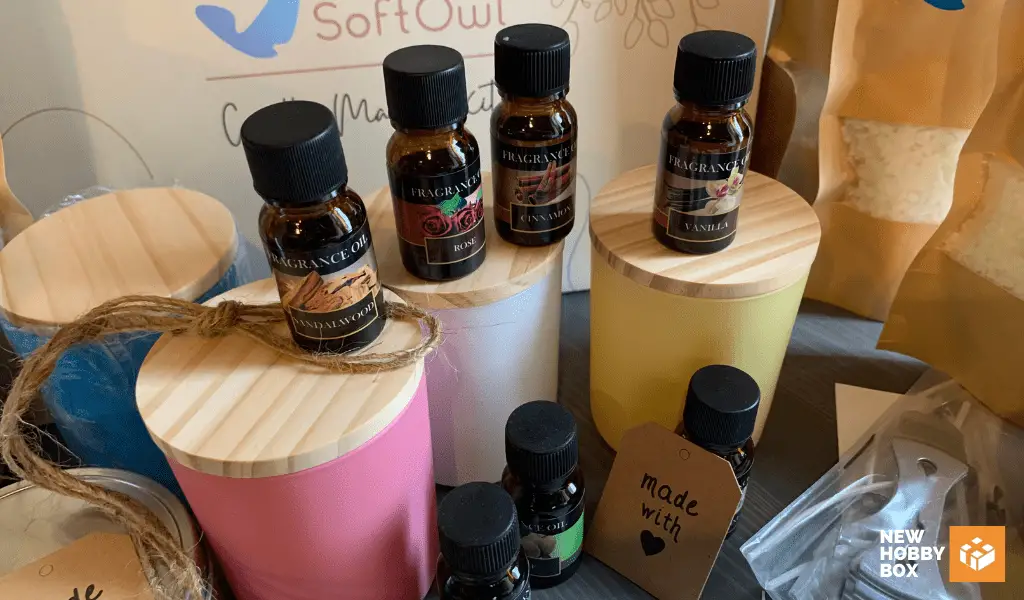
- Fragrances: Whether you open a kit or an individual package with fragrances, they will hit you in the face hard. The smell might be strange or off-putting when you open them in a package because the scents combine, but individually they’ll smell great.
- Soy Wax: You could use beeswax, but it’s more expensive and a little harder to work with. Soy wax is cheaper, easier to find, and melts at a lower temperature, making it ideal for beginners.
- Color Blocks: These are for dying your candles. You only need blue, red, and yellow to make any color, but in the recommended product as well as the kit, you’ll get a wider variety of color options.
- Glass Jars: These vessels are for your candles – but as you dive further into the world of candle making, look around… everything can be a vessel such as cups, bowls, old candle jars, old sauce jars, etc. etc.
- Clothes Pin: These are helpful when positioning the candle’s wick.
- Paper Mold: For one-time use to make a pillar candle. More on that in a bit
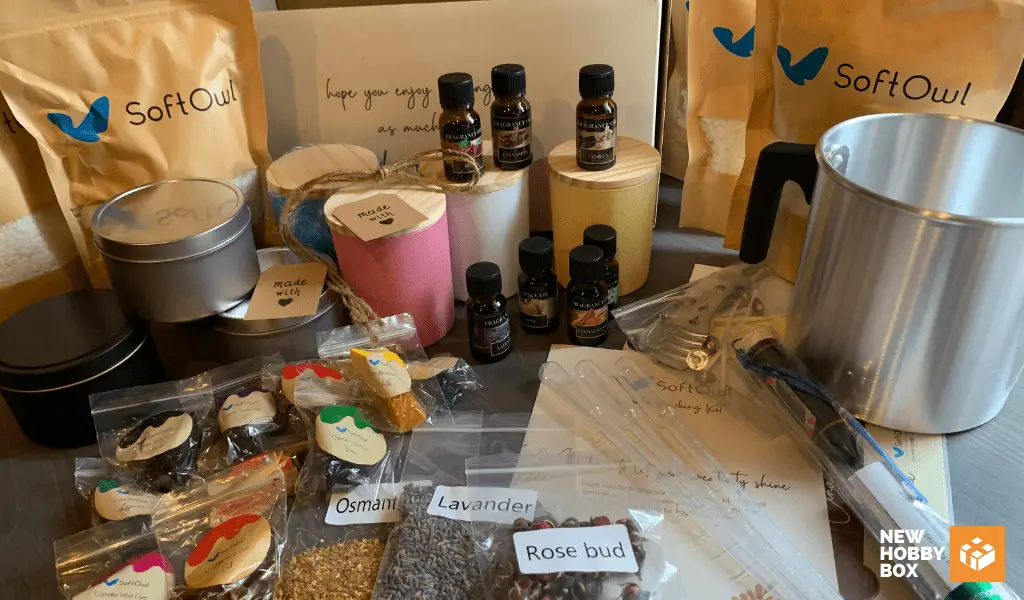
The kit below has all of this and more; if you want to see why the SoftOwl Candle Making Kit is the best one on the market today, be sure to check out our detailed product review.
Recommended Kit – SoftOwl Premium Soy Candlemaking Kit
If you want to go with an affordable kit that has everything you’ll need to make candles, the SoftOwl Candle Making Kit is the absolute best option. You can find it on Amazon, ideal if you have an Amazon Prime account – but it’s also available on Etsy.
That said, we recognize that the best kit is going to be how it meets an individual’s unique needs. That’s why we created a comprehensive guide to the top 5 candle making kits on the market today – it’s definitely worth a read.
Outside of price, it’s a great value and has everything you need to complete this tutorial and more, including a wide variety of dyes and scents (7 total), and of course it also has soy-based wax.
HOW TO MAKE CANDLES AT HOME
Now that you’ve got all of your supplies, let’s get started on making candles!
The first thing you want to do is set up your workspace. You’ll want to have plenty of ventilation since you’ll be working with hot wax and melting things down. It’s also helpful to lay down some old newspapers or towels in case of any spills.
Once you’ve got your workspace ready, then it’s time to start melting down your wax.
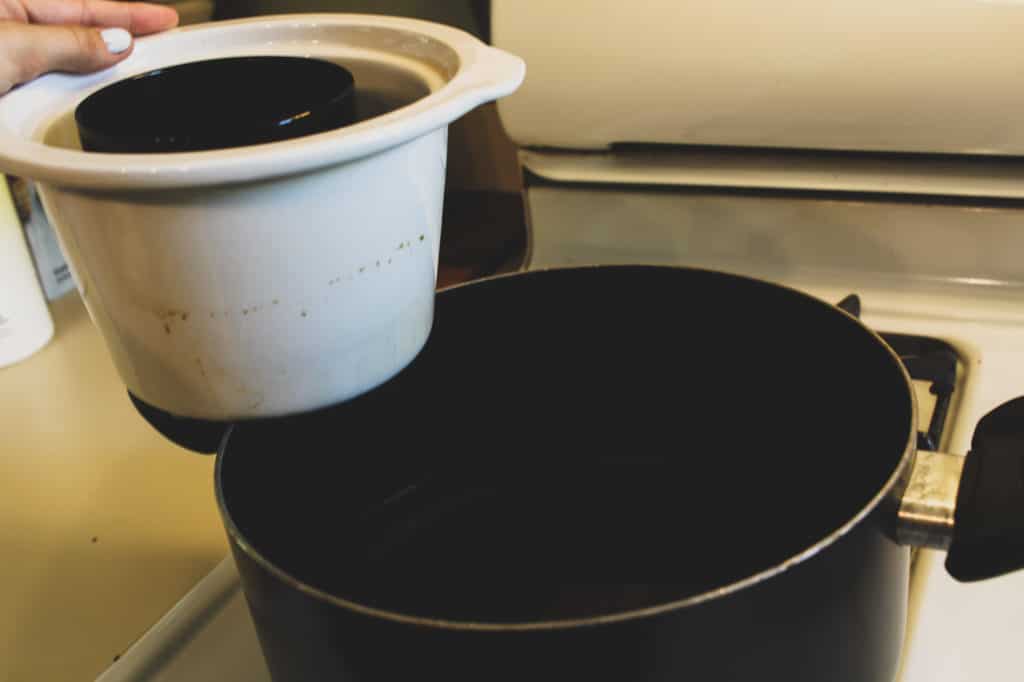
1. Construct a Double Broiler
Unless you’re using a melting pot like the one in the SoftOwl kit, you’ll need 2 pots for this. One to fill with water and one to sit in the water.
Start by filling your larger pot with water an inch or so below the top of your smaller pot (the white pot in the image.) Then place a third vessel (small black vessel in the image) inside the white pot, this will be used to hold the wax as it melts.
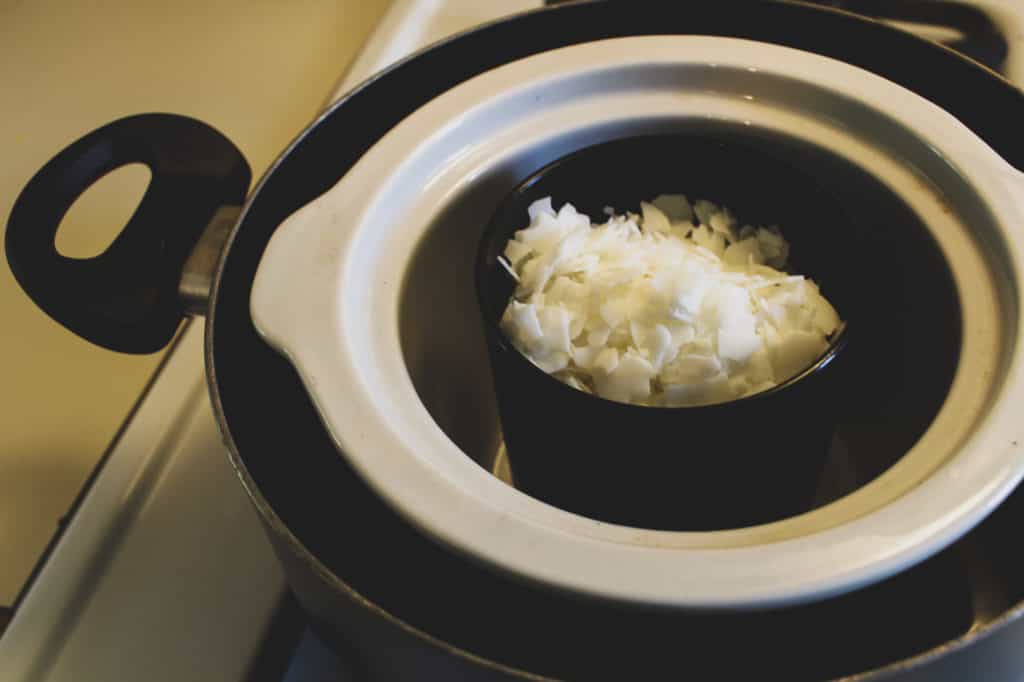
2. Melt Your Wax
Bring your stove to medium heat (no need for a boil) and place around 8 ounces of wax inside of it. The amount of wax you choose to use depends on your vessel and your final candle size. Then, begin melting your wax.
Ensure you are melting your soy wax at the perfect temperature to achieve the best results. Learn more about the ideal soy wax temperature here.
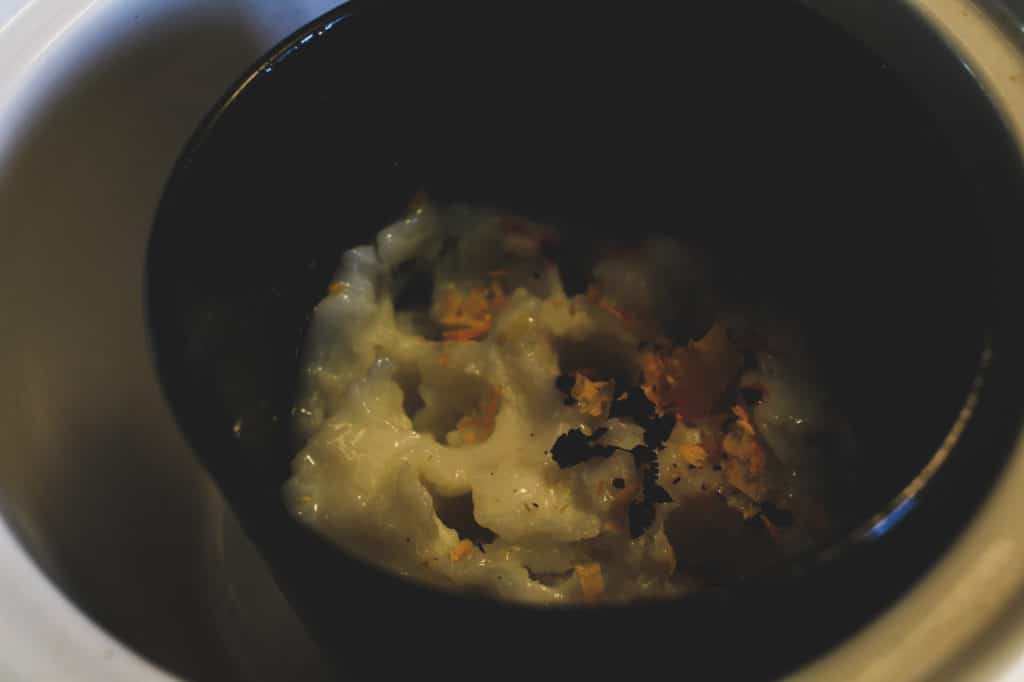
3. Add Color Blocks
If you want to add any color to your candle, this is the right time to do so. It’s not necessary, but trying to figure out the perfect color combo is part of the fun.
If you decide to add color to your candle, it’s important to note less is more. You can always add more color to your wax, but you can’t take it away.
If it’s your first time and you’re trying to add color, try to not add more than a half block of color in total, regardless of color combinations.
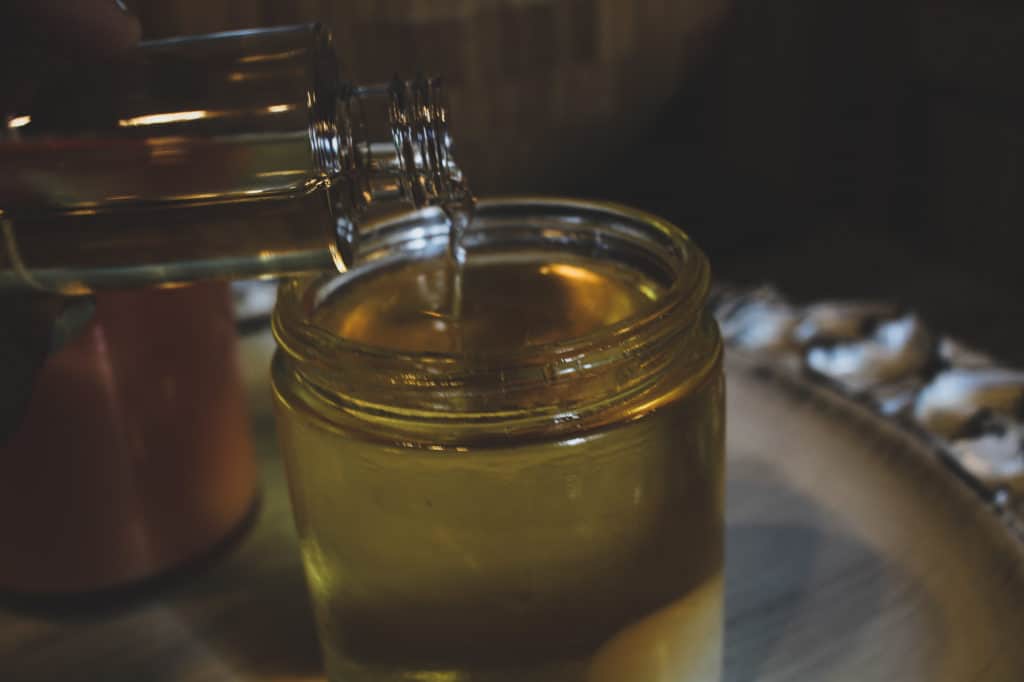
4. Add A Fragrance
After your wax is completely melted down, it’s time to add fragrance. In terms of how much fragrance to add, it depends on the strength of the scent, but in general, it’s better to err on a stronger vs. weaker scent to start.
Drop in your desired amount and give it a good stir.
This part is seemingly easy but can be complex if you decide to mix scents. For first-time candlemakers, you may want to just use one scent for your first candle. Once you have that down, then try some scent combinations to put your unique fingerprint on your candles.
5. Fix Your Wick to Your Jar
You’ll need to attach your wick to whatever container you decide to use for your candle – whether that’s a jar, mold, or any other vessel. The wick needs to stick to the bottom of the container and be as centered as possible!
To do this, dip the circular plate of the wick in your hot wax, then quickly move it to your candle container and firmly press it to the bottom of the vessel. Give it some time to completely harden – ten minutes or so will do the trick
6. Pour Your Wax and Position Your Wick
Make sure your wick is in the vessel already and hardened, then transfer your hot wax (fragrance, color, and all) into the final container.
You want your wick to stay as upright as possible, so as you pour your wax into the jar, it’s helpful to hold the wick in one hand and the wick in your other hand.
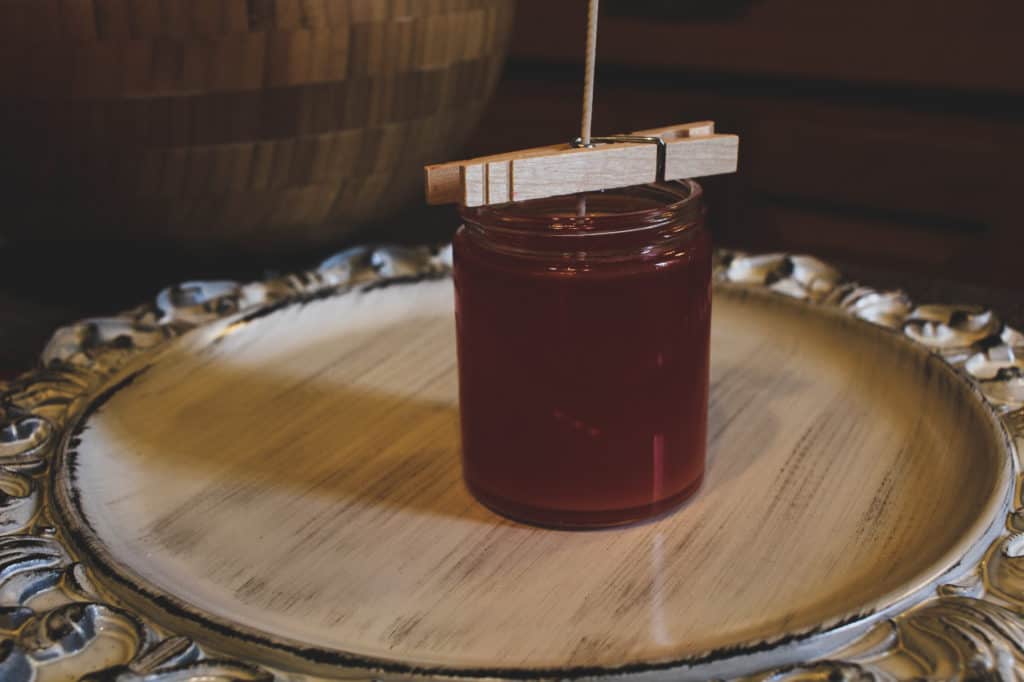
Once your wax is in the jar, you can make some adjustments to the wick to make sure it’s as vertical as possible – this is where your clothespin comes in handy.
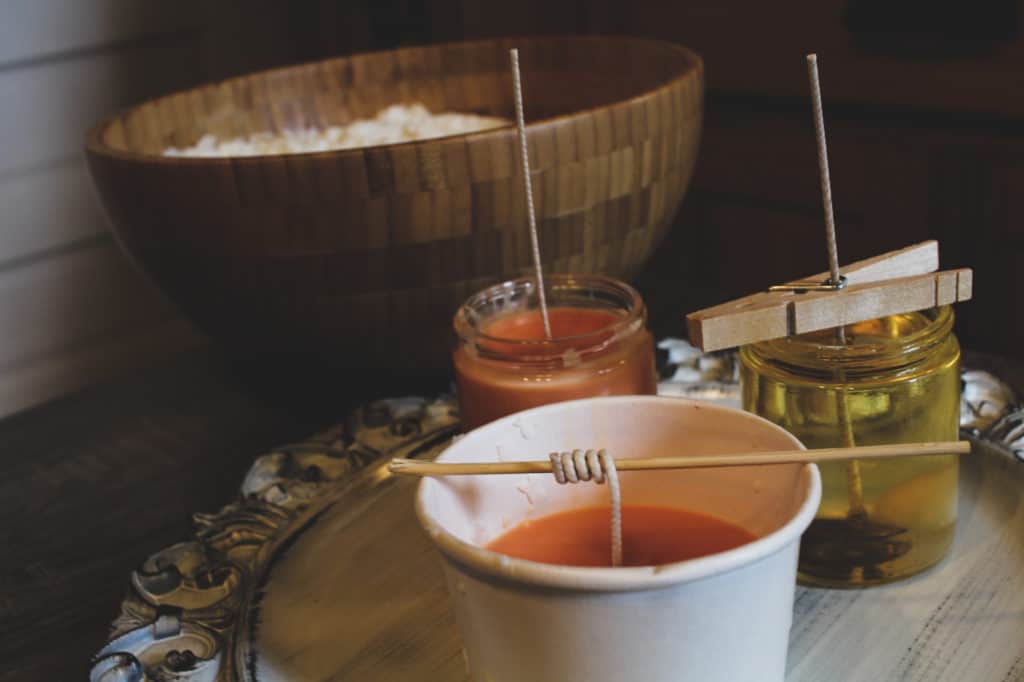
If a clothespin won’t work, simply wrap the wick around a stick or dowel rod to hold it in place, like in the image above with the paper mold.
7. Let Your Wax Set
Now that your wax is in the vessel and your wick is positioned perfectly, it’s time to let your candle set.

If it’s not positioned “perfectly” then this is still a good time to make some adjustments this is a great time to have a look-see at your wicks and make sure they are still positioned correctly.
This can take a few hours, so be patient!
8. Trim Your Wick
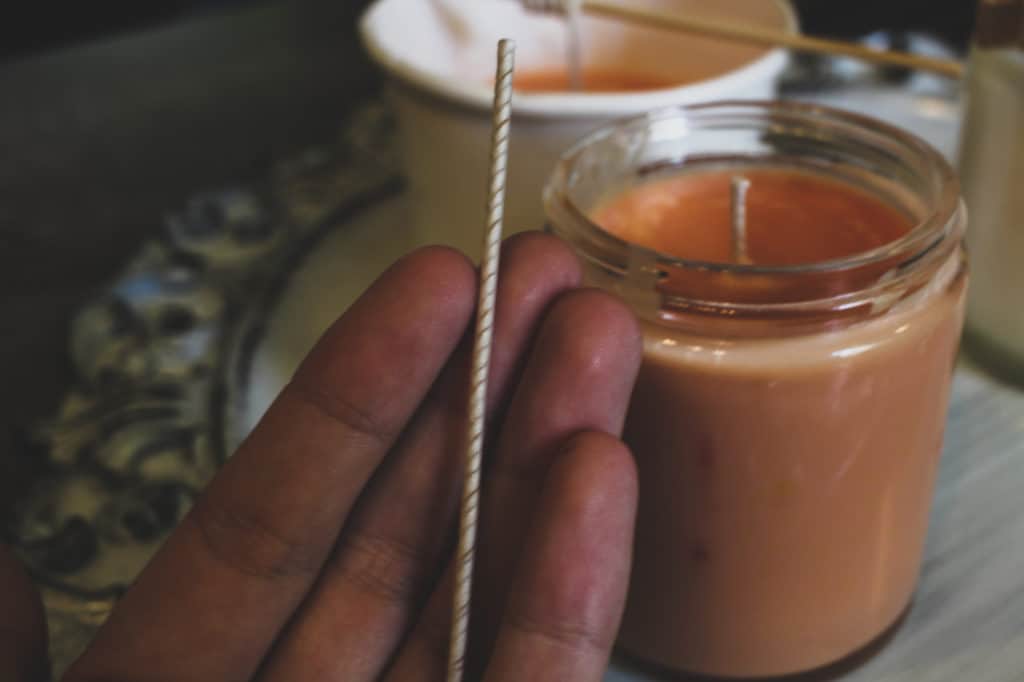
Once your candle is fully set, it’s time to trim your wick down to size. You want to leave around 1/4″ – 1/2″ of the wick exposed.
And that’s it! You’ve now made your very own candle. Congratulations!
9. Tear Mold (If Using a Mold – Optional)
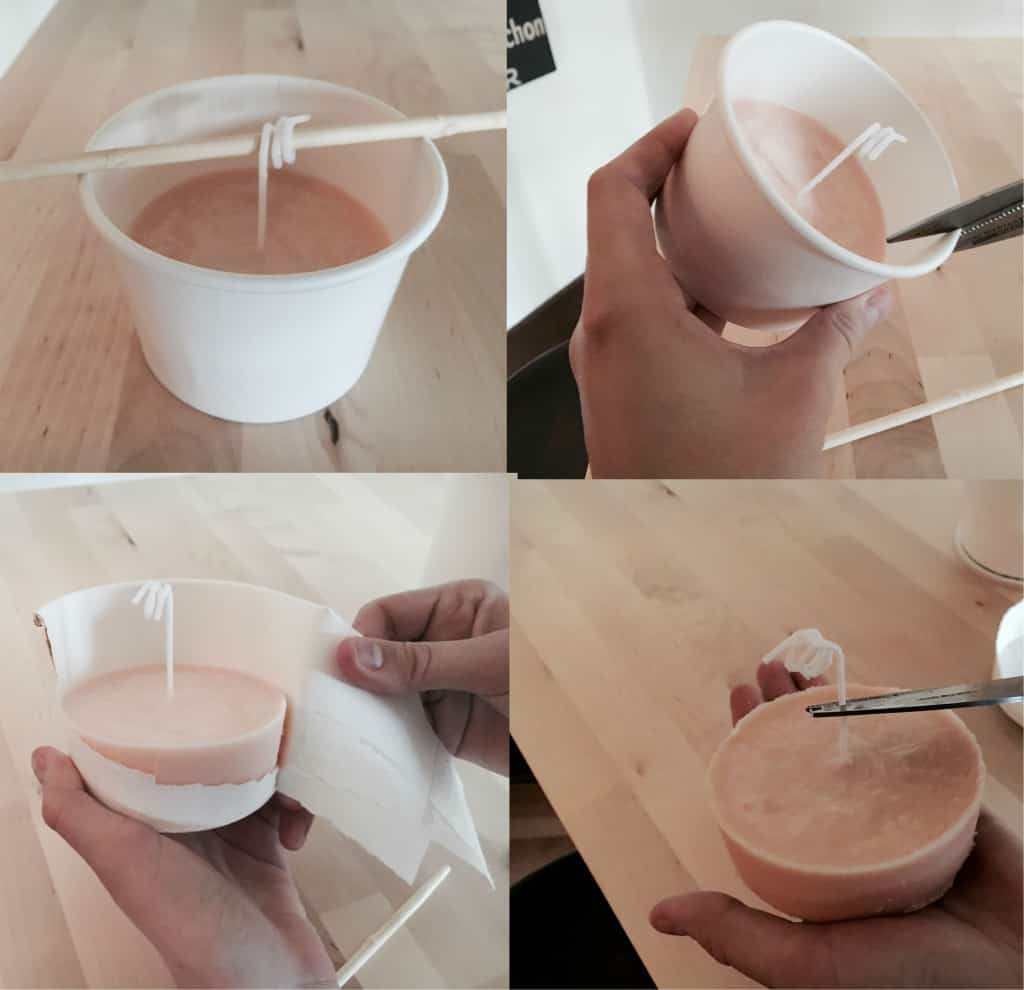
If you decided to do a pillar candle, one that stands on its own, you’ll need to remove it from the mold. It’s a simple process, as pictured above.
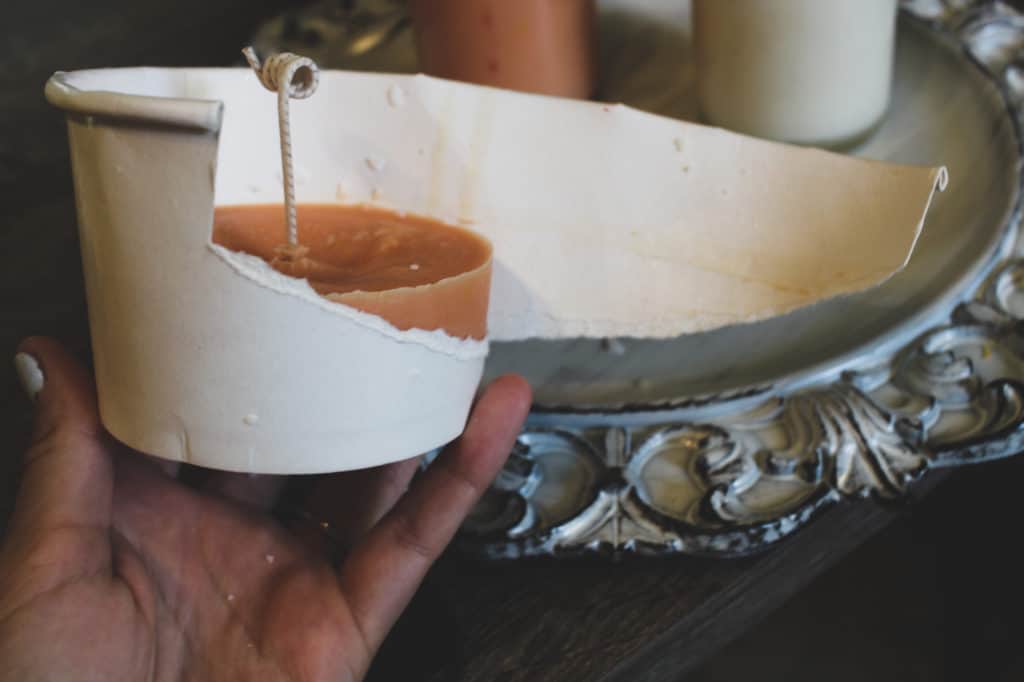
Solid, set, or frozen, you can use scissors to start peeling the mold from the set candle. It should come out easily! If it’s giving you trouble, try freezing it. Freezing your candle is an insider tip for getting a mold to separate – simply place your mold in the freezer for around 30 minutes.
After that, give it another go at peeling the mold away from the wax, it works like a charm.
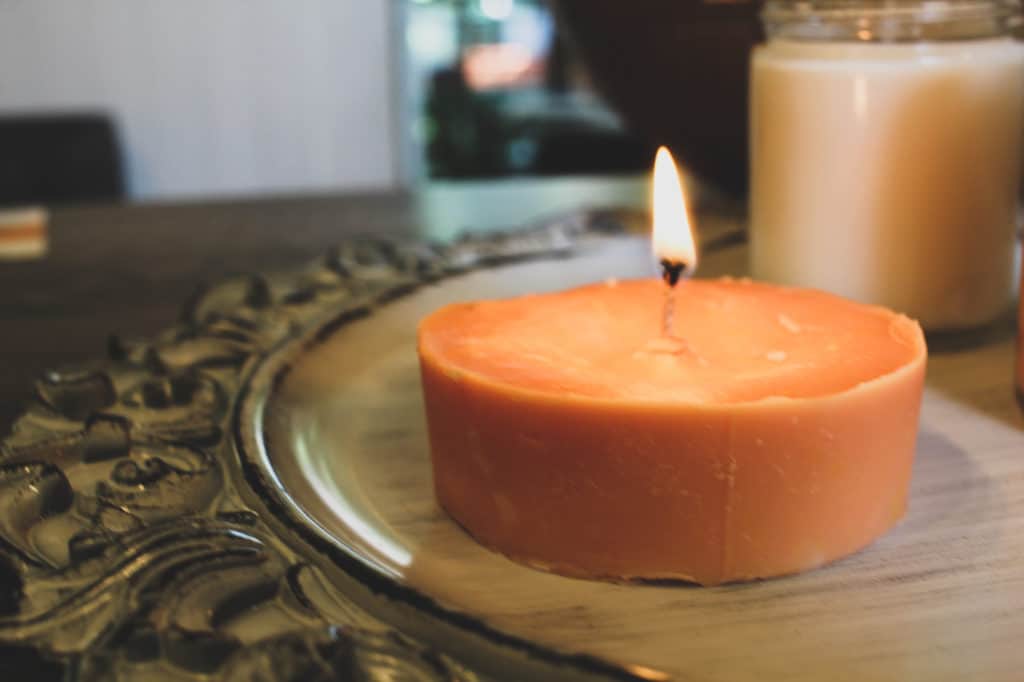
Oh, and congrats on your pillar candle – it looks beautiful!
CANDLEMAKING INSPIRATION
As you may have guessed, people are doing all kinds of interesting things with candles these days such as making ice molds, transferring photos onto them, carving them, and layering colors.
If you’re feeling confident in your candlemaking skills and want to take on a challenge or you’re just seeking waxy inspiration, here are some DIY candlemaking videos for your viewing pleasure.
Connect with New Hobby Box on Instagram and share your candles – your creations are inspiring, so everyone should see them! One last thing… DYK that a candlemaker or person that sells candles is referred to as a “Chandler”?

Yep, it’s true!
Happy Hobbying!

