
Eco-printing goes by many names and can be done in several different ways. But whatever you decide to call it, if this is your first time hearing about or trying your hand at eco-printing, you’re in for a real treat.
At its root, eco-printing refers to the process of directly applying plants and other natural materials to textiles or paper to alter color, apply color, and create incredibly unique designs.
Natural dyeing, or eco-dyeing, is a component of eco-printing as everything used comes from natural fibers such as leaves, flowers, roots, bugs (yes… bugs), and other organic matter. Here’s a sneak peek at what you’ll be making.
This tutorial will provide you with highly visual instructions on eco-printing, as well as different methods for you to try. This will give you the confidence and flexibility to eco-print with a wider range of materials.
If you’re here just to understand what steps are involved, head over to the New Hobby Box article that focuses on the general steps involved in eco-dyeing. But if you’re here to get your hands dirty with some natural dye, then keep reading!
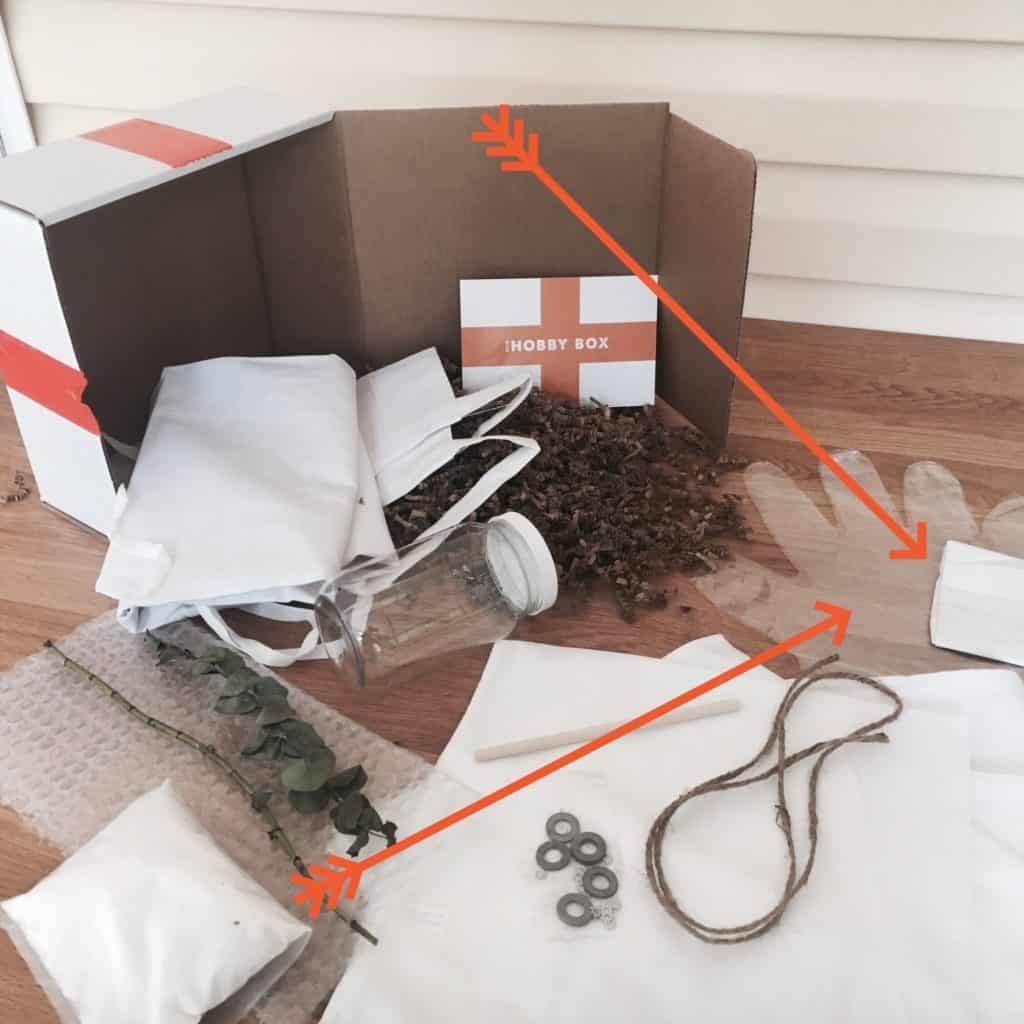
First, let’s have a look at the supplies you’ll need to start eco-printing beautiful textiles.
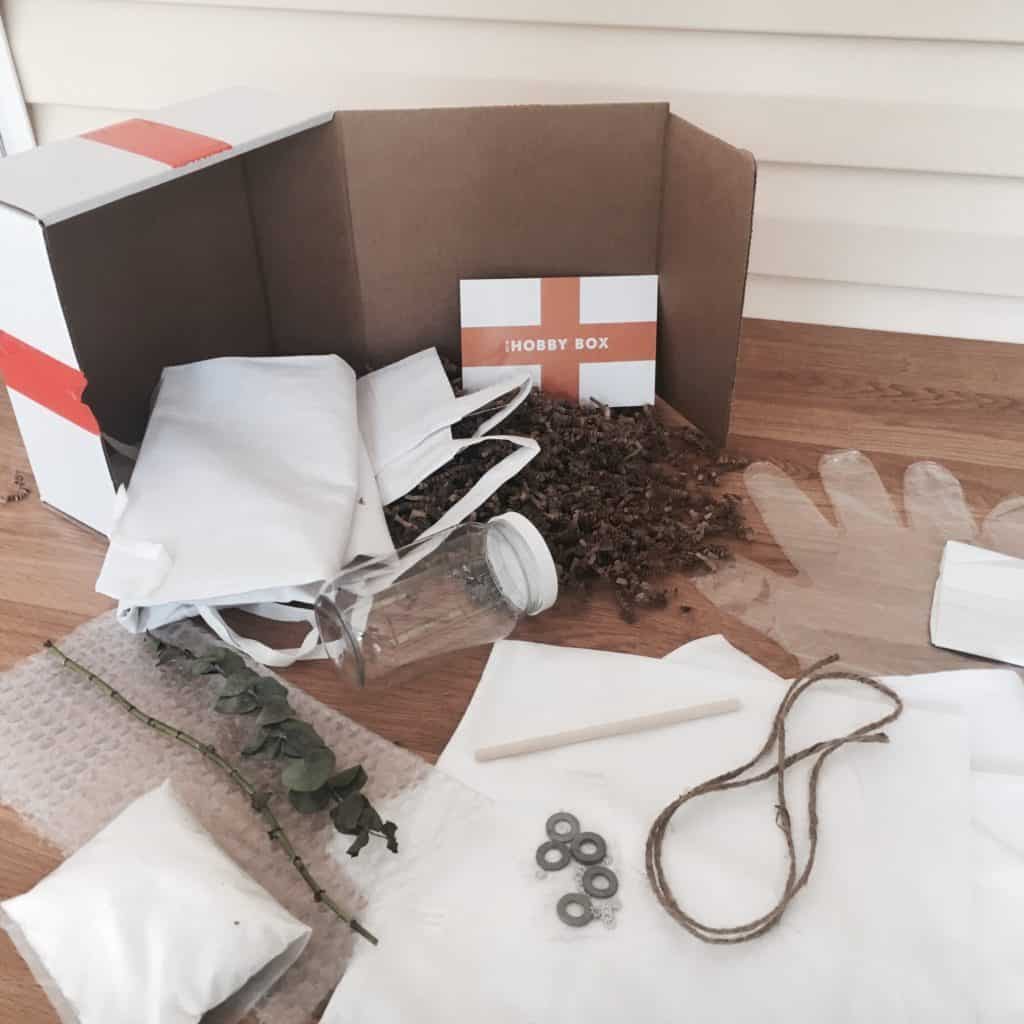
SUPPLIES NEEDED FOR ECO-PRINTING
If you don’t have specific items from the supply list below, you may be able to substitute them with other items you already have or find an alternative that’s easier to get.
Such as jute twine – you could simply use yarn if that’s something you already own. We’ll list the exact items used here though just for accuracy in case you want to follow our approach exactly.
If you’re more of a kit kind of person, rather than an individual items person, skip this section as we’ve listed a great kit to get every item you’ll need for eco-printing in the next section.
- Semi-Dried Eucalyptus: This may go without saying, but these need to be 100% real.
- Jute Rope
- Plastic Gloves
- Waterproof Apron
- Plastic Jar with Lid
- Wooden Stick
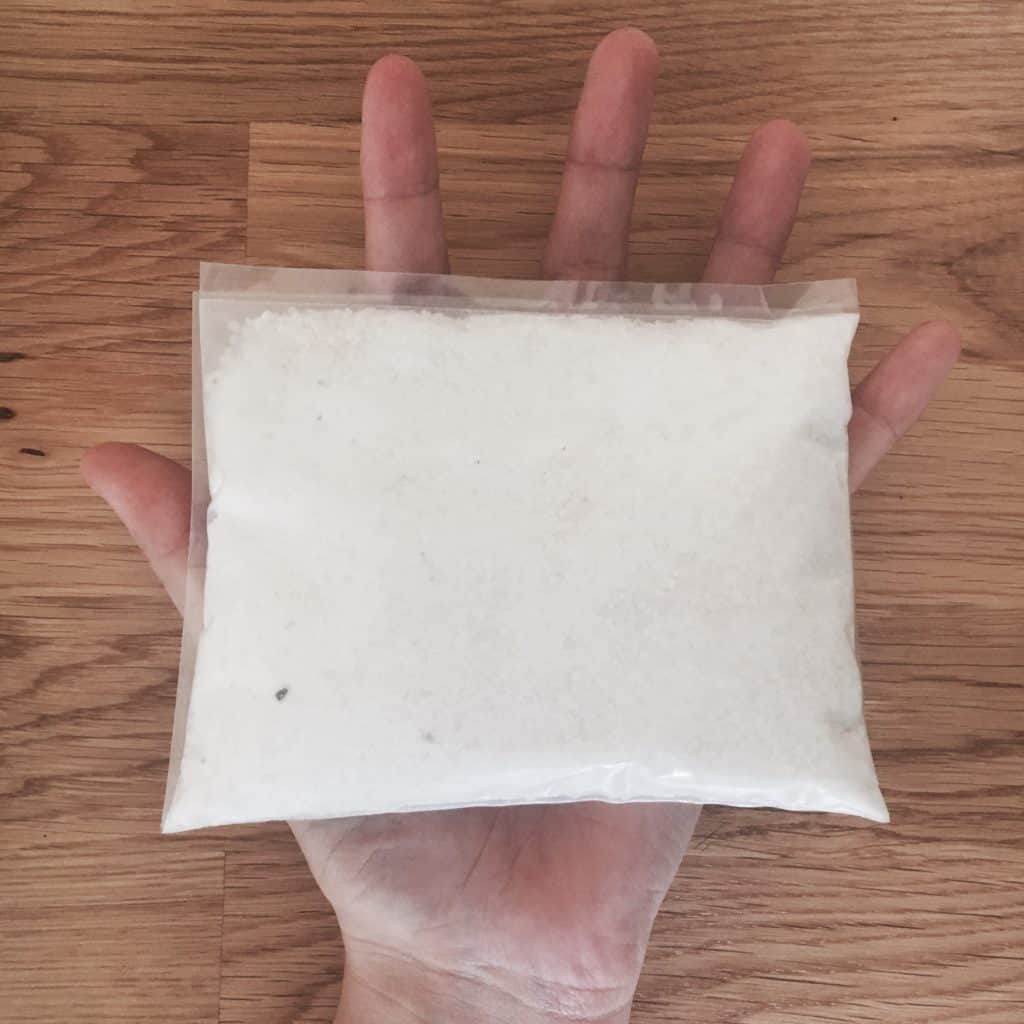
- Alum Powder
- 100% Cotton Muslin Fabric – Unbleached
- Metal Hardware – Washer, Nuts, Nails, etc.
- 100% Cotton Apron
ECO-PRINTING KITS FOR BEGINNERS
It’s times like this when we wish our New Hobby Box kits were still available for sale because they had a great mix for eco-printing. Nevertheless, there are so many cool options out there if you’re looking for eco-printing kits, one of the following three will be perfect for you.
This list was hard to cull down, but I wanted to share two kits that could be used for this tutorial, but offer different options to you.
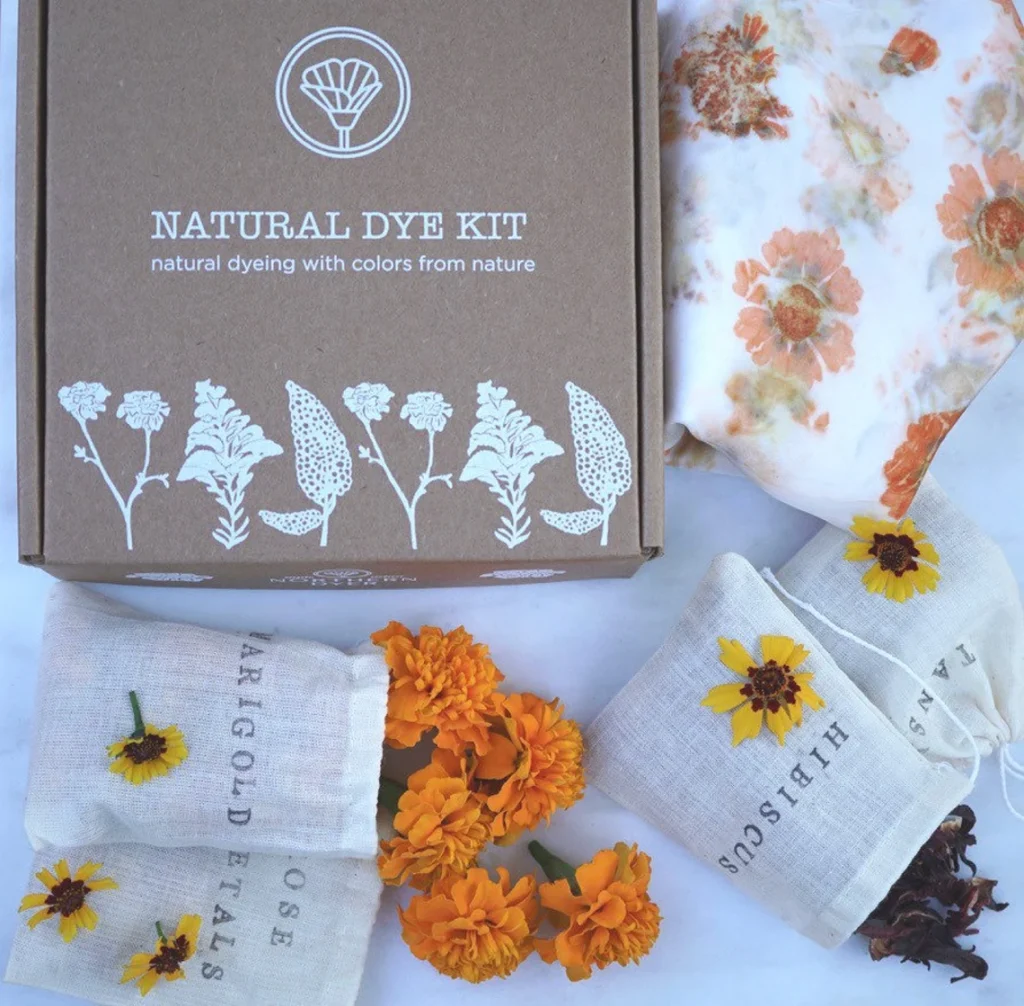
Northern Dyer’s Natural Dye Kit for Making Scarves
Outside of the fact that this is a complete kit with alum and all, there were three reasons this kit made our list of recommendations:
- Variety: The flowers and natural materials in this kit will give you a wider spectrum of colors and shapes that help create beautiful patterns.
- Silk Scarf: We find that natural dyeing becomes even more interesting when you can do it on something that can be shown off, and there are few things better for this than a quality silk scarf.
- Value: You may or may not buy dried natural flowers like hibiscus, but this stuff is crazy expensive. For instance, 16oz of organic dried hibiscus will easily cost you $15. This kit includes 5 dried flowers, alum, a silk scarf, and all the other necessary items, and yet it costs less than purchasing the materials individually. So it’s a great value for that reason.
Slow Stitch Studio’s Eco-Printing Kit for Handkerchiefs
This eco-dyeing kit made the cut because it’s essentially a miniature version of the Northern Dyer scarf kit – in just about every way, such as a silk handkerchief instead of a silk scar. Or that it’s a lower cost than the Northern Dyer kit.
What we like the most about it though is that it comes with more natural ingredients, but just smaller amounts than Northern Dyer, including:
- Hibiscus
- Calendula
- Logwood Extract
- Red Roses
- Eucalyptus
- Yellow Onion Skins
- Turmeric
For the price, the Slow Stitch eco-print kit is a fantastic option for beginners to test out a naturally dyed textile to wear.
ABOUT YOUR ECO-PRINTING SUPPLIES
Let’s talk about alum first (potassium aluminum sulfate). When working with textiles, to make colors ‘stick’ – also known as color-fastness – you often have to use alum as the mordant. Alum helps to create a bond between your fabric and the dyestuffs.
Without it, some colors may fade over time or with repeated washing, plus alum will increase the range of colors you can work with.
Many different mordants can be used in natural dyeing, however, alum is the most common one.
For example, if you use a copper, brass, or iron pot, they’ll do their own mordanting to your textiles. Pretty cool, right?
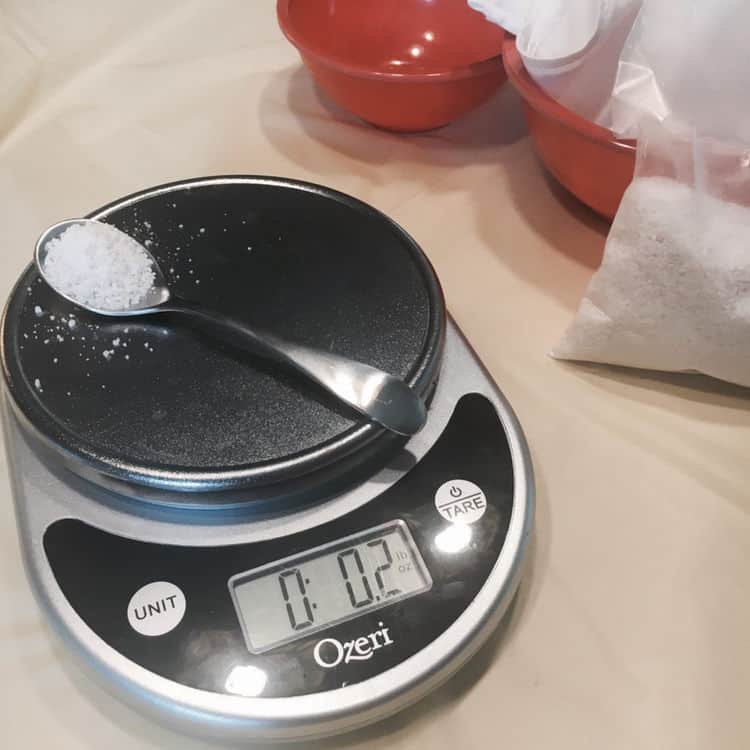
A good rule to follow for figuring out how much alum to add to your projects is to use around 10-15% of dry goods weight per dye pot (the pot you’ll soak your textiles in.)
For example, the cotton muslin squares used throughout this tutorial weigh approximately 1.2 ounces each, so we would measure out .12-.18 ounces of alum.
But, of course, we like to wing it, so we just used a teaspoon of alum that with the spoon removed was toward the lower end of the 10% range. Hopefully, this illustrates the flexibility – don’t get too caught up in the precision.
No matter what eco-printing kit you choose to buy or if you shopped from the recommended supply list, one thing is certain – the alum included with it will be more than enough for this tutorial. So don’t feel like you have to rush out and buy a ton of additional powder!
That said, once you’ve finished your first project and want to do something more complex there’s a high chance you’ll have more than enough alum for extra projects.
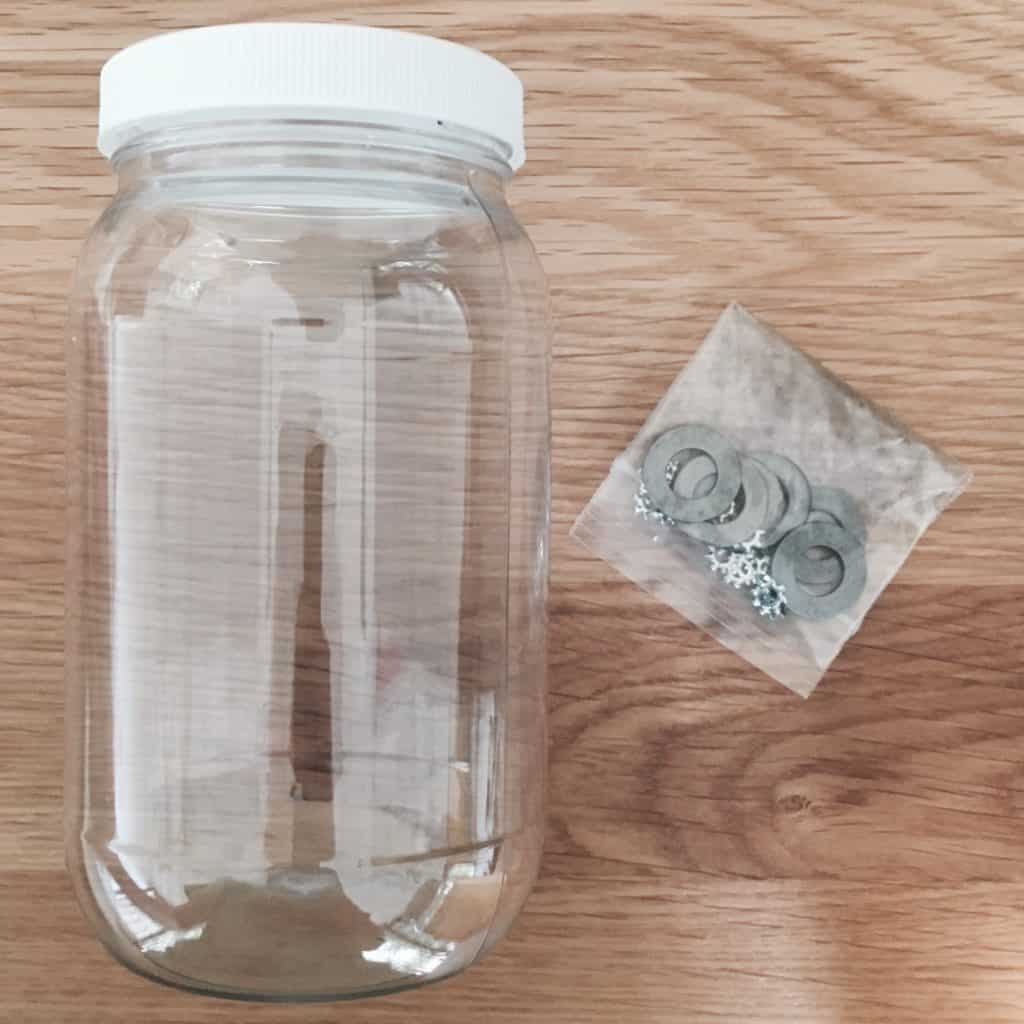
About Your Jar and Metal Pieces
Before we get much further in the tutorial, you should grab your jar and any sort of metal washers and other metallic pieces you’ve collected for your project.
As soon as you decide you’re going to start an eco-printing project, the first thing you’ll want to do is throw the metal bits into the jar, add some water, and let nature do the rest for a few days.
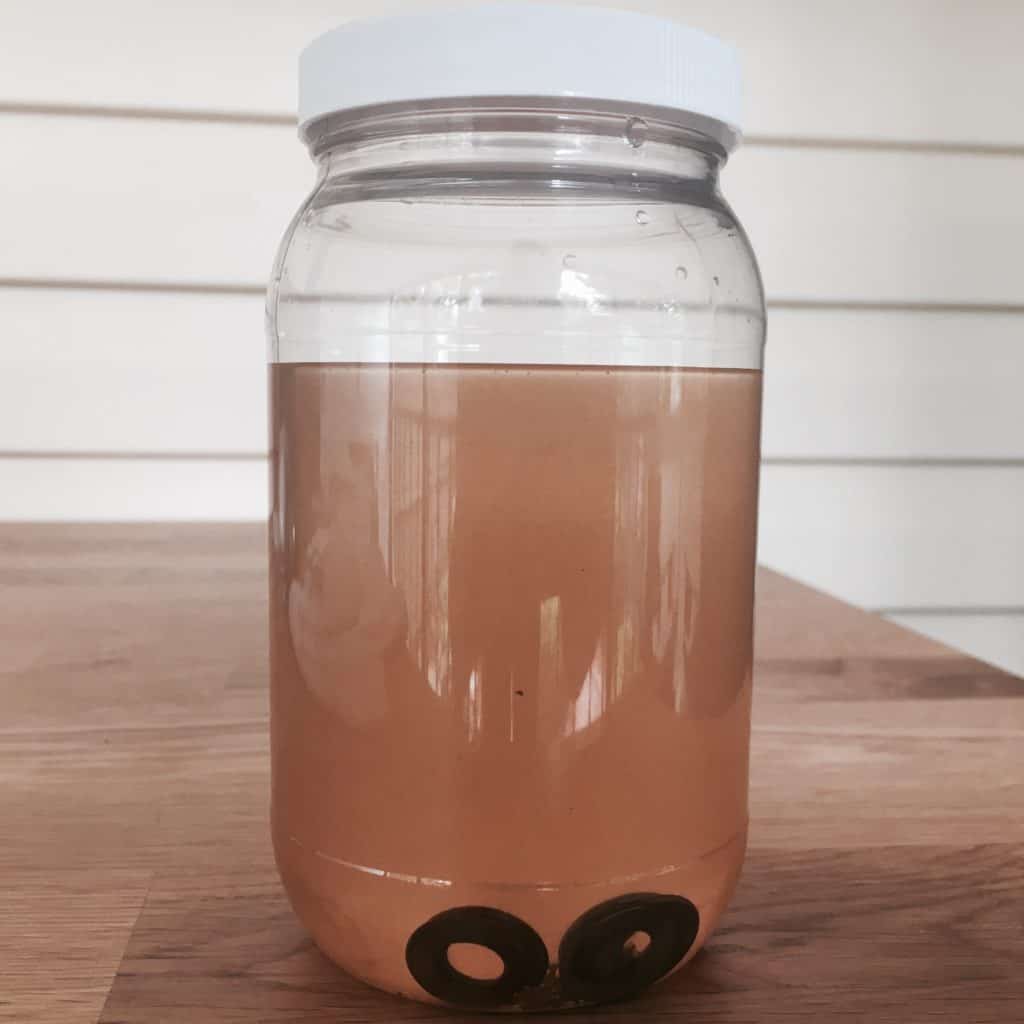
Even after one day, you’ll start to see rust begin accumulating in the jar. The longer it sits, the more concentrated it will become. This will be invaluable for experimenting with rust-dyeing.
The plastic gloves and plastic aprons on the supply list are for your ‘protection’ if you so choose because nobody wants tetanus from a scrape. But the great thing about eco-dying is the worst thing that usually happens is staining your clothes.
The plastic apron also doubles as a resistor, which you’ll see more about in a bit.
You can also wear the cotton apron from the supply list as a protectant from stains, but really it’s on the list because we want you to eco-print on it!
HOW TO ECO-PRINT ON FABRIC
The moment has finally arrived. You have all your materials and you know the basics of what each piece does. Now it’s time to work with nature and make something beautiful together.
For starters, you should know that even though each dying experience will be a little different, the beginning generally stays the same.
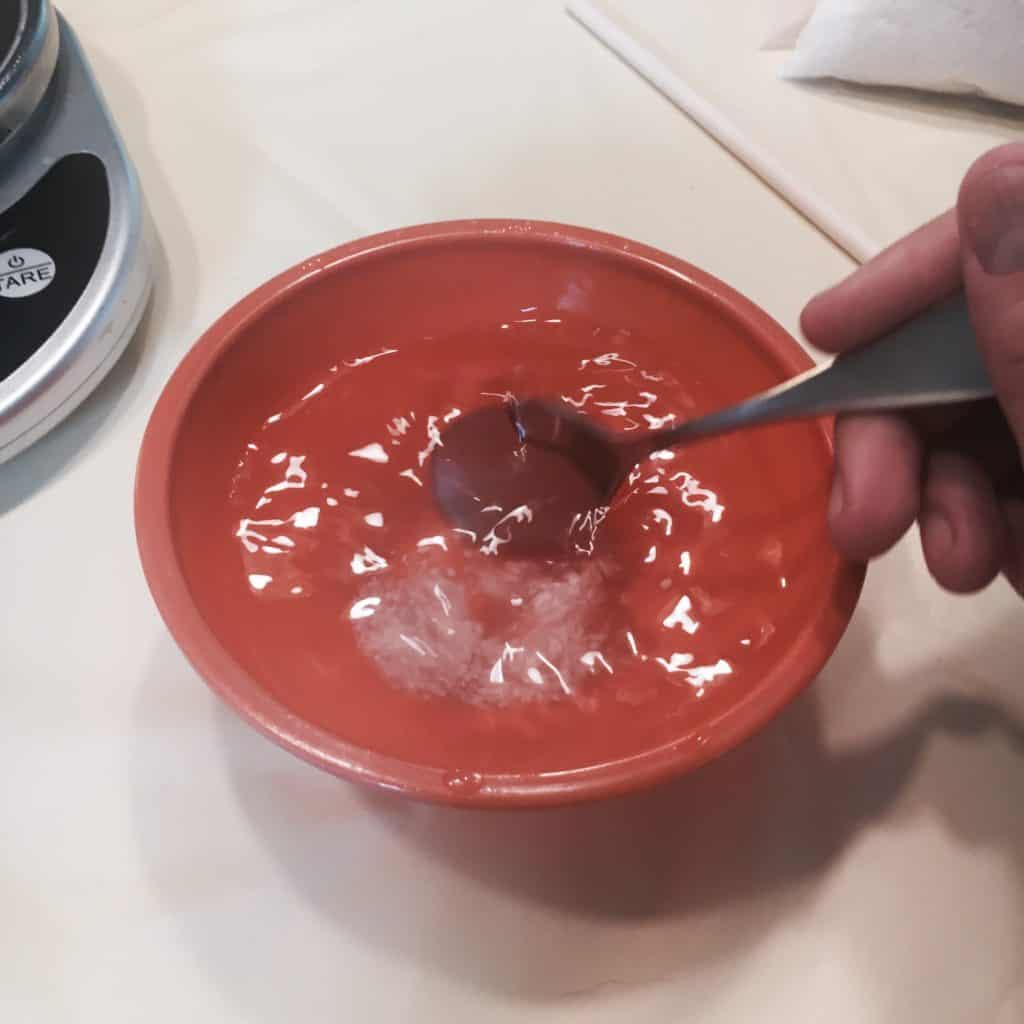
1. Measure and Mix Your Alum
Measure out the amount of alum you’ll need for your item (remember the 10%-15% of the dry goods per pot equation).
Next, mix that powder in a bowl of warm water until it dissolves entirely, then set the bowl to the side.
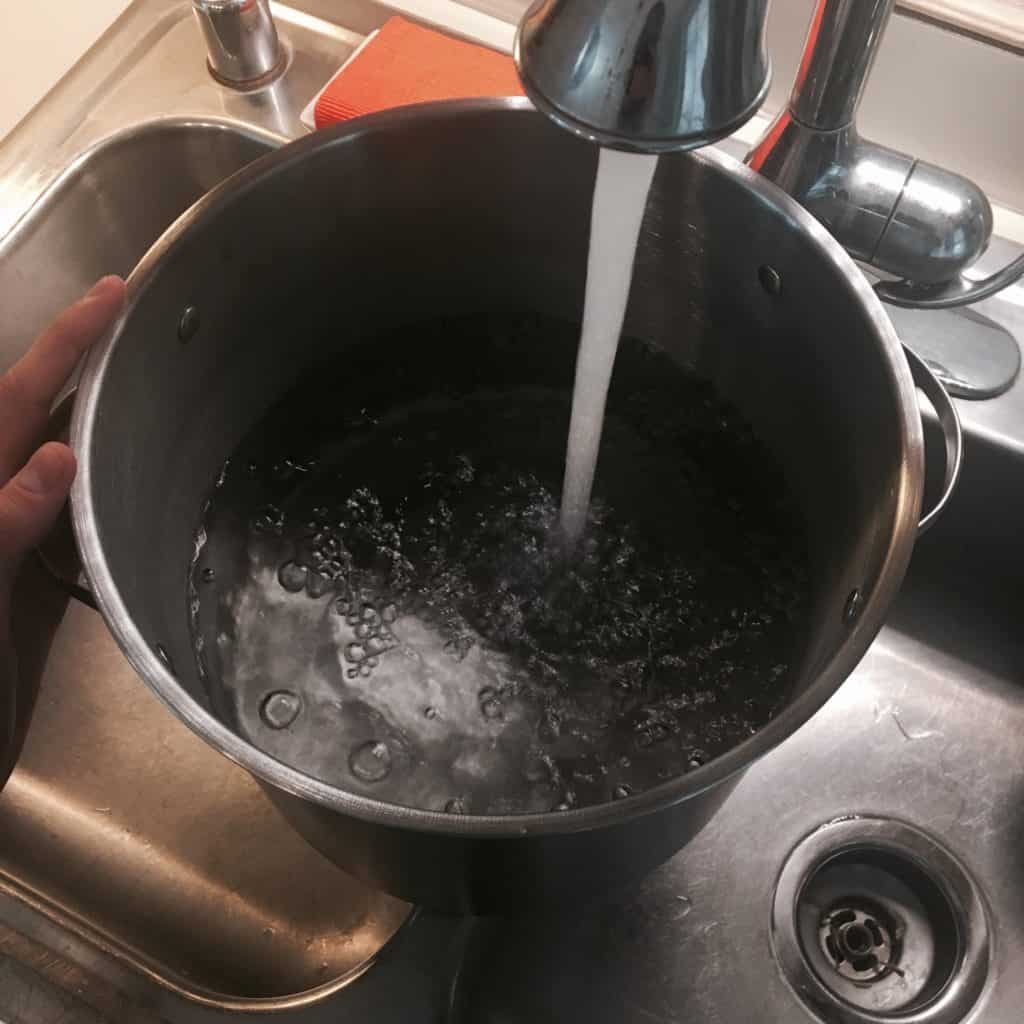
2. Boil Water
Fill a large pot with water and bring it to a boil.
You’ll want a pot that is large enough to contain your textile while still leaving enough space to move it around in the water. Stainless steel works best for this since it won’t stain should you decide to dye directly in the pot.
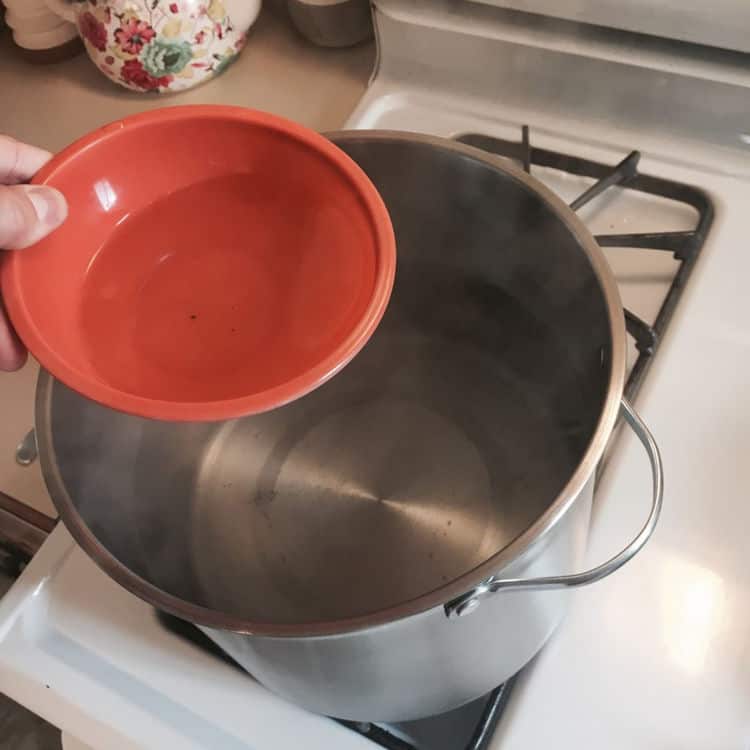
3. Add Alum Solution to the Pot
Alum is natural and safe to use in cooking pots, so go ahead and drop it into the soon-to-be boiling pot of water.
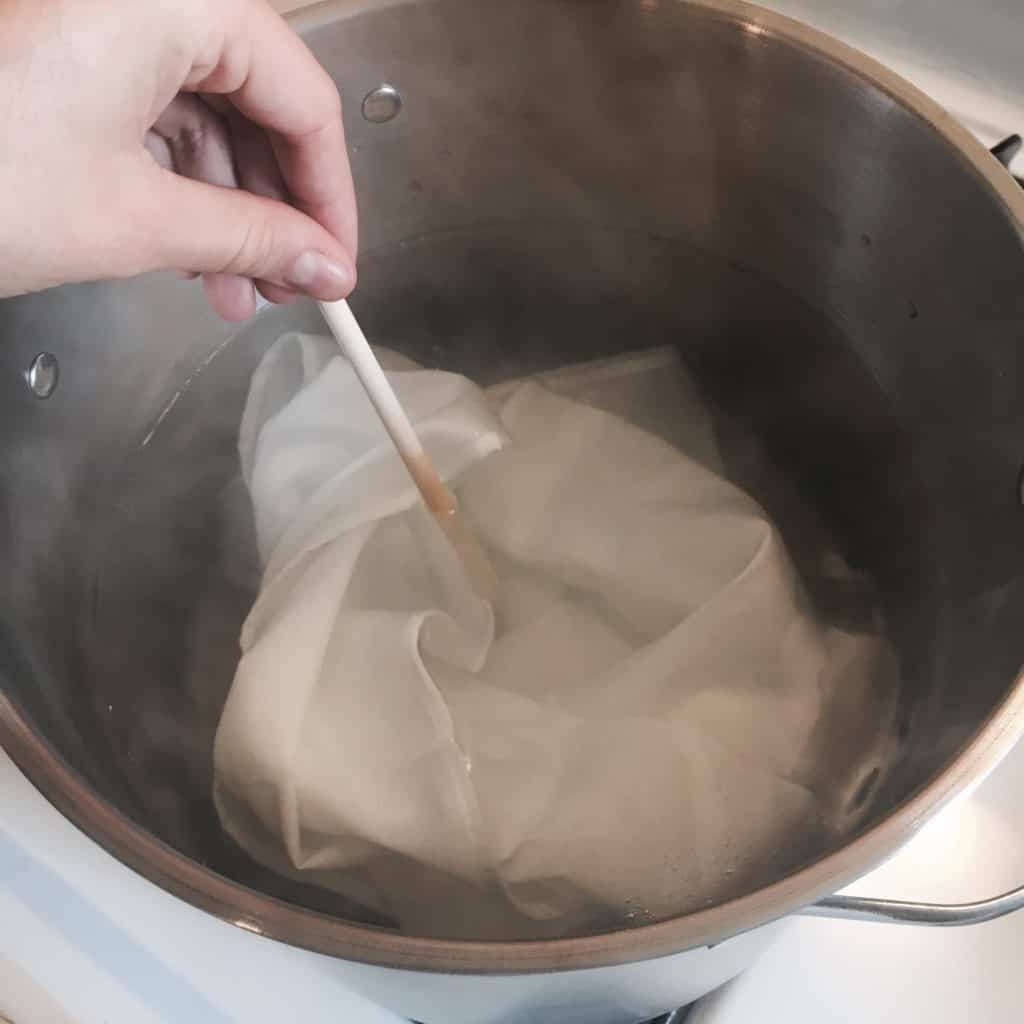
4. Add Textile, Turn Heat Off
Once you’ve hit a boil, turn the heat off your stove then add your textile into the hot water.
5. Soak for One Hour
Let the fabric sit in water to soak for about an hour or until the textile is cool enough to remove.
6. Remove the Wet Fabric from the Pot
Remove the fabric from the pot and lay it out. Be sure not to wring or shake the fabric. You want the mordant to stay in there! Gently squeeze the fabric to let out excess water.
Also, make sure not to rinse your fabric with cold water- this will shock it. Also working against the mordant.
That concludes the mandatory parts of eco-dyeing, it’s now time to experiment – AKA the fun stuff!
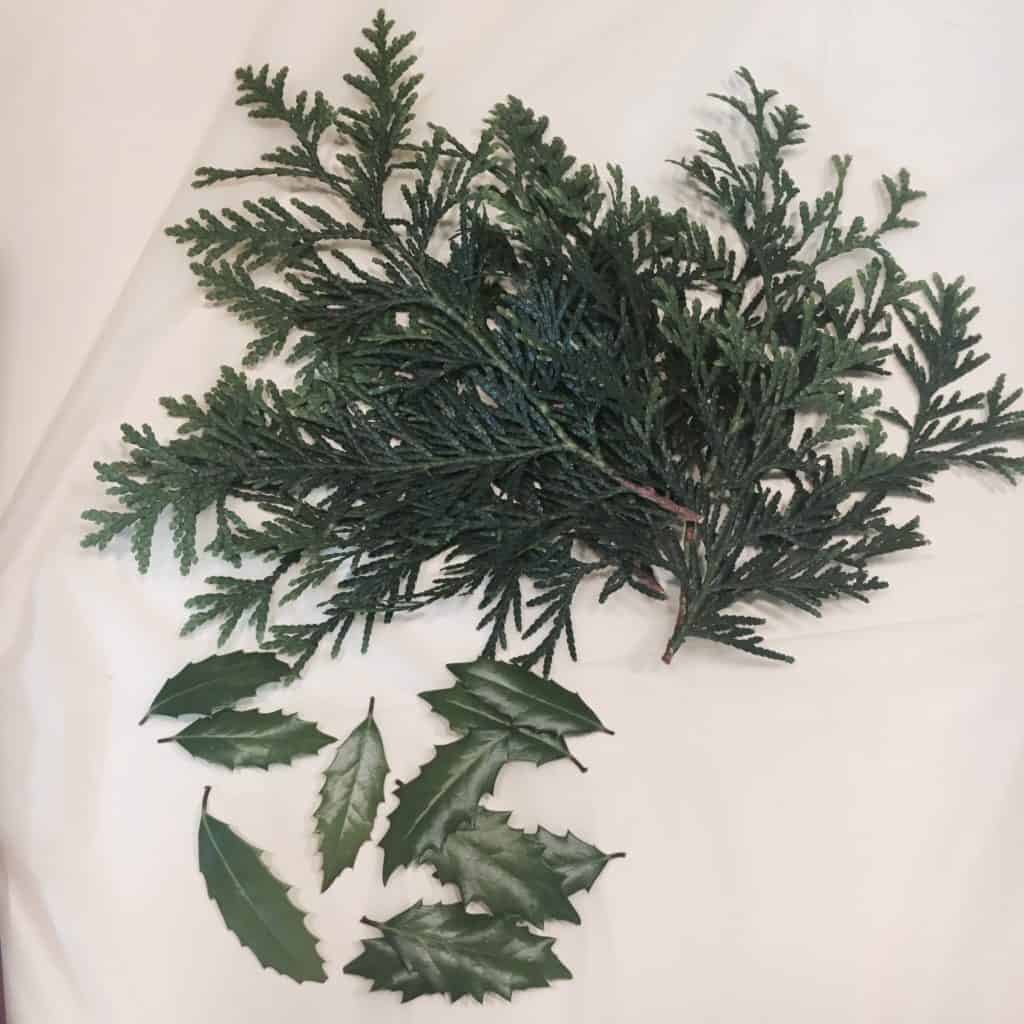
7. Collect Your Natural Materials
This is the part where you can use whatever natural material you like, but I wanted to show you what can be done close by. So for this go-round, I’ve chosen to pluck from an evergreen in my backyard and some leaves off of a holly bush.
Different flowers and leaves create different colors! For instance, the eucalyptus can create a range of colors from orangish-red to light green! For a list of plants and colors, check out the link to this fantastic resource of natural dye colors.
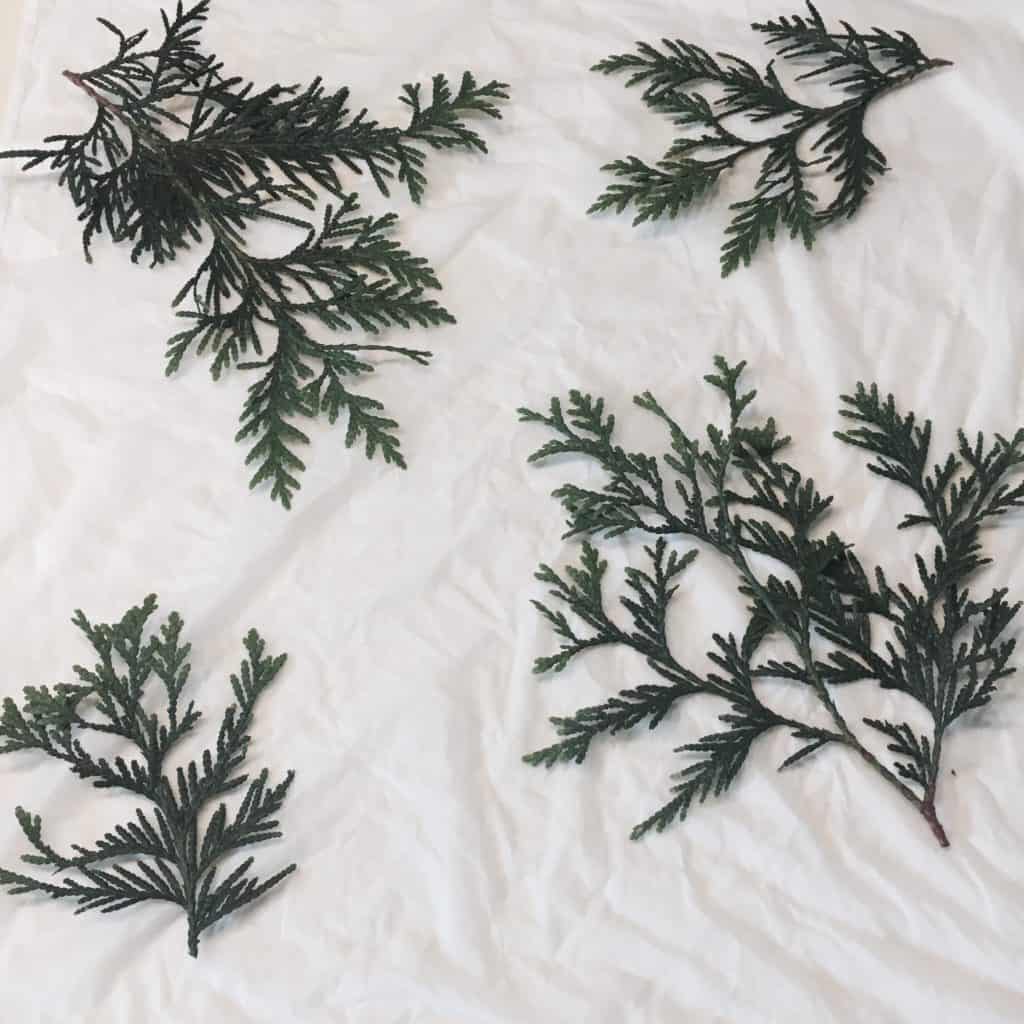
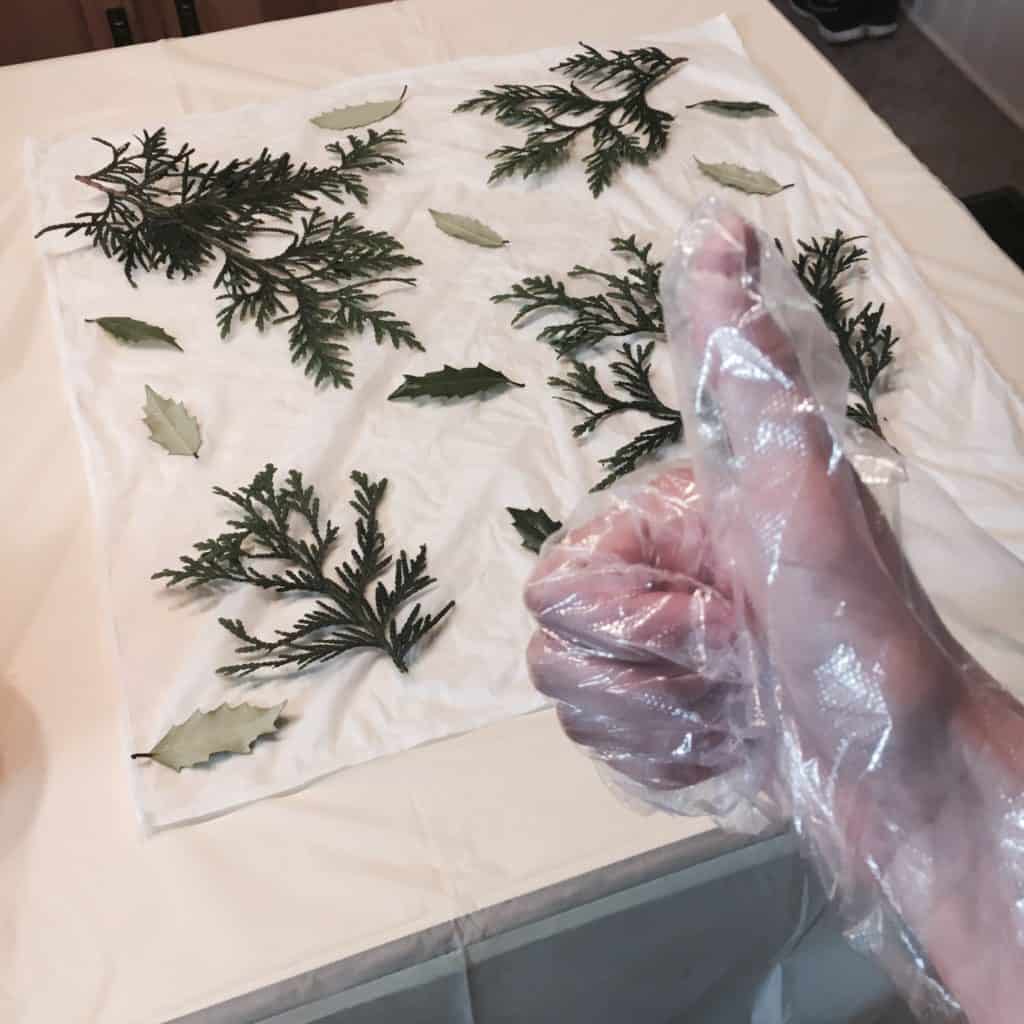
8. Lay Your Materials on Your Textile
With your foraged or collected natural materials in hand, simply lay them out onto the textile. Make sure your textile is on a flat surface. Arrange your materials out how you see fit – but it’s recommended to start with larger pieces first. In this example, the evergreen leaves were first up.

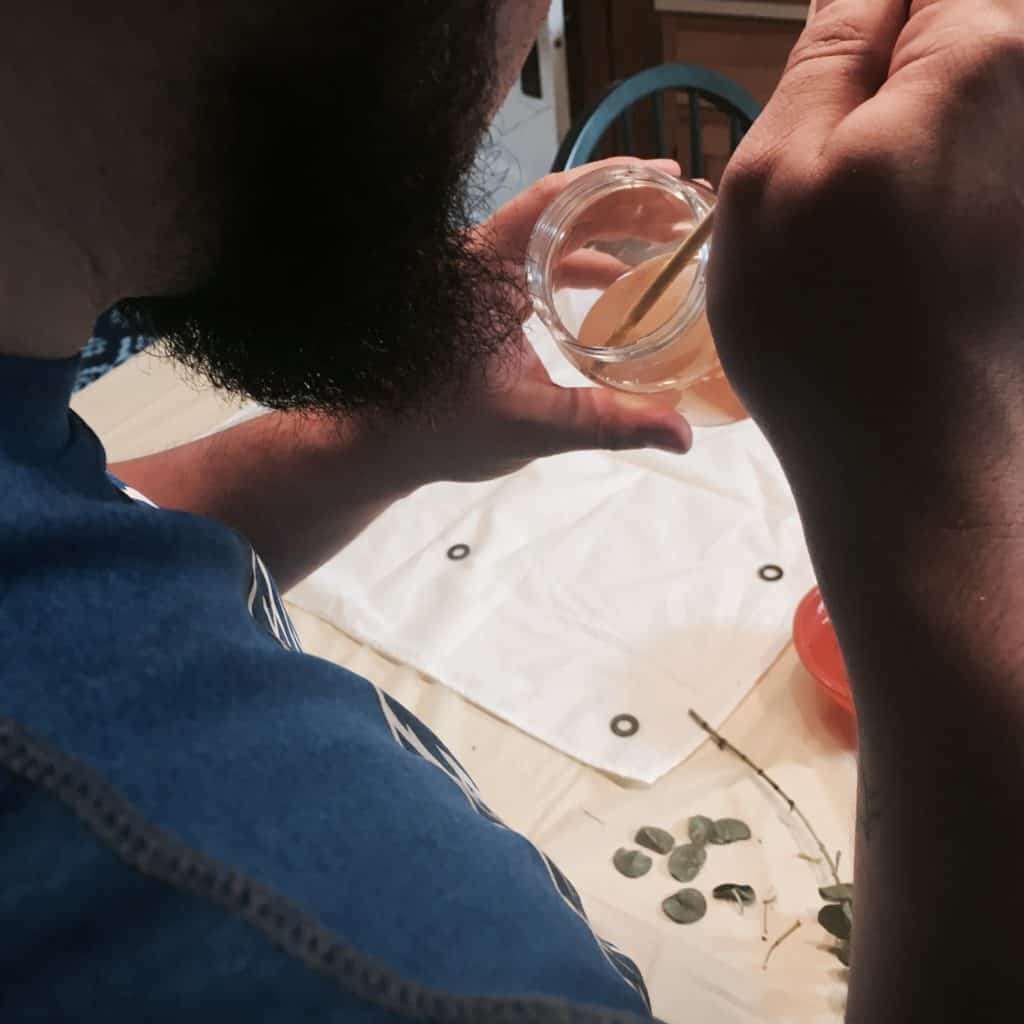
9. Pour Rust Water into Small Dish
Take some of your rust water and put it in a dish. You should leave the metal bits in the jar, and refill the water you take with new water, putting it close to its previous level. This will keep producing more rust water.
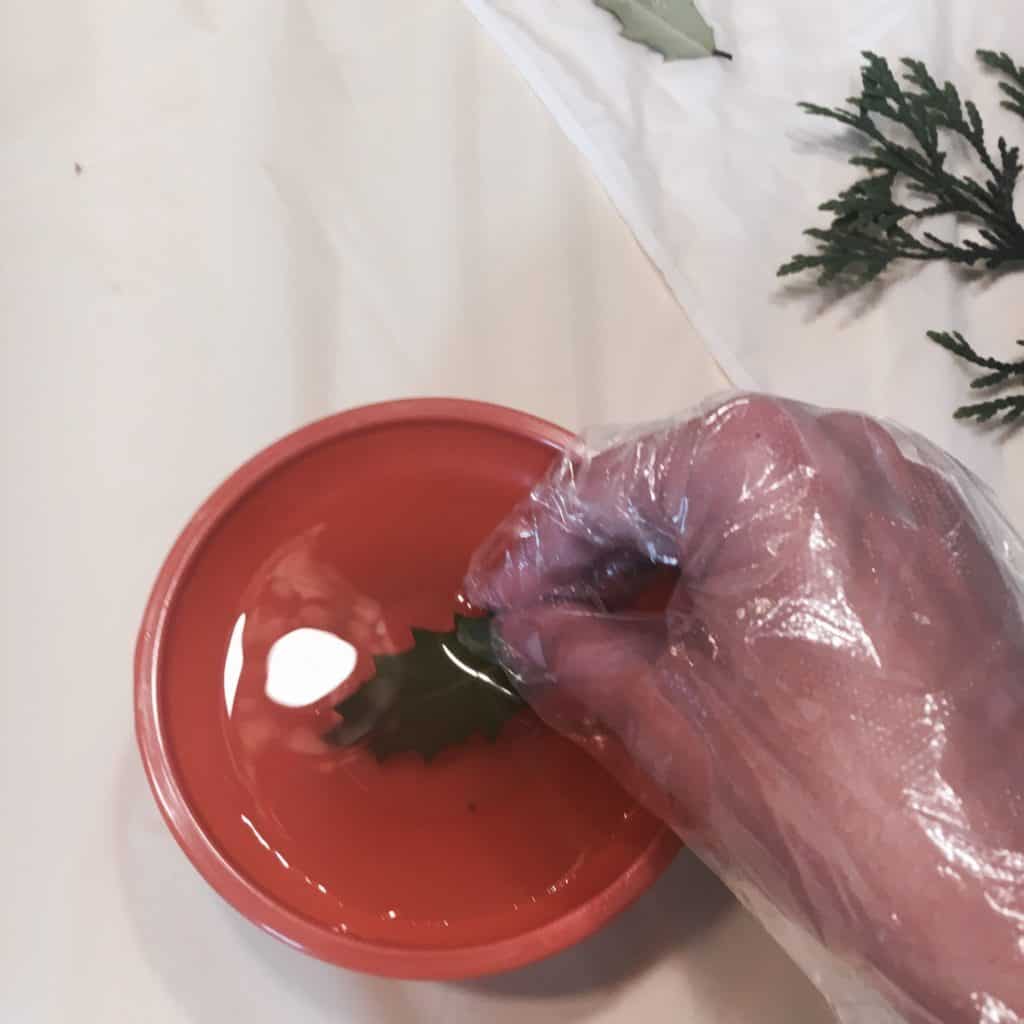
10. Dip Materials in the Rust Water
One by one, I dipped each holly leaf and placed them on my textile. Gloves are recommended when working with rust water for more than obvious reasons.
Your textile should look something like this once you finish. But mine seemed a little bland, so I improvised a bit.
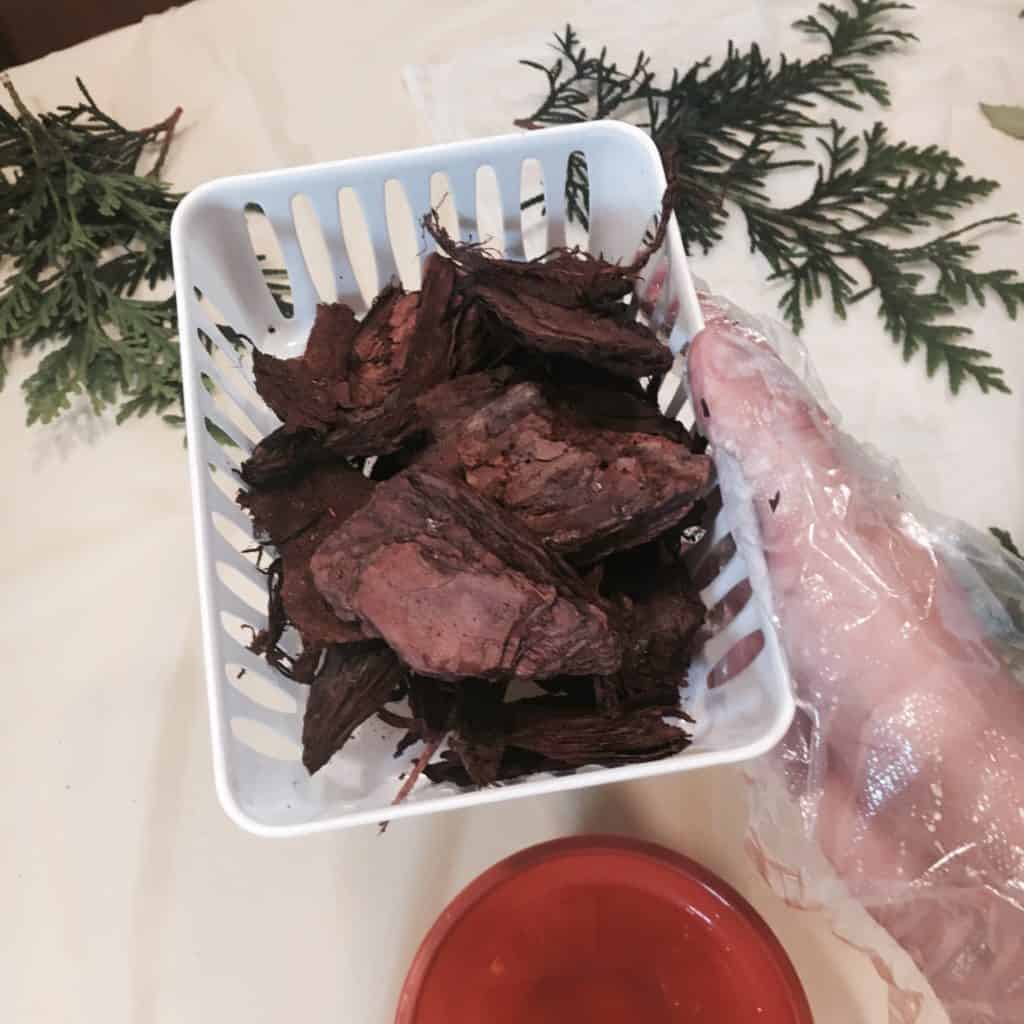
11. Add Any Natural Materials You Like
My textile needed something more, so I ran outside quickly and grabbed some mulch! A little bit more satisfied with this, I moved on.
This looks much better, wouldn’t you agree?
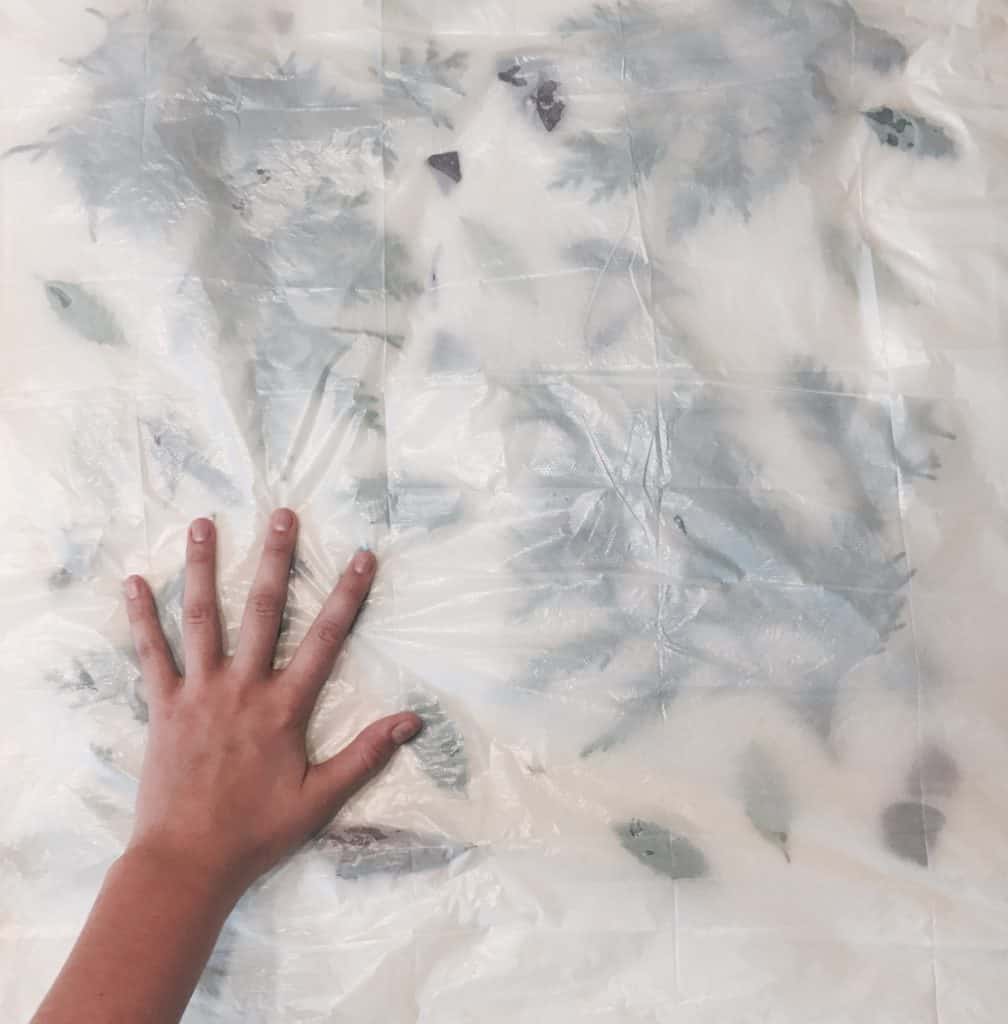
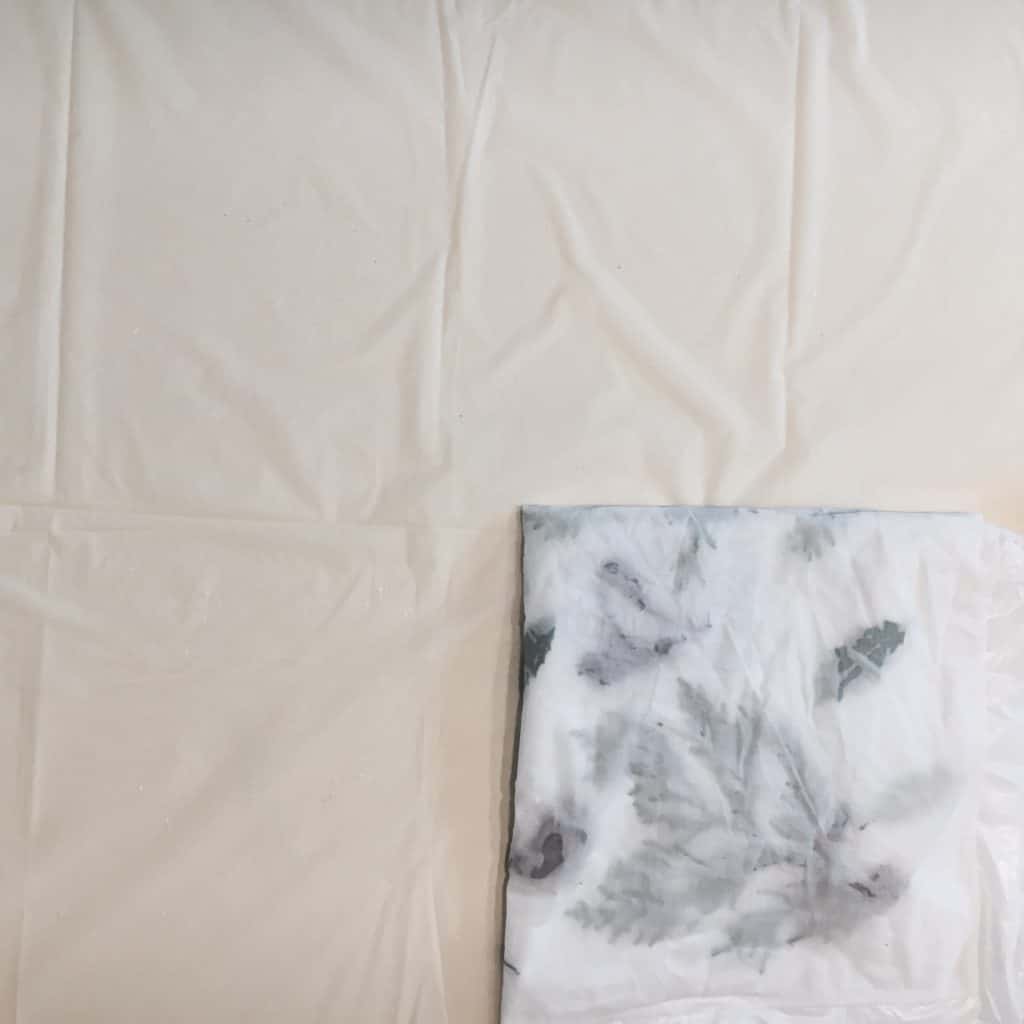
12. Grab Your Plastic Apron, Lay It Over Your Textile
Your plastic apron is your makeshift resistor for this project. Most printers will use trash bags, plastic wrap, or plastic bags… but if you purchased a plastic apron to protect your clothing, it works perfectly. Simply take the apron and press it on top of your project. The purpose of this is to keep all your materials in place.
Also note, resistors aren’t required for every project. It just depends on how you wish to have your design come out! I only wanted the design on one side, so I chose a resistor to help with that.
13. Fold Your Textile In Half
Keep your folds as tight as possible so your materials have maximum exposure to the fabric – they need as much surface area as possible.
14. Keep Folding in Half
One more time – if you started with a square textile like this tutorial, you now have a quarter of the original area in front of you.
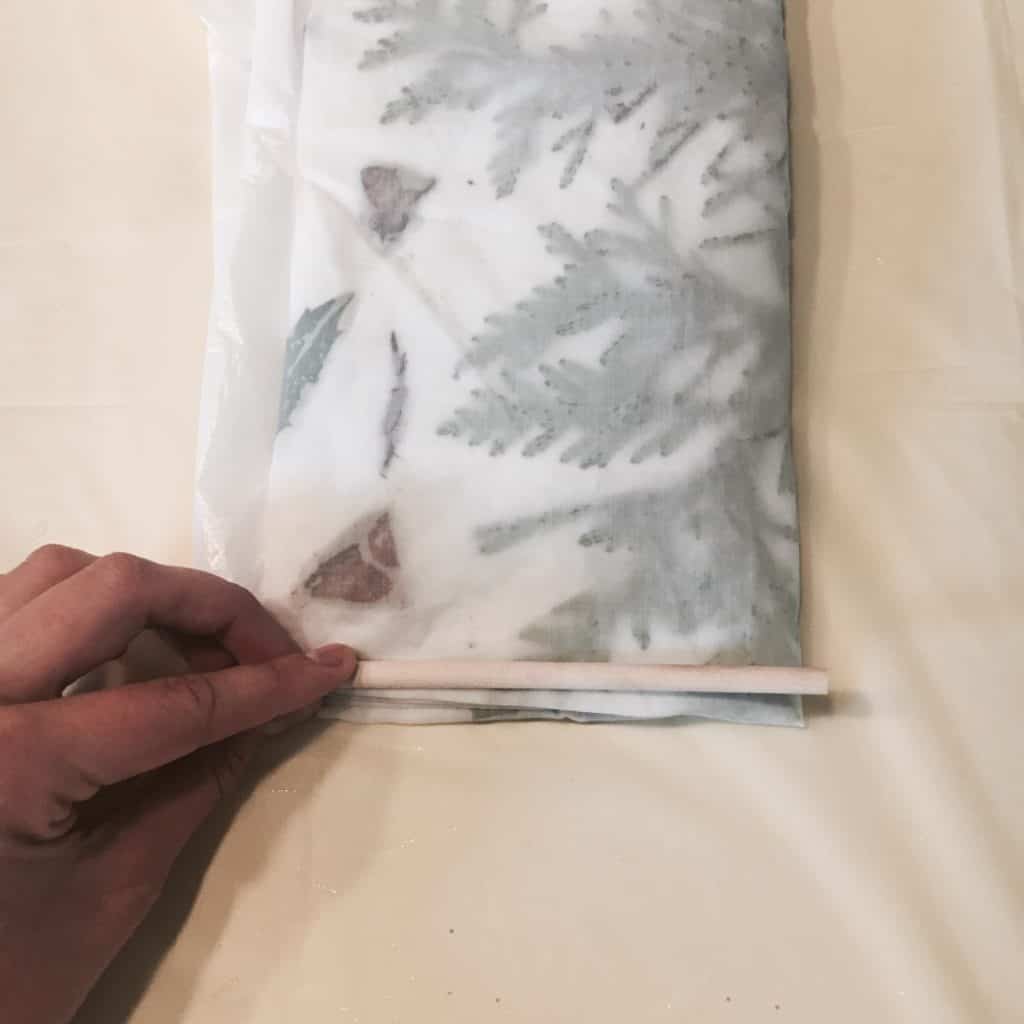
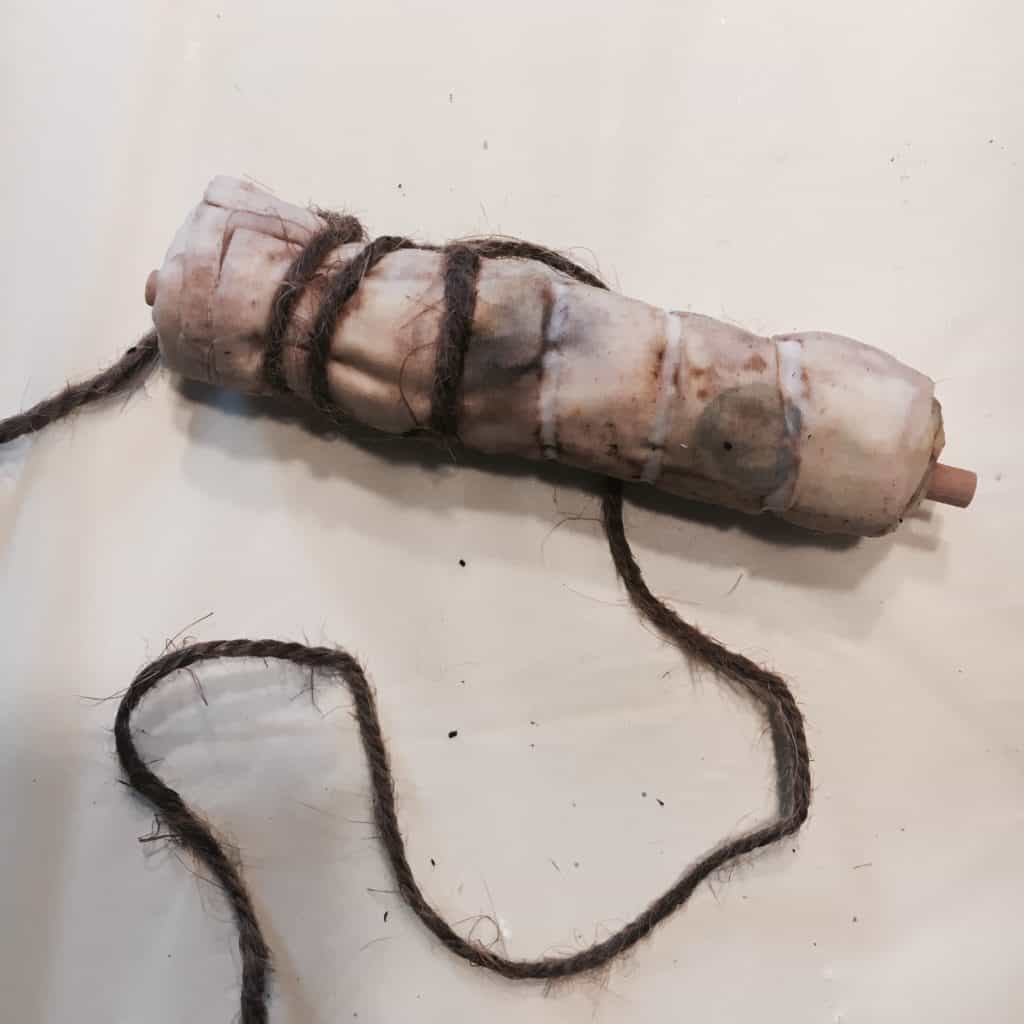
15. Roll Your Textile Around the Dowel Rod
Taking the dowel rod, start at the very edge of one side and tightly roll the entire project into a bundle. Wine bottles, jars, and large sticks can also be used for this if you want a larger bundle.
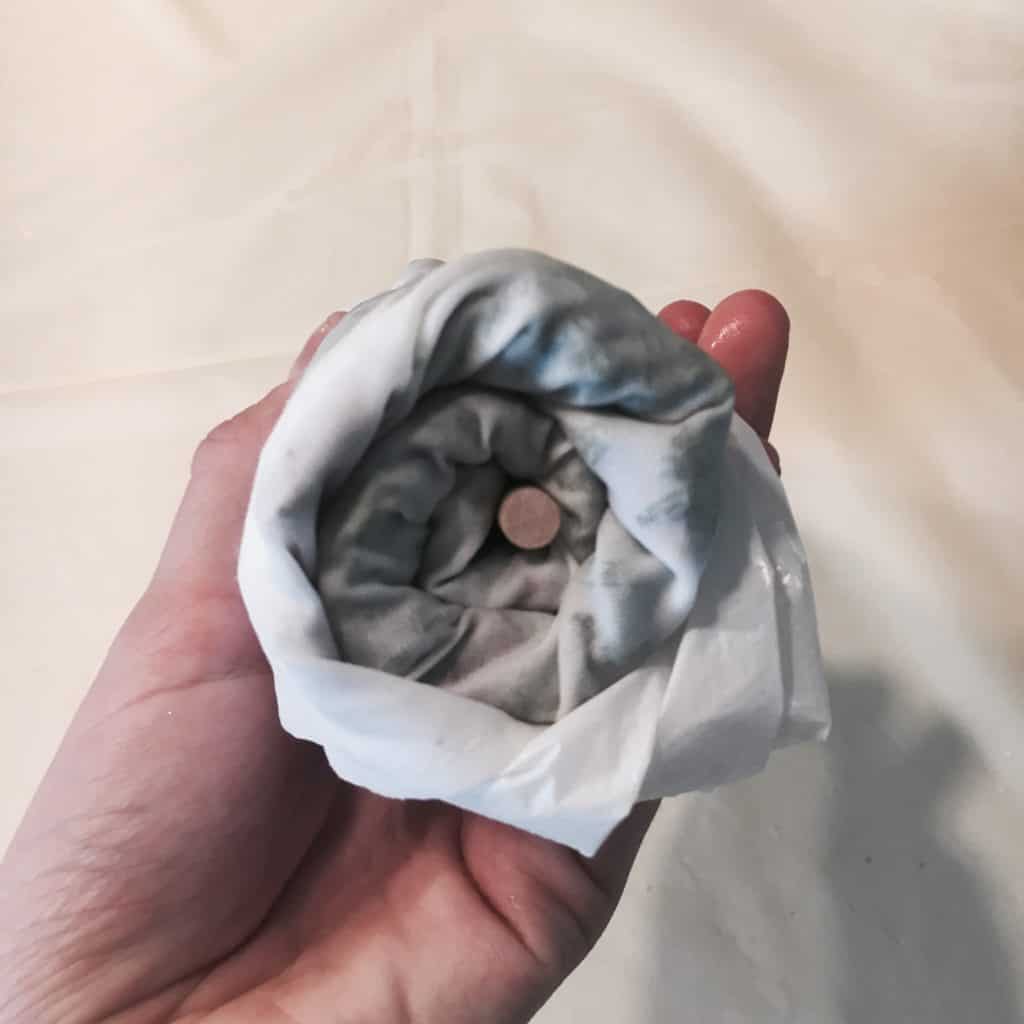
After rolling your tight bundle of textile, if you looked at it from the side you would see something like the image above; a dowel rod, textile, and plastic apron swirl.
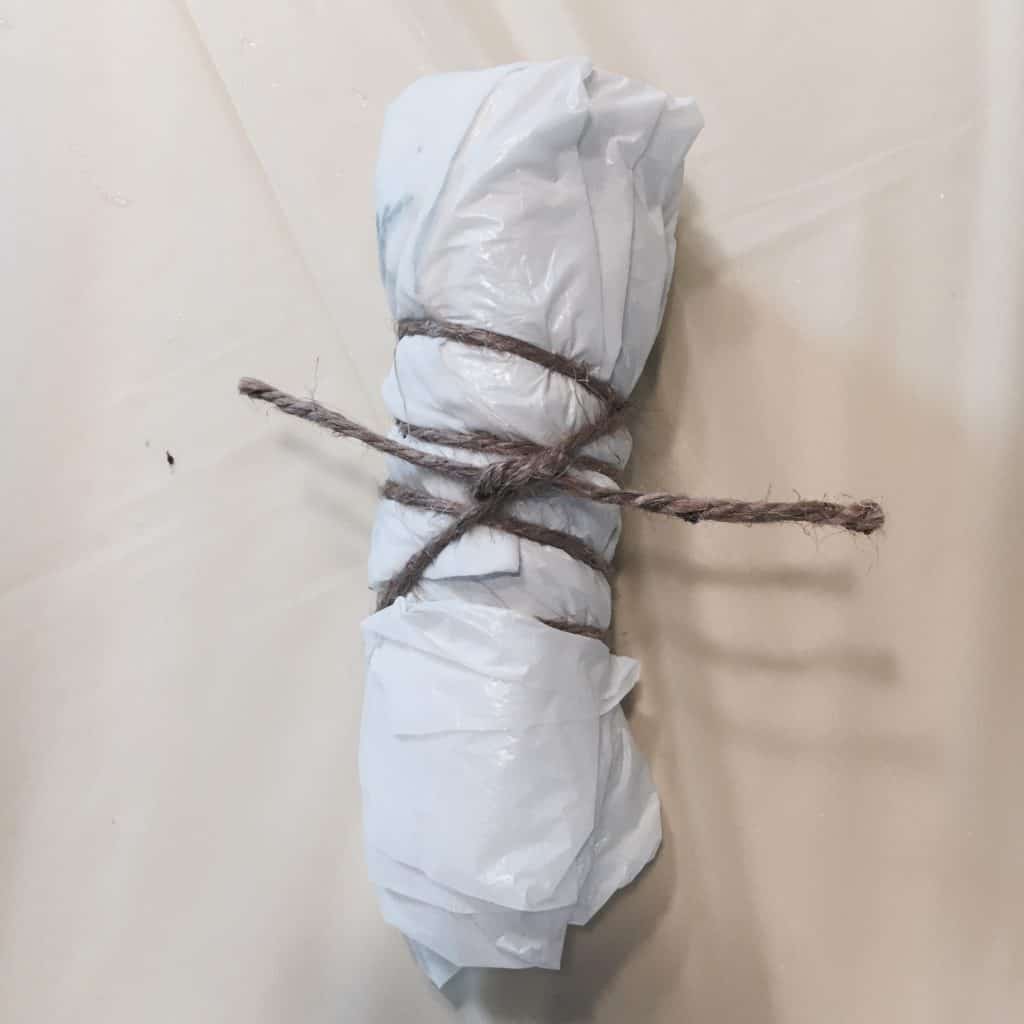
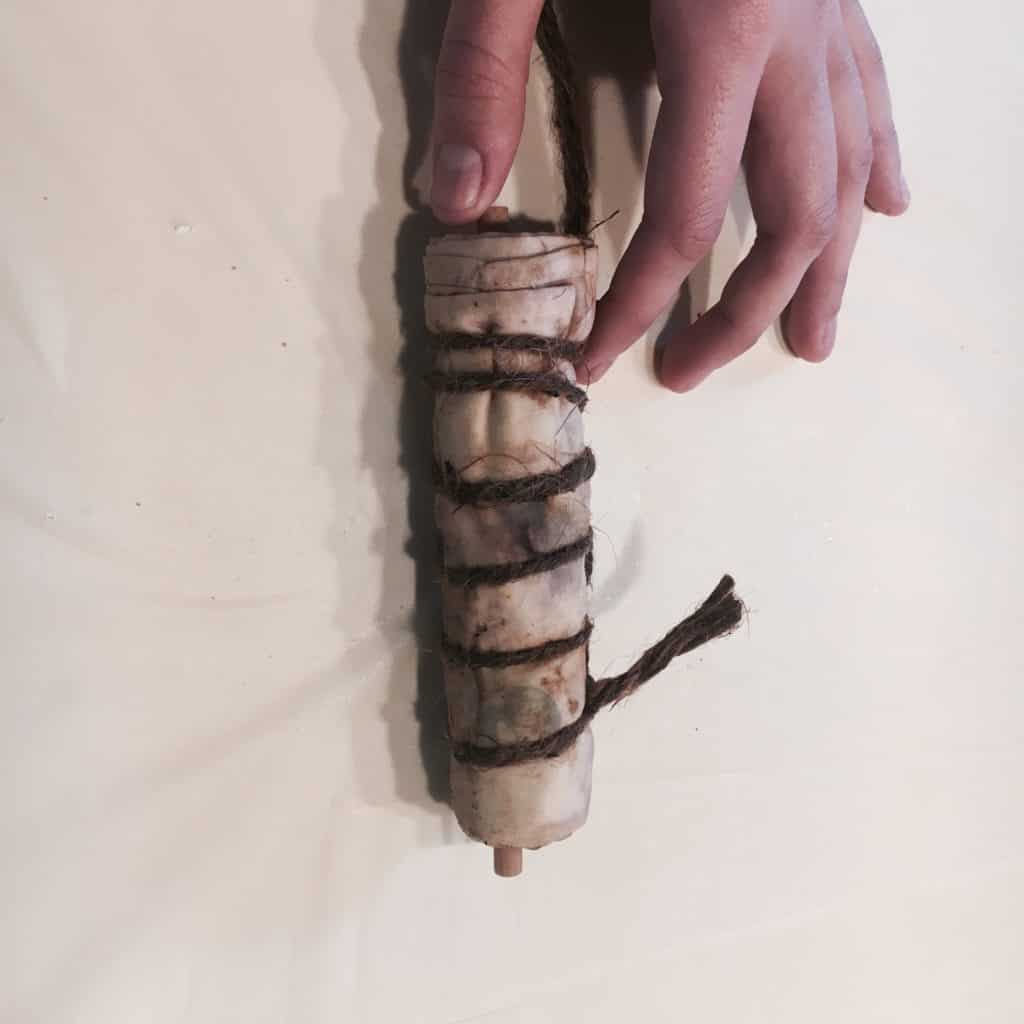
16. Secure the Bundle with Jute and Wait for 24-Hours
After rolling, secure the bundle with your jute twine. And it’s time to wait…
In this example, I didn’t wait long enough and jumped the gun after 45 minutes. Different people will say different things about how long you should wait before unrolling, but trust us, wait until at least overnight. A good 24 hours will never hurt.
Other people choose to steam or boil their bundles as they wait which can help increase coloring by breaking down the plant’s cell walls.
There’s also a hammering method that is popular for releasing more color from plants. Basically, after rolling, you beat it with a hammer! This also works well with nuts and bark.
After my 45-minute mistake, I re-submerged the bundle back into the dye pot for 24-hours. At this stage, a lot of people choose to dye it with something… like eucalyptus (wink, wink!)

HOW TO ECO-DYE WITH EUCALYPTUS
Meet Brick. Hi Brick! For the next one, Brick is going to do a solid color and then something a little funky to his textile.
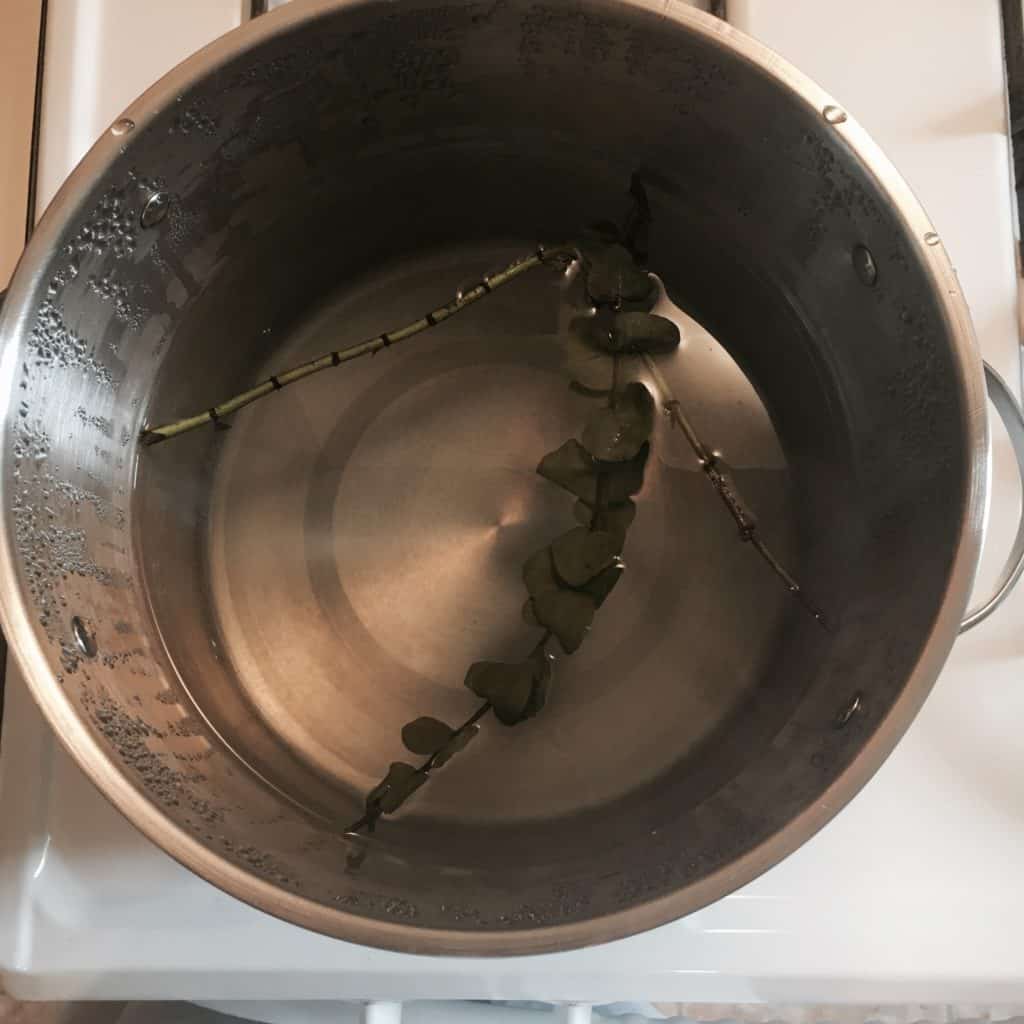
17. Add Eucalyptus to the Dye Pot
Drop the dried Eucalyptus into the dye pot to add color to your textile. If you choose to add plants directly to the pot, the drier the plant, the better for colorfastness and richness.
Optional: Try boiling the water – your kitchen will smell amazing!
Don’t be afraid to add some other things – in this example, a little bit of bark from a pine tree was added at the end. You can always reference your color guide for ideas.
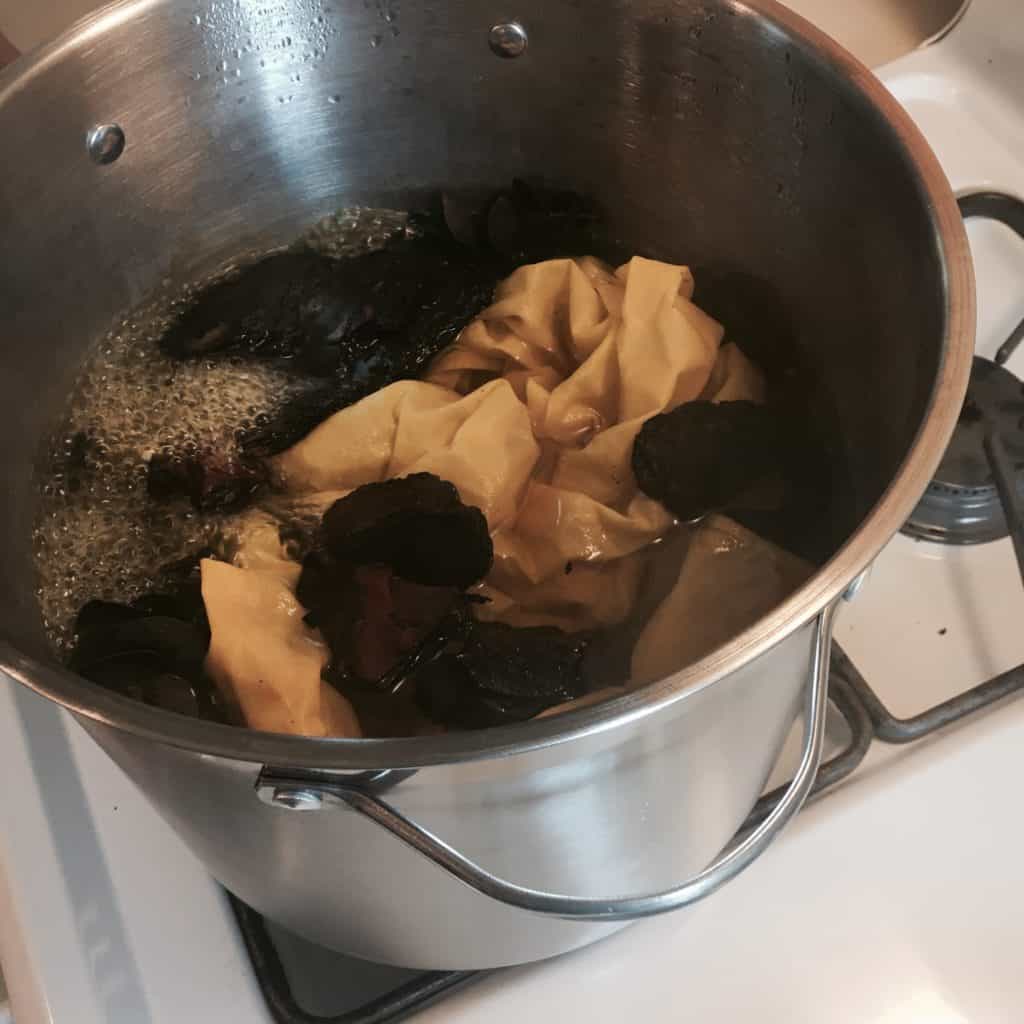
18. Add the Textile and Boil
After adding all the elements we wanted – eucalyptus, pine bark, and of course the textile – we let it sit for two hours.
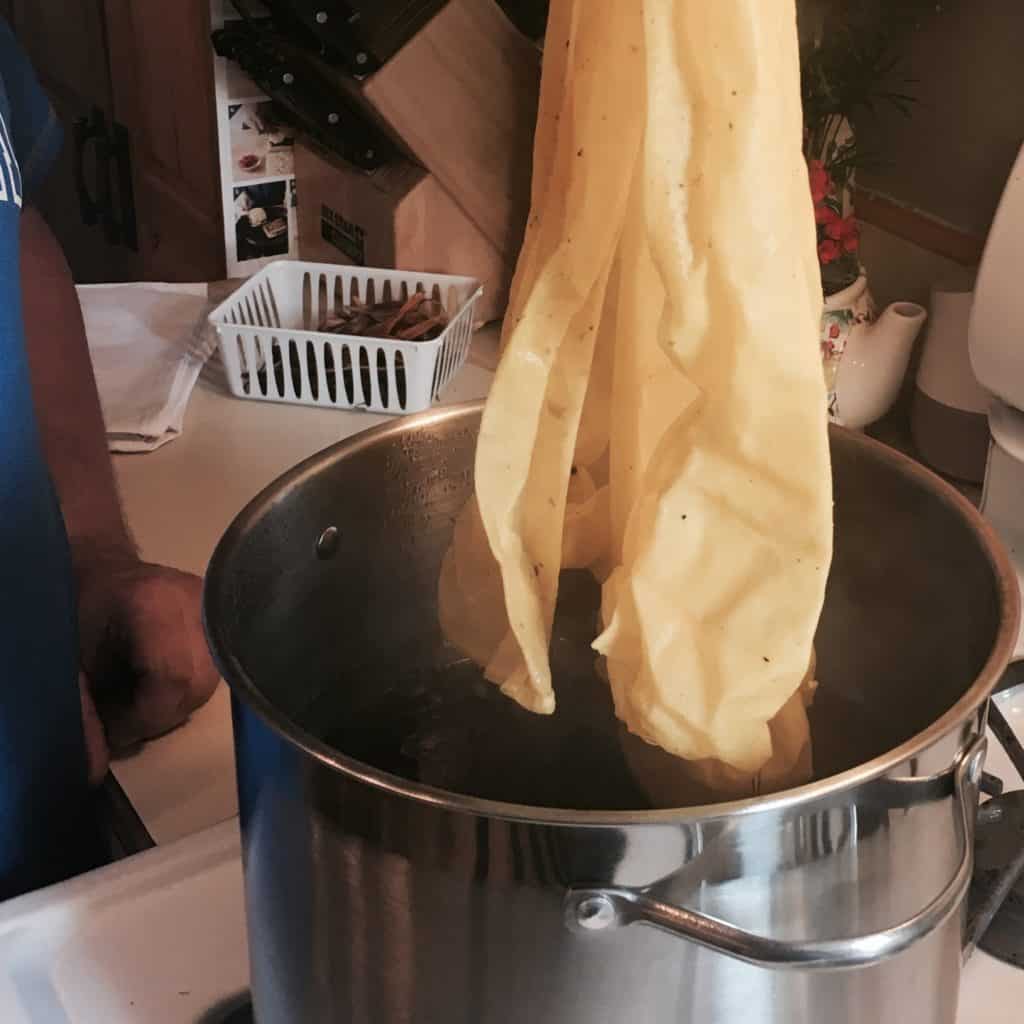
19. Remove the Textile from the Pot
Be careful, it’s hot!
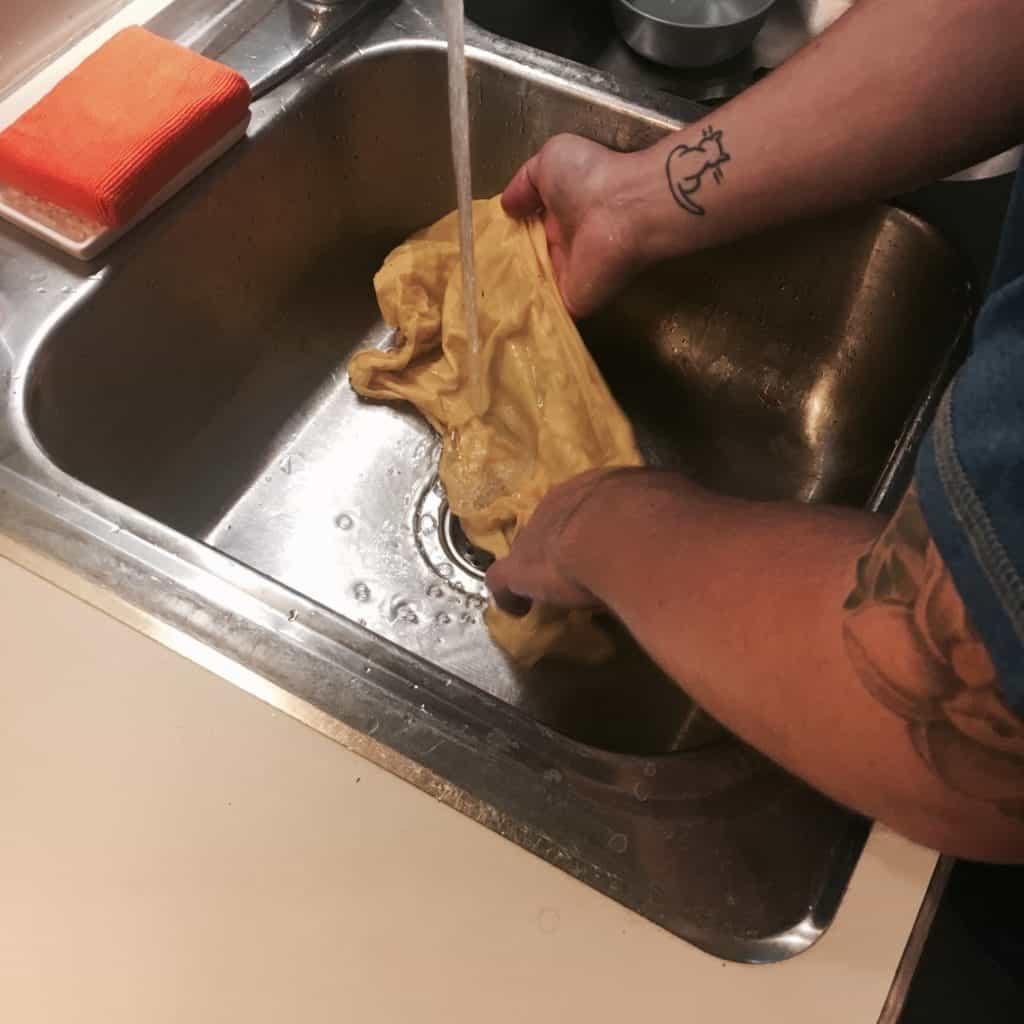
20. Rinse in Warm Water
After the fabric has been removed from the pot, rinse it with warm water until the water runs clear from the textile. Then, hang dry.
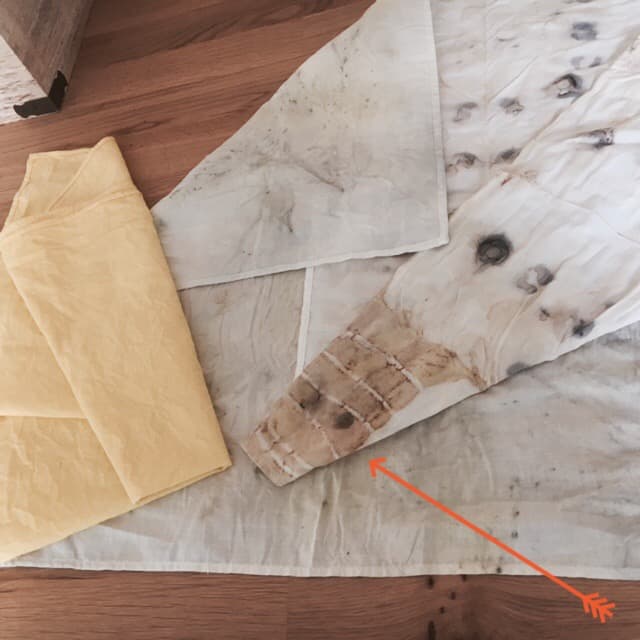
21. Add Design Elements, Fold, and Roll
On to the funky part… Brick decided he wanted to use the boiled Eucalyptus leaves and the rusted fasteners for his design. Instead of using a resistance layer, he’s using a different method. In the photo above, he only placed elements on one half of his textile – this is so that when he folds it in half, the leaves and fasteners will transfer to both sides of the fabric.
Next, you simply fold and roll it into a bundle around the dowel rod, just like in step 15.

22. Boil Bundle to Steam
Place the bundle back into the pot with a little bit of water at the bottom, and bring it to a boil. Close with a lid – this will create steam.
23. Remove Bundle From the Pot
This bundle then was taken out of the pot about an hour later. Then the bundle stayed bundled overnight (about 12 hours) until it was opened the next morning… (along with the first bundle)
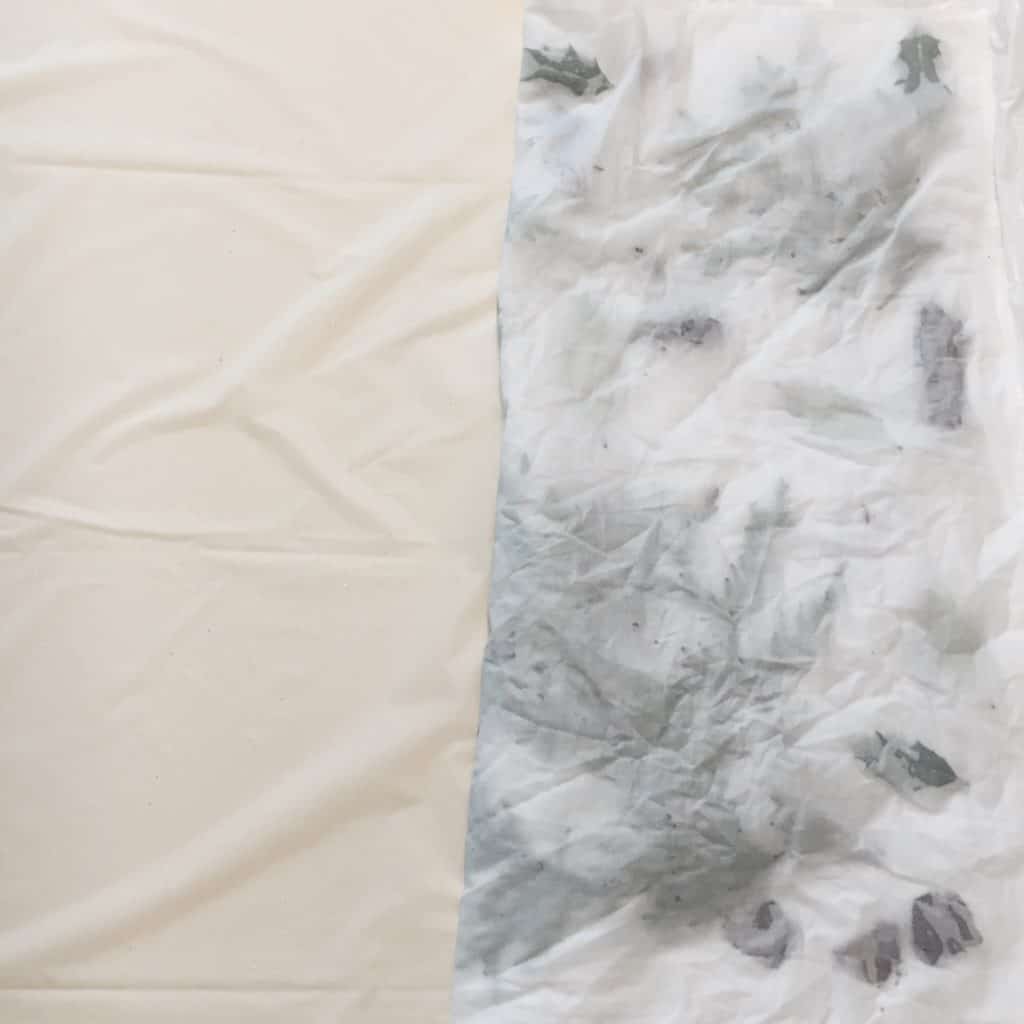
24. Unfurl Your Bundle
Shake out all the loose materials from your bundle.
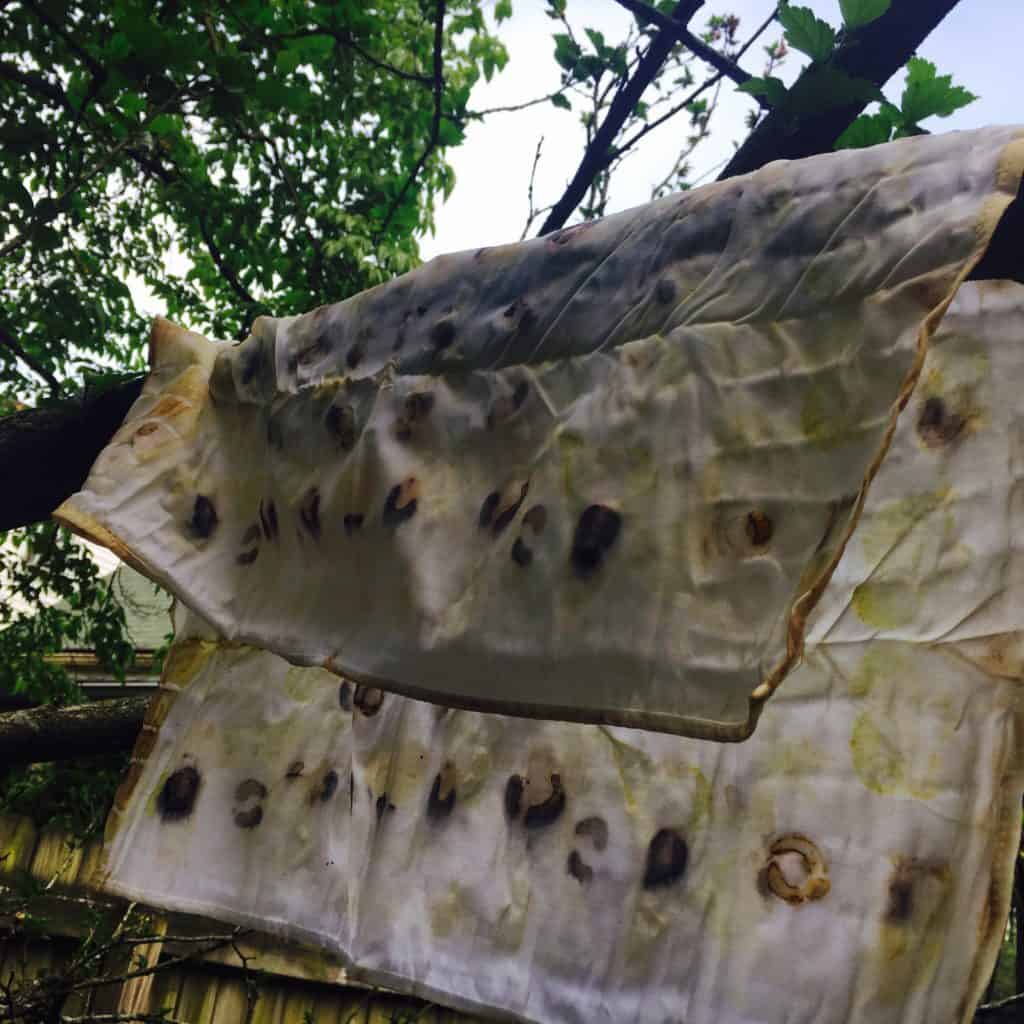
25. Hang to Dry
Et Voila! Gorgeous prints!

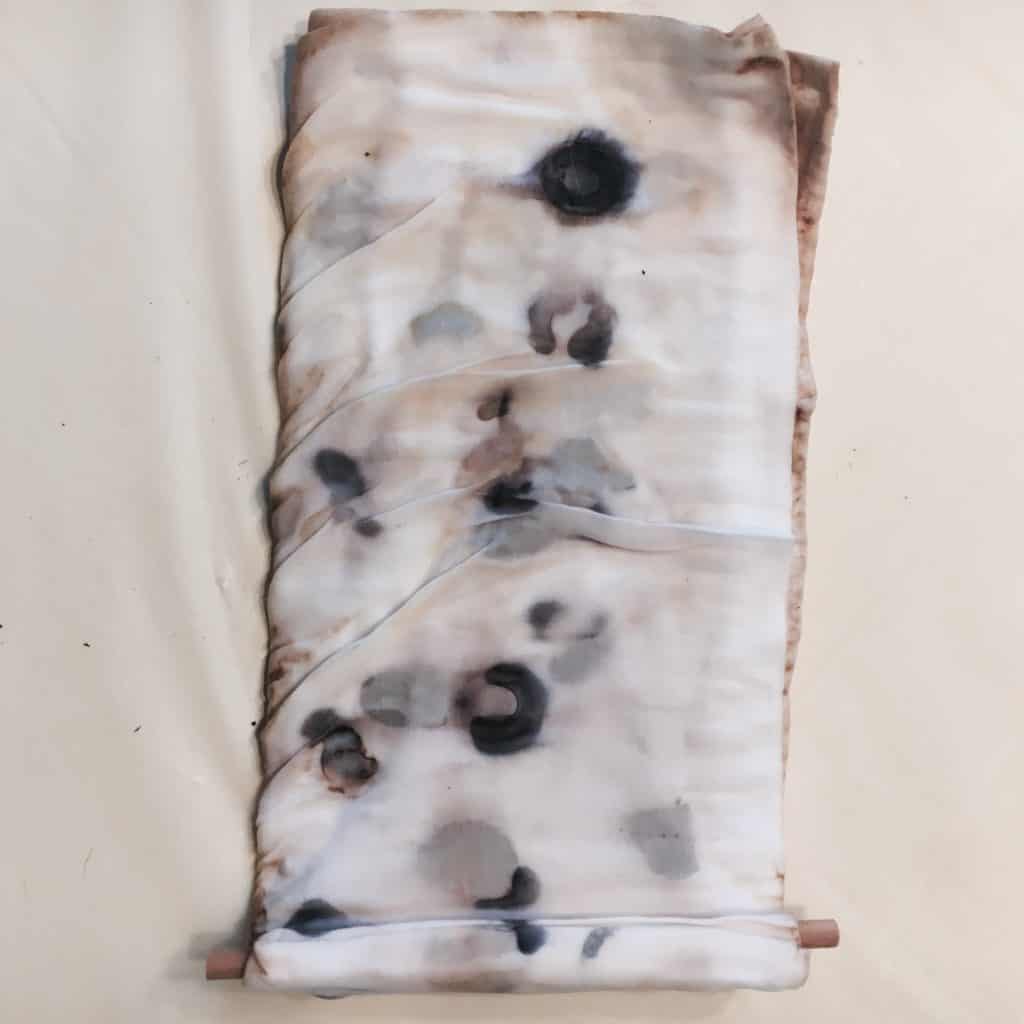
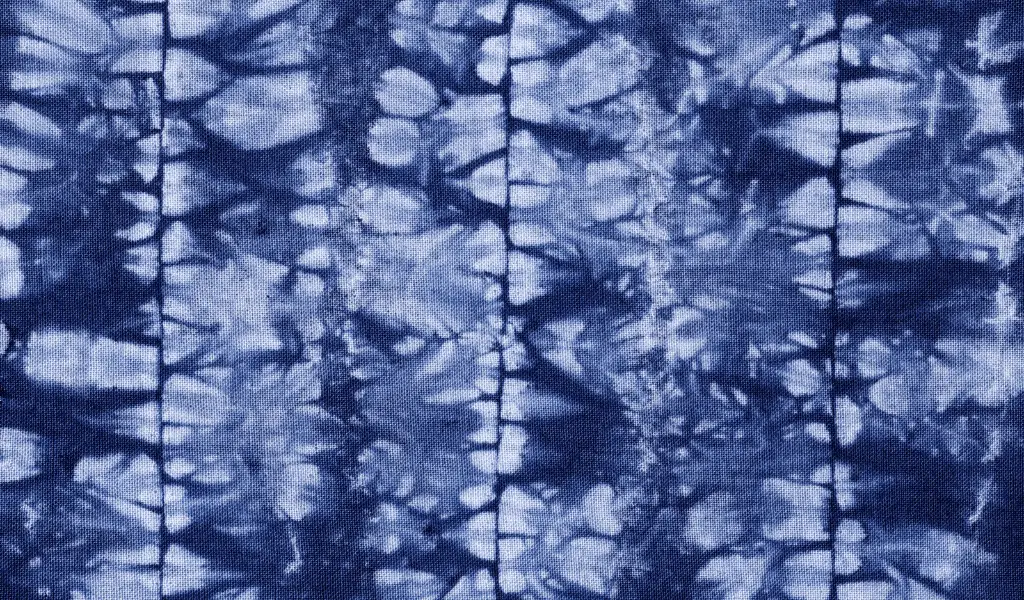
ECO-PRINTING: SHIBORI TECHNIQUE
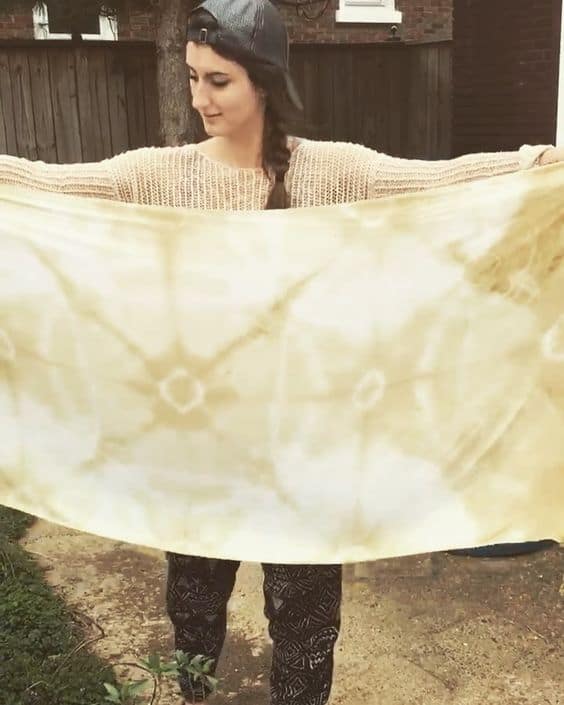
Have a look at the image above. This was my textile from the first time I tried my hand at eco-printing. I’d like to share with you the technique used and some learnings from it.
I took a different approach than what we covered throughout this tutorial. My first eco-printing experience used the shibori technique – essentially tying and folding the fabric into shapes to create patterns on the textile.
One of many reasons to love Japanese culture and language is how words sound amazing but also the definitions are beautifully simple. Shibori, for example, comes from the Japanese verb shiboru, which means to wring, squeeze, or press.
You could refer to it as tie-dye as well because that’s essentially what it is.
Shibori is an extremely old method of dying that gained popularity in Japan around 1300 years ago, where it was first learned from the Chinese.
See the edge of the print? This is a small example of how you can create patterns with the shibori method.
This particular pattern has an interesting alligator effect to it which I really like, but the color was something I would have done differently had I known better. This brown color is from mixing pomegranate and madder roots.
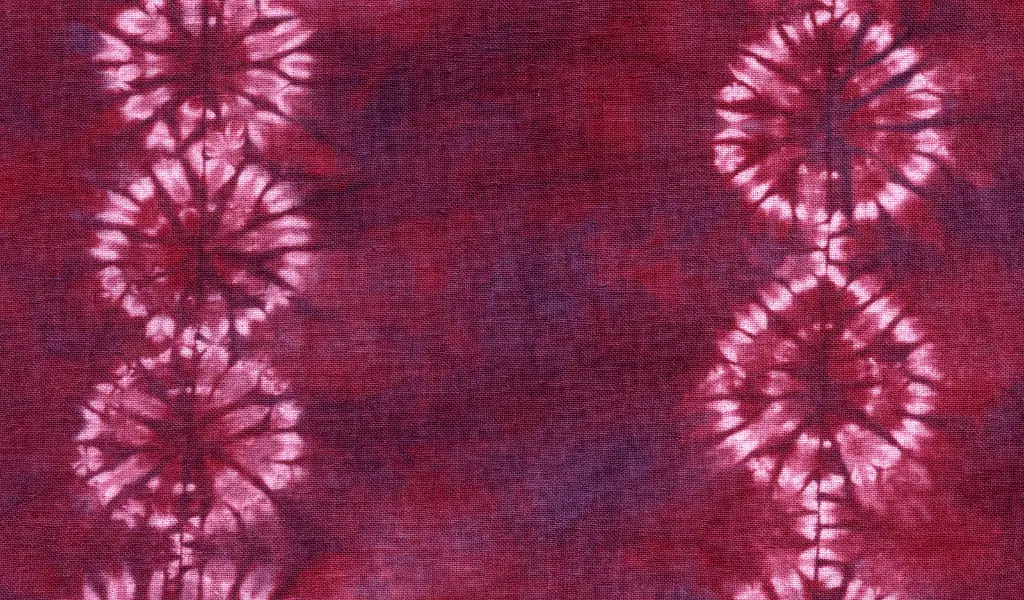
The intention was to create a redder hue, but unfortunately mixing those two ingredients with muslin creates a browner color. It would have looked better if the pattern continued the whole way up, but I didn’t quite understand the entire process at the time.
Technically this first pass of shibori that you’re looking at is referred to as kumo shibori, where kumo translates to spider. So in full, it translates to spider tie-dye, which is certainly apt.
For this effect, you simply fold the fabric into pleats and use twine (jute rope) to bind the edges.
Then it’s like the other tutorials where you bundle with jute rope and drop it in the pot for a steam bath.
If you love this look, check out this beautiful compilation of different shibori methods from Seamwork Magazine.

ECO-PRINTING IS NATURE’S PRINTING PRESS
If you can’t tell, we’re pretty enthusiastic about our eco-printing. Our dogs could just about wear a new eco-printed bandana for every day of the year and still not put a dent in the entire collection.
Fiber arts are a big deal around here, so if you enjoy eco-printing and working with natural fibers, give the New Hobby Box macrame tutorial a shot. You already have 95% of the materials needed for it with your jute rope from the eco-printing DIY.
As always, thanks for trying new things with us.
Happy Hobbying!