Fly tying is an essential skill for anyone looking to get more entrenched in fly fishing, but it’s also a great hobby for those who love an intricate challenge. Learning how to tie flies might look intimidating at first, but trust us: once you grasp the basics, it’s not as hard as it looks – and it’s oh-so-rewarding.
Perhaps the most important principle to remember is that the art of tying flies is all about imitating nature to catch a fish. As you combine different materials to capture the form, shape, and color of various insects, you’ll start to see a miniature work of art come to life – the kind you would proudly display around your house.
You’ll also notice quick improvements as you continue tying, in fact, there’s progress every time you start a new fly.
This tutorial is going to teach you how to tie two flies, one wet and one dry. A wet fly weighs the fly down so that it swims through the water as you reel it in, whereas a dry fly rests on the surface of the water. Each imitates the type of prey fish would hunt for its meal, yet the look of each is unique.
So whether you’re an avid fisherman or just someone looking to try something new, you’ve come to the right place. Let’s start by looking at what you’ll need to start tying flies today.
SUPPLIES NEEDED FOR FLY TYING
Fly tying requires both tools and materials to create a finished fly. Tools help you shape the materials into the desired form, while the materials provide color, movement, and texture.
The most basic tool is the vise, which holds the hook in place while other tools are used to tie on the feathers and other components of a fly. Materials such as various sizes and colors of thread, feathers, yard, beads, and fur are all integral parts of creating a realistic-looking fly that will catch fish.
We’ll show you what you absolutely need to get to make a fly, but we’ll also show some “nice to haves.” Let’s begin with tools.
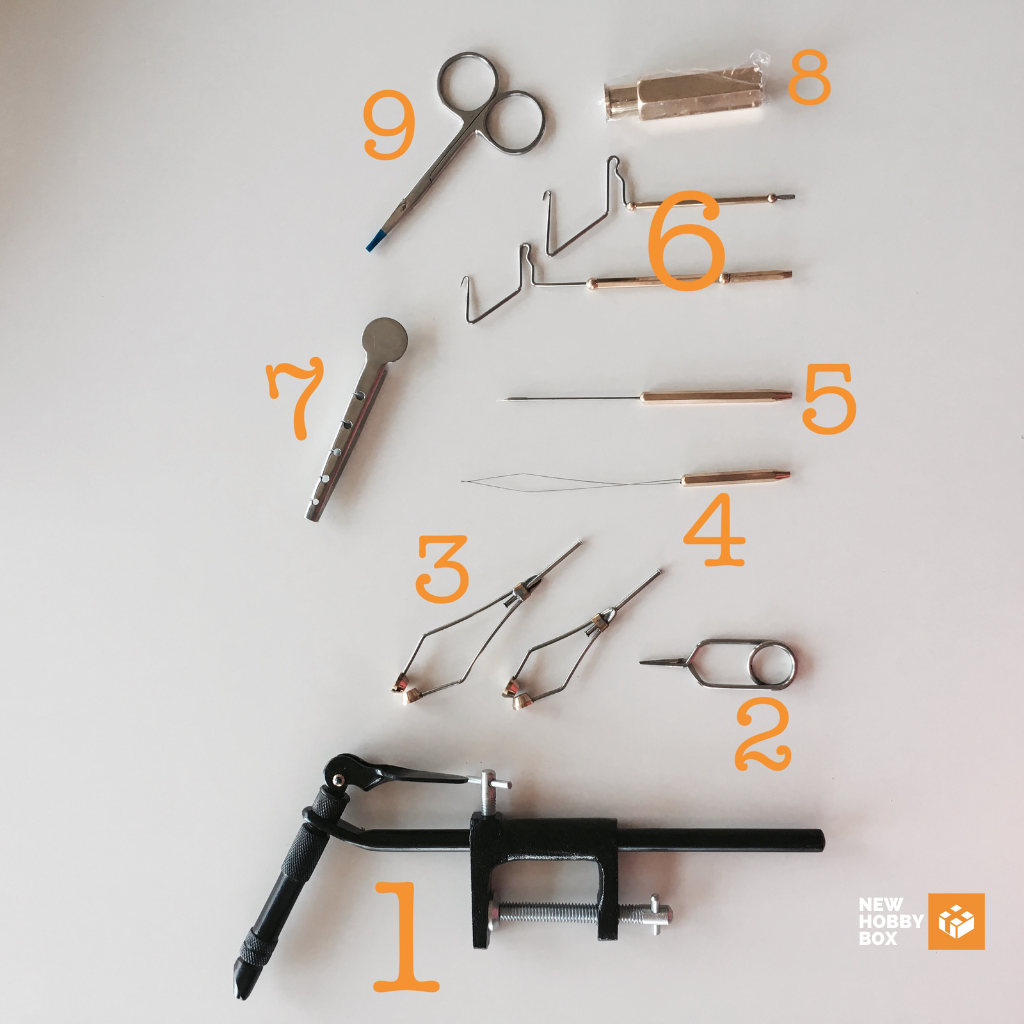
Tools Needed for Fly Tying
- Rotary Fly Tying Vise: A rotary fly tying vise is a tool with a rotating hook holder enabling materials to be attached uniformly around the hook – and it’s perhaps the most essential tool to have for this hobby. Provides leverage & easier navigation, letting you tie more intricate patterns. We’ve linked to an affordable option – there are
- Hackle Pliers: A helpful tool for attaching hackle feathers to hook shanks, hackle pliers make the job easier and create a cleaner finish.
- Large and Small Bobbin: Bobbins are tools used to hold fly-tying thread while winding it onto the hook. They come in small and large sizes depending on the type of work you’re doing.
- Bobbin Threader: This simple device helps guide the thread through the tube of a bobbin when tying flies.
- Bodkin: Used to attach materials such as ribbing or tinsels that cannot be tied into the hook, a bodkin is essential for adding intricate details to your flies.
- Rotary Whip Finishers: Attaching material securely at the end of your fly is made easier with this tool – it attaches thread wraps with consistent pressure so patterns look neat and even (optional tool).
- Hackle Guard: To protect against sharp hackles and barbs, this metal sleeve slips over the hook shank while tying to keep fingers safe and secure when handling delicate feathers or fur (optional tool).
- Hair Stacker: Create uniform bodies on your flies by using a hair stacker—this tool ensures that hairs all lie in one direction before being secured onto your hooks for maximum realism and realistic movement in watery environments.
- Scissors: For trimming excess materials and giving finished patterns clean edges, a good pair of scissors is just as important as a vise when it comes to tying flies.
For more info on how to use the tools above, check out the video above.
HOW TO USE A ROTARY WHIP FINISHER
You may have noticed the whip finisher in the tools walkthrough video above, and you may have also noticed that we’ve set the rotary whip finisher as an “optional” tool. We decided to make it optional since it’s not necessary and requires a bit of experience to do correctly. But that doesn’t mean you won’t get there at some point. In that light, check out the video above to see how to use a rotary whip finisher.
HOW TO USE A HACKLE GUARD
The hackle guard is another optional fly-tying tool on our list. For beginners, it can complicate things early on. If you decide to incorporate this tool, try it on the Green Adams Fly tutorial below – it could be helpful there.
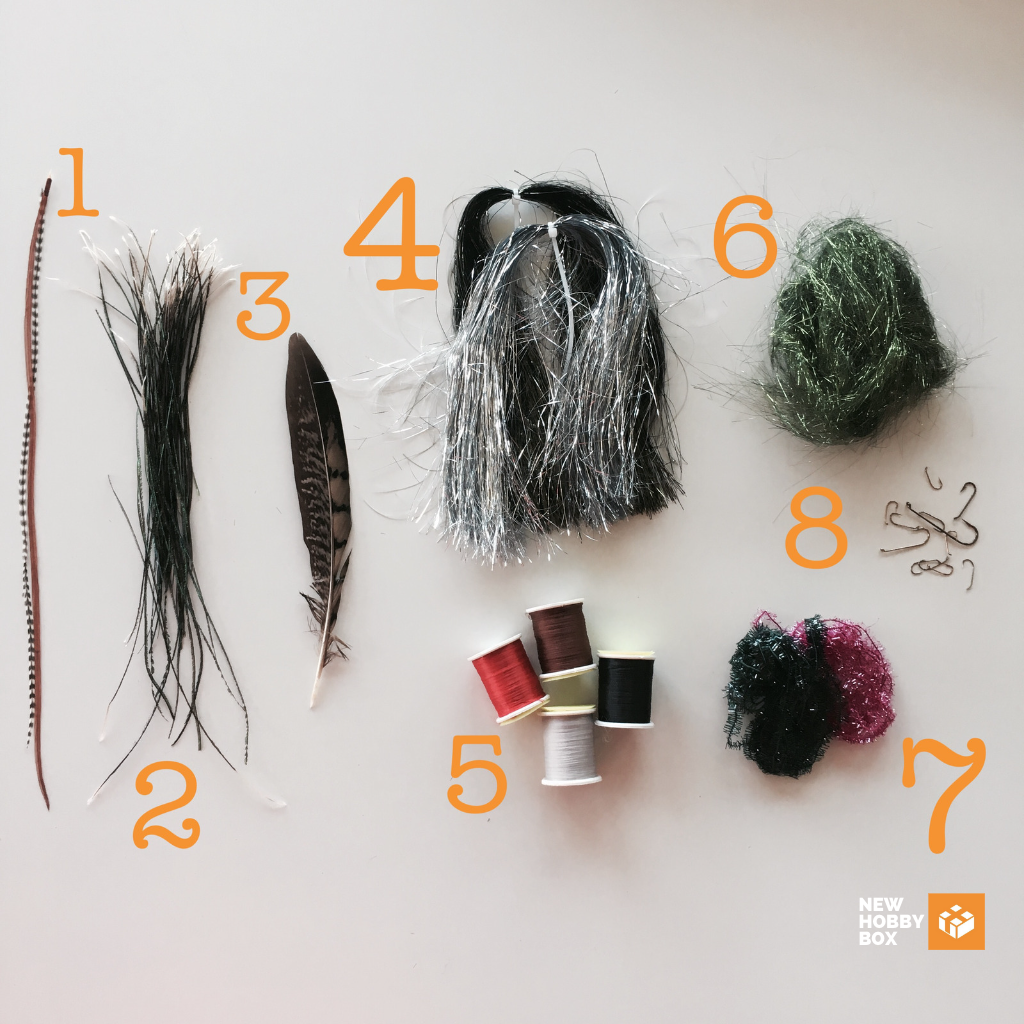
Materials Needed for Fly Tying
- Hackle: Hackles are feathers used to create movement and texture on flies. They come in a variety of different shapes and sizes and are typically wrapped around the hook’s shank.
- Peacock Herls: Peacock herls provide a flash and segmentation in the body of a fly that helps imitate various aquatic insects.
- Pheasant Feather: Soft pheasant feathers are used to make wings, tails, legs, thoraxes, collars, and even the bodies of some flies.
- Tinsel: Used for ribbing or flash, this metallic material ensures a durable pattern with an added sparkle.
- Thread: Thread is the base for attaching materials to hooks. It comes in different sizes for different kinds of patterns.
- Dubbing: Dubbing provides an attractive shape or color to the body of a fly which imitates natural insects or baitfish.
- Chenille: This colorful tubing is often used as an accent material on trout patterns and can also be used for ribbing or making legs on larger patterns like streamers.
- Hooks: Besides being the most obvious material for making a fishing fly, hooks also provide structure and strength when tying patterns, allowing you to attach materials securely to create realistic-looking flies.
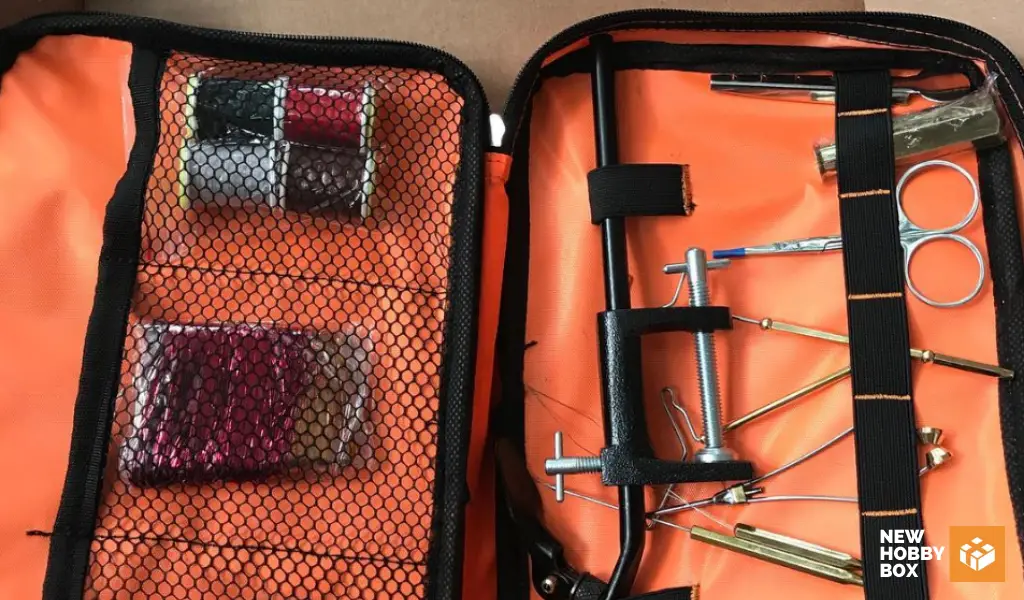
FLY-TYING KITS WE RECOMMEND
Unless you have a ton of spare time, collecting the right materials and tools for tying flies can be exhausting. Buying all the items separately is expensive and time-consuming – that’s why a kit is often the preferred choice for those just starting out.
It’s a big reason we used to sell fly-tying kits, as they were helpful to those who didn’t want to collect all the individual pieces.
Here we’ve pulled together two great kits with different options to suit your needs. Whether you want one with a few essential items or an extravagant collection, you’ll find something that works for you.
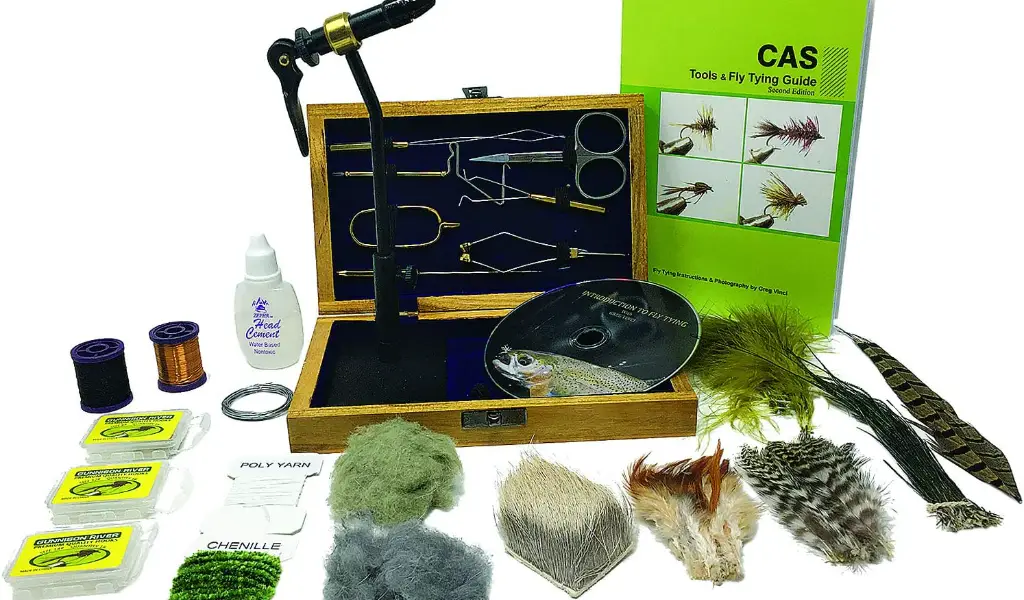
Fly Tying Kit for Beginners
Soup to nuts, this kit has everything you’ll need to follow along with the tutorial. From tools to materials, you can complete all the steps, and still have a ton of supplies left to create many more flies afterward.
This is a very good price for a full fly kit, and the quality of materials is fine for some recreational fishing. Although not the most premium option, it will get the job done.
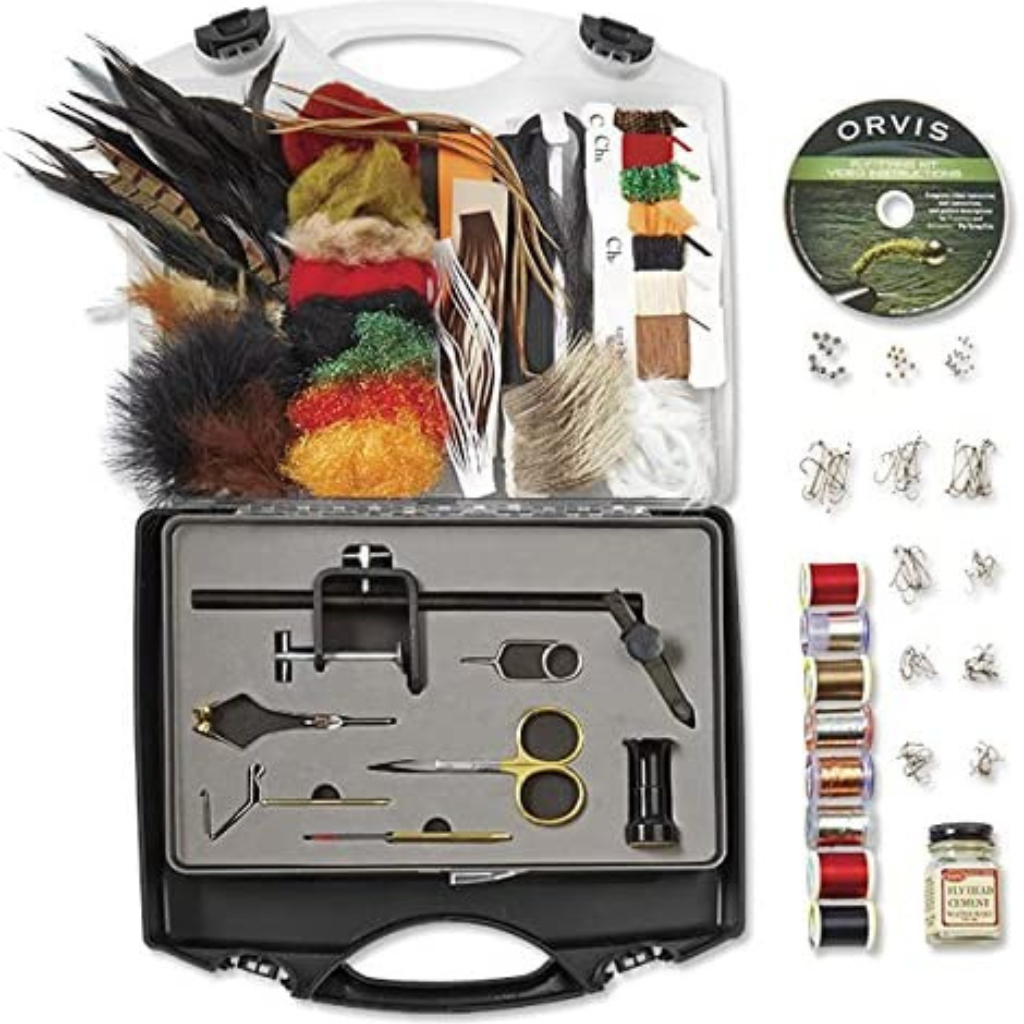
Premium Fly Tying Kit for Beginners
Even if you’re not into fishing, there’s a good chance you’ve heard or seen the name Orvis before. They make great fly fishing products, and the kit they’ve assembled for fly tying is a really solid starting point for beginners.
Although it seems pricey, this is certainly not the case compared to many other fly-tying kits, especially when looking at the quality of the products inside. This has everything you’ll need for the tutorial.
HOW TO TIE FLIES FOR FLY FISHING
The flow of this how-to is broken into 3 sections.
- Section 1: Setting up your workstation
- Section 2: How to tie a Green Rock Worm Fly
- Section 3: How to tie a Green Adams Fly
You’ll want to do section 1 first, but you have the choice of deciding which tutorial you’d like to start with, meaning you could jump to section 2 or section 3 right after. The world’s your oyster, so have fun with it. Either way, let’s begin with the all-important step of setting up your workstation.
Section 1: How to Set Up a Fly Tying Work Station
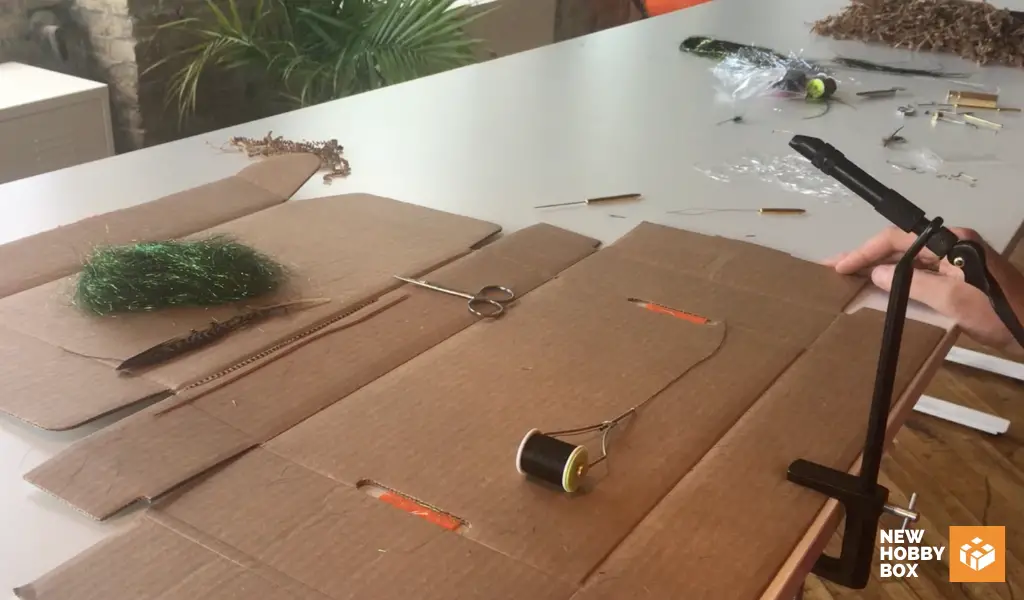
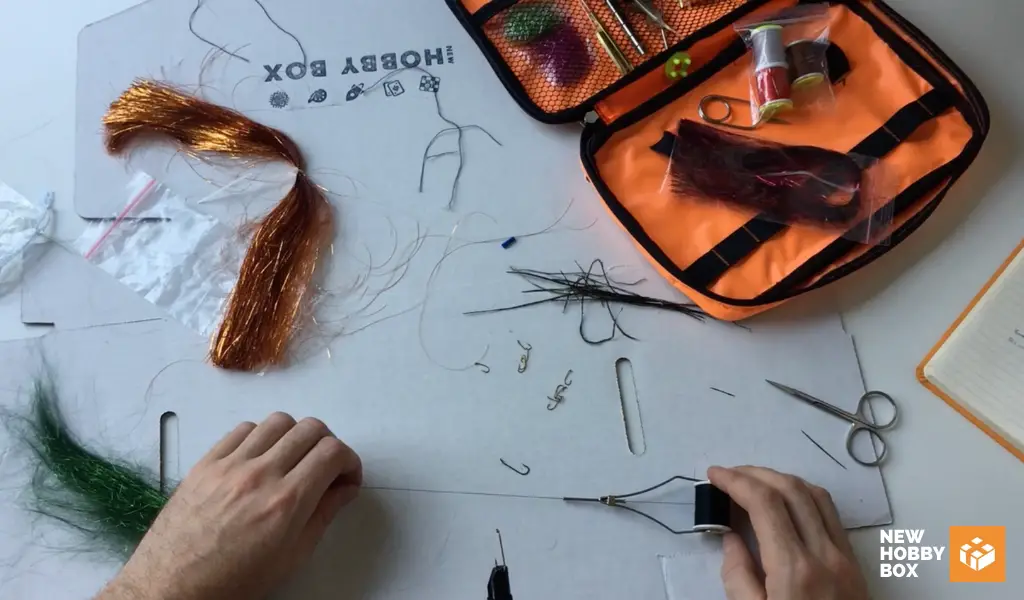
1. CREATE A WORKING SURFACE
Find a sturdy and flat surface to work on. You need to make sure that whatever you choose is the right thickness to hold your vise stable as well – it’s incredibly important that your vise doesn’t shift during your tie.
Throughout this guide, we use a New Hobby Box corrugated box to protect our table from any damage, but you can use anything to protect your table or flat surface from unwanted damage at the hands of a vise and sharp tools used in tying flies.
2. SET UP YOUR VISE
We’ve said it once, and we’ll say it again – your vise is the most important tool for tying a fly, so setting it up correctly is imperative. Watch the 2-minute video above for detailed instructions to make sure your vise is installed properly.
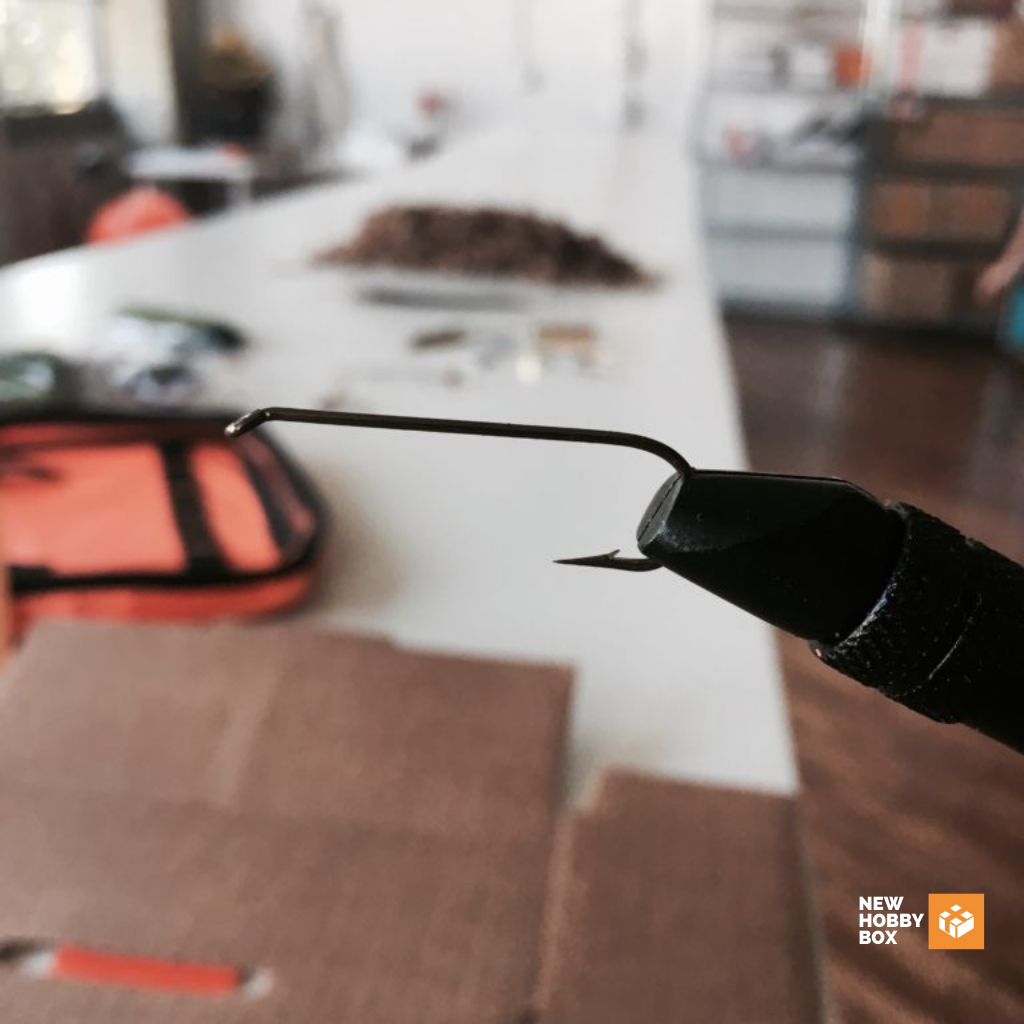
3. CLAMP YOUR HOOK IN THE VISE
For beginners, grab the largest hook available and place it in the vise. If this isn’t your first rodeo, find the correct size and style hook to match your fly. Make sure that your vise isn’t going over the bend of the hook or touching the barb!
If you grabbed the hooks we recommended in the materials list, then you have a variety of sizes to work with. For first-timers, you’ll want to use one of the larger hooks – even if it doesn’t necessarily match the style of a nymph or fly you’ll be tying.
The extra real estate on the shaft of the hook will be easier for you to work your magic on the first few tries. As you get more skilled though, you’ll want to use hook sizes and styles that are more aligned with what the fly is intended for. See the video titled “Choosing the Right Hook” at the end of this tutorial for guidance there.
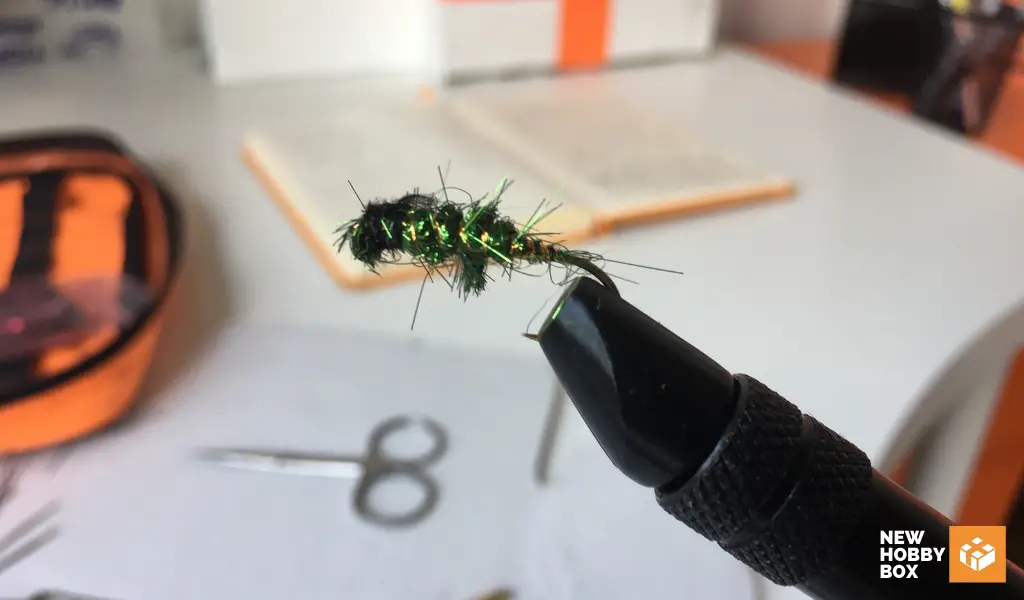
Section 2: How to Tie a Green Rock Worm
The rock worm caddis is a wet fly, meaning it swims through the water upon reeling it in. This is typically associated with a more teardrop shape with less resistance to the water. It’s a fun one to tie as well, especially for your first attempt.
Remember, all flies you tie are based on nature, and the story of how a green rock worm behaves in the wild is fascinating. While the video below will give you extremely thorough instructions on tying a Green Rock Worm, there are a couple of things to take care of before you get to the how-to video.
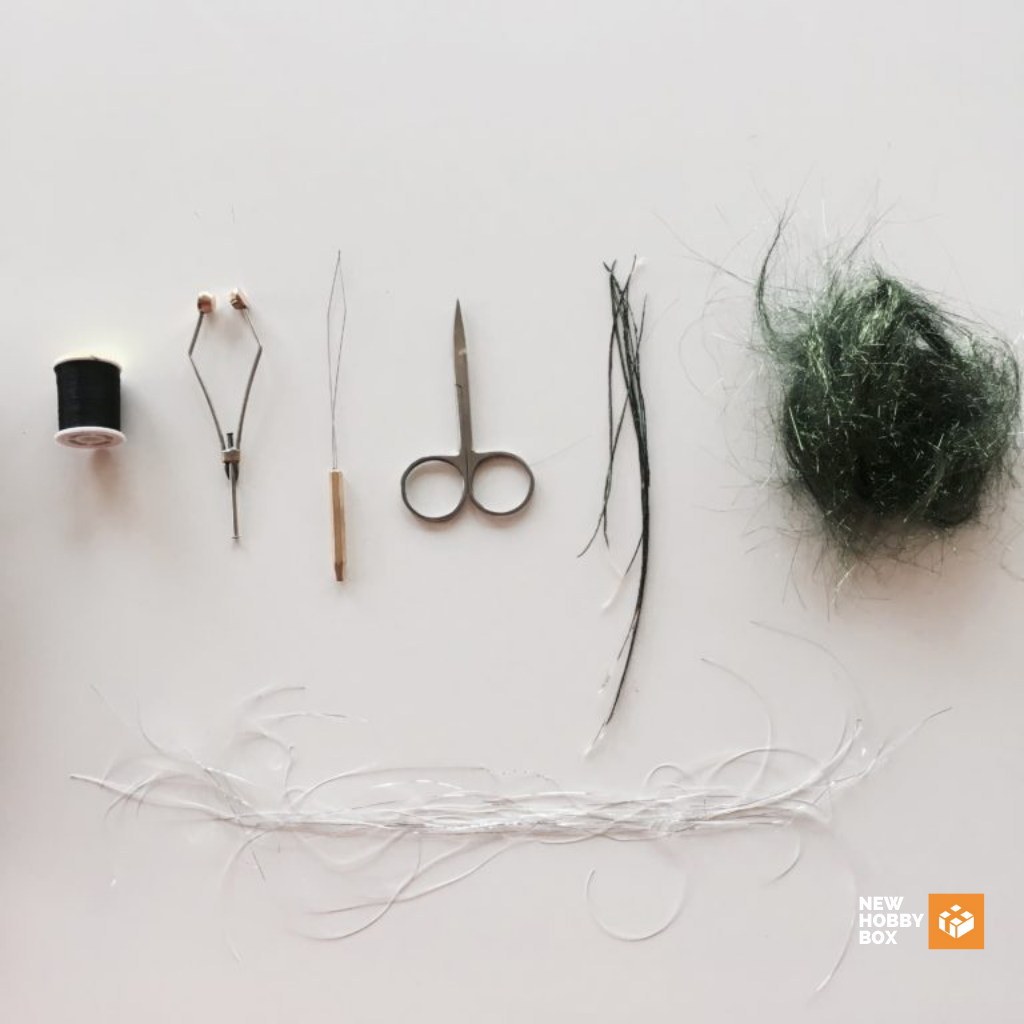
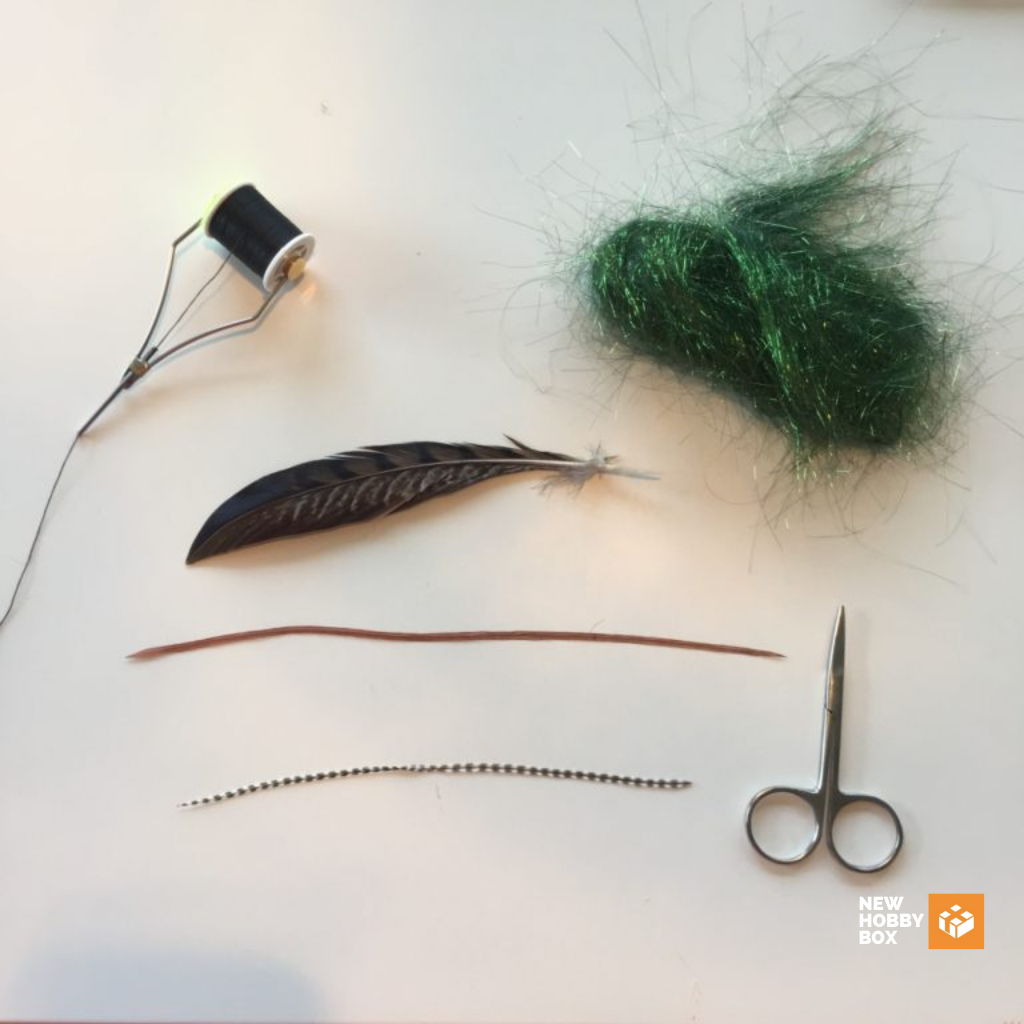
1. GATHER YOUR GREEN ROCK WORM TOOLS AND MATERIALS
The tools and materials to tie a Green Rock Worm are minimal, but it’s important to get the right textures and colors for the fly to be most effective in the water. If your intention is just for displaying them, then it’s far less important.
Here are the tools and materials needed to tie a Green Rock Worm:
- Green or Dark Thread
- Peacock Herls
- Green or Dark Dubbing
- High-Contrast Tinsel (use something that stands out against the green)
- Bobbin
- Bobbin Threader
- Scissors
2. SET UP YOUR BOBBIN AND BOBBIN THREADER
Make sure you use a green or dark-colored thread here. To make sure you get this part right, we’ve created a short video to guide you through it. And remember, you can make this easy on yourself by using a larger hook – there’s no shame in that game early on.
Aside from being the coolest names in the fly-tying industry, the bobbin and bobbin threader will make your life so less complicated, dare we say tangled? That’s right, this little tool and its setup companion make sure a clean line of thread is always at the ready.
3. FOLLOW THE VIDEO WALKTHROUGH ON TYING A GREEN ROCK WORM
There are too many steps and intricacies to simply write out steps, so the best way to show you how to tie this is through video. Simply pause when you need to. It might help to watch it in full once before you start working on your Green Rock Worm.
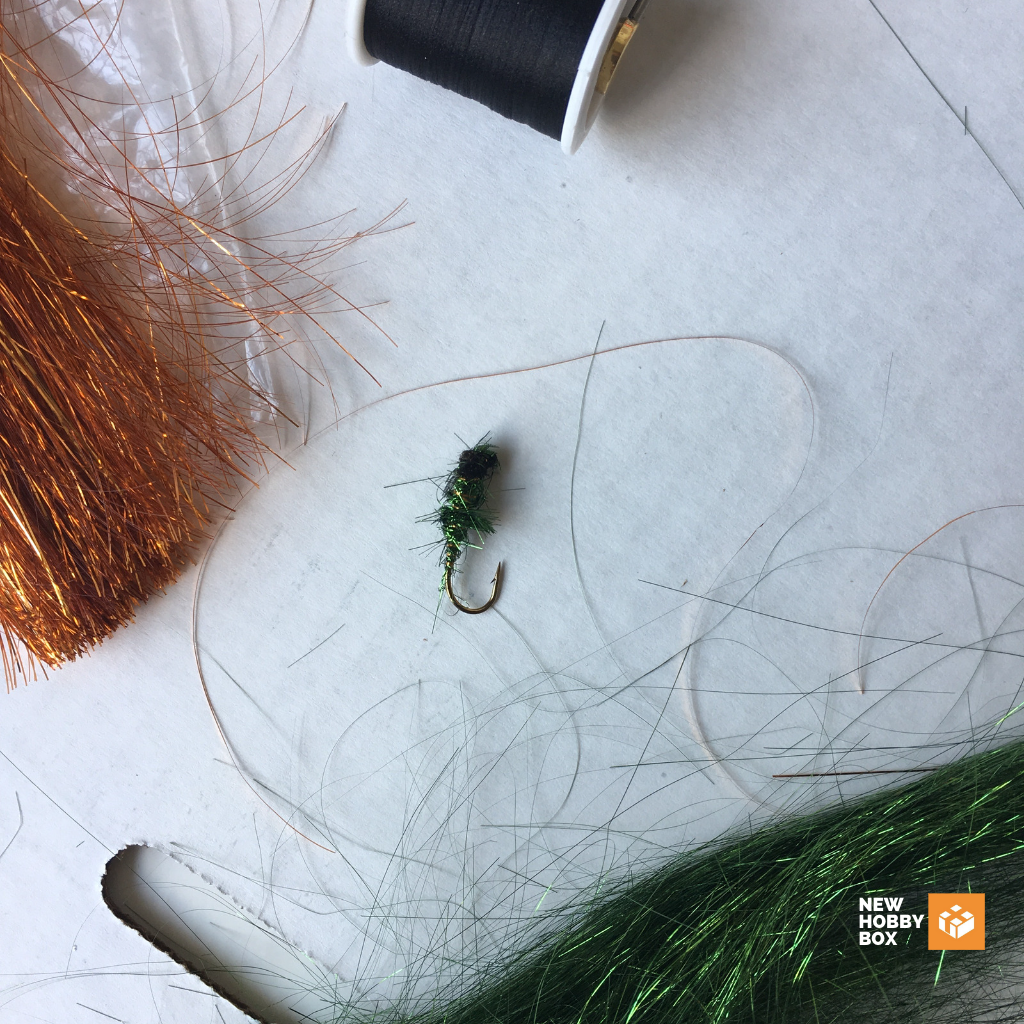
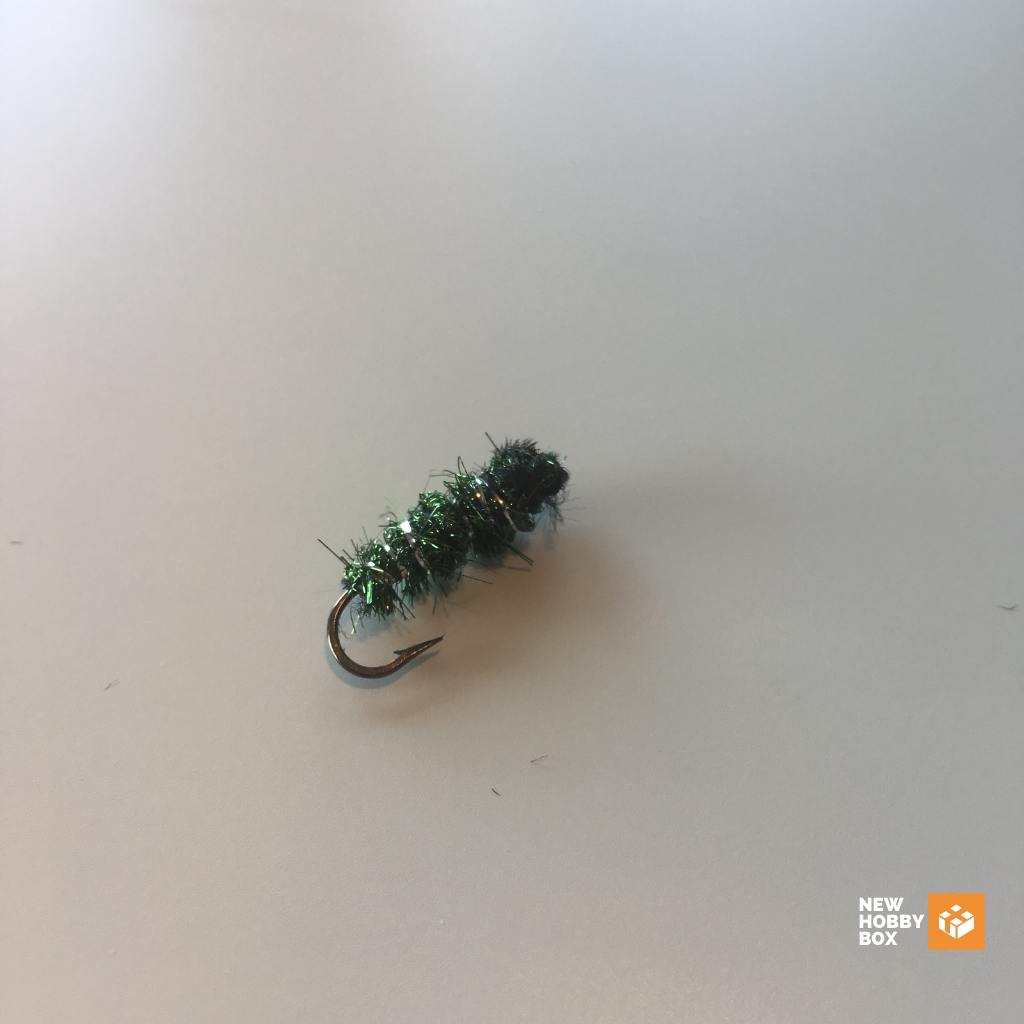
Here are a few glamour shots of the finished product – presenting, the Green Rock Worm in all its simple glory:

We hope yours turned out great – if not, give it another shot. Or, continue on and try our dry fly tutorial out, it’s a unique twist on the Adams Fly. Just be warned, it’s a little more difficult than the Green Rock Worm.
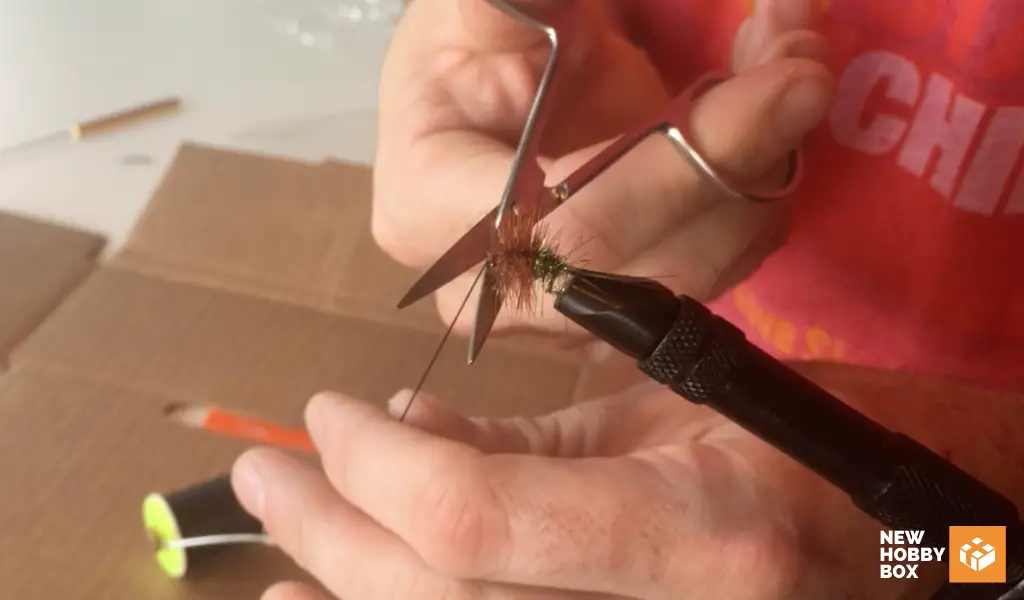
Section 3: How to Tie a Green Adams Fly Variation
The Adams fly is a little more challenging than the rock worm, but it’s really fun to mimic. It’s one of the most popular dry flies around. This variation uses green dubbing, but the regular Adams fly uses a more neutral color, so if you have a tan, grey, or khaki color thread you should substitute that for the green dubbing throughout the Green Adams Fly tutorial.
1. GATHER YOUR GREEN ADAMS FLY VARIATION TOOLS AND MATERIALS
Although fewer materials are needed to tie this fly than the Green Rock Worm, that doesn’t mean it’s any easier. Working with hackle and feathers can be finicky at times – they’re a bit uncooperative. You’ll see soon enough, but for now, go in with an open mind that this is a bigger challenge, and be sure to go with a larger hook if you’re a beginner.
Here are the tools and materials needed to tie a Green Adams Fly Variation:
- Dark Thread (preferably black)
- Hackle
- Pheasant Feather
- Green or Dark Dubbing
- Bobbin
- Bobbin Threader
- Scissors
Once you have your materials, time to thread your bobbin. If you forget how to do that, just skip back up to step 2 in the Green Rock Worm tutorial.
2. FOLLOW THE VIDEO WALKTHROUGH ON TYING GREEN ADAMS FLY VARIATION
It’s nearly impossible to write out how to tie this one, so go slow and watch all the steps. Give it a full view-through before you attempt it – doing so will save you some headaches.
And behold – here’s our finished variation on the Green Adams Fly:

Pretty right? This little dry fly can work wonders in the water as well – never underestimate our strangely colored Adams Fly.
Other Flies to Try Out
While we believe the Adams Fly and the Green Rock Worm make for fantastic beginner-friendly flies, there are so many options out there that you may want to expand your horizons a bit. In no particular order, we’ve pulled together two additional flies we’d recommend you try out next: the Elk Hair Caddis and the Pheasant Tail Nymph. Enjoy!
HOW TO TIE THE ELK HAIR CADDIS
The Elk Hair Caddis is an intermediate fly in terms of difficulty. And you can probably guess based on the name of this one, but you’ll need to acquire elk hair for this fly (you can also use deer hair).
Outside of the elk/deer hair, if you purchased either recommended kit from the top of this guide you’ll have all the materials needed to tie this, including its hackle, tinsel, and dubbing.
There is one minor caveat – purists will only use tan dubbing, so if you didn’t opt for that color in either kit, you’ll need to grab tan dubbing, or just say “screw it” and work with whatever dubbing you like.
Although it doesn’t matter at all in terms of displaying flies, if you intend to fly fish with any of the flies we’ve worked through, try your best to match the colors.
It makes a big difference. When flies, nymphs, and worms aren’t colored correctly to the season, stage, or locale, this can often signal to fish that the prey is sick. And you know what that means… no fish on the line.
HOW TO TIE THE PHEASANT TAIL NYMPH
This is a more advanced fly – we’ve attempted it several times over the years and still struggle to get it just the way we want, but maybe you’ll have more luck than we’ve had. If you purchased any of the kits we recommended at the top of this guide then you’ll have the materials needed, or at least substitutes for materials, to follow the tutorial above.
Unless you have copper wire in your workshop, use tinsel in its place – you just need something lustrous and more muted contrast to mimic the copper material. This nymph is dark in color, so pick a tinsel that contrasts it nicely and adds a little flash to it, but has some restraint.
This is also a great fly to practice whip finishing (reference the whip finish tool video toward the beginning of the article.)
The hook size he is showcasing is a size 16, many hook kits go to size 14 which should be close enough to just practice this nymph. But if you’re serious about bringing the fish in, make sure you grab the right hooks – style and size.
FLY-TYING RESOURCES
There are endless amounts of resources out there and YouTube is a fantastic, free one. Which is why we’ve linked to several videos from fantastic fly-tying channels and creators.
That said, we’d be remiss if we skipped Charlie’s Fly Box. It’s such an amazing resource for beginners as well as experts in the field. This well-respected blog will be a valuable resource to continue your newfound fly-tying hobby. When on Charlie’s Fly Box, be sure to click on any image you like, it will show you the tutorial for it in great detail and walk you through each step.
SPREAD YOUR WINGS AND FLY!
We hope this article have you feeling inspired and motivated to dive into the world of fly-tying, either as a hobby for display or utility in the stream. These are some great beginner flies but we hope you’ll take these and use them as jumping-off points for your creativity.
Be sure to practice safety when handling hooks, sharp tools, and anything else while tying. Good luck, and don’t forget to share your creations with us! We’d love to see what other flies you come up with.
If you enjoy working with micro-details like this, be sure to check out our scrimshaw tutorial – it’s one of the top scrimshaw guides online. Another great skill with attention to detail you might appreciate is learning how to pick locks. Sound interesting? Great, check out the full guide on how beginners can learn to pick locks.
Happy Fly-Tying and as always, Happy Hobbying!