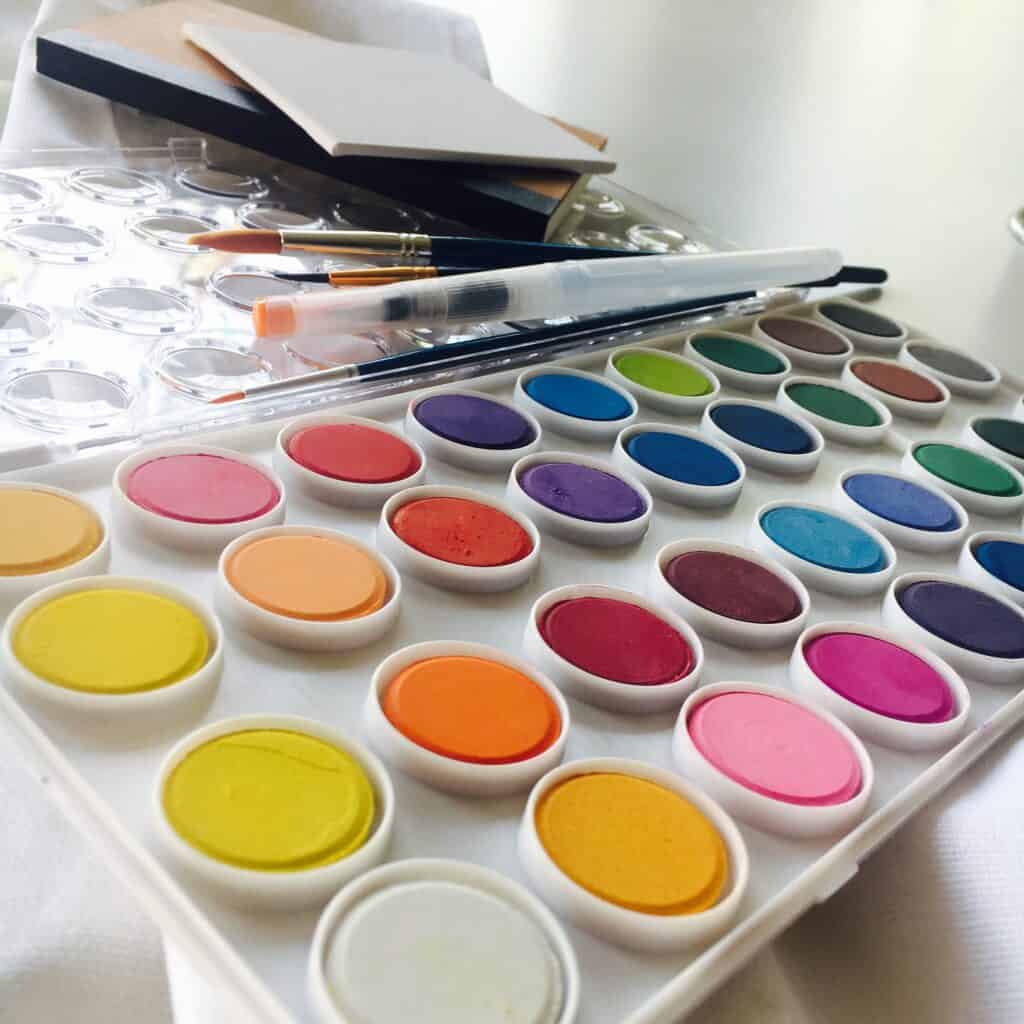
Say goodbye to your fear of watercolor – it’s one of the most beloved and diverse art forms out there and you deserve to enjoy it! For professionals and amateurs alike, watercolor is the star of any artist’s toolbox.
With the right tutorial it doesn’t have to be hard – just grab that brush and get going!
If you’re just starting with watercolor, the key to success is practice. Simply taking your time to get comfortable with the medium will make all the difference.
This will give you time to fully understand its properties and how it behaves when combined with other materials such as paper, ink, or acrylics. Or as some artists say, give it time to breathe. If you’re looking to really put some gusto behind your work, you could start with making your own paper to watercolor on with the New Hobby Box tutorial on making paper by hand.
But regardless of what you decide to paint on – be it homemade or store bought, it’s important to keep a few basic supplies on hand. So let’s start this DIY with a rundown of what you need to paint with watercolor.
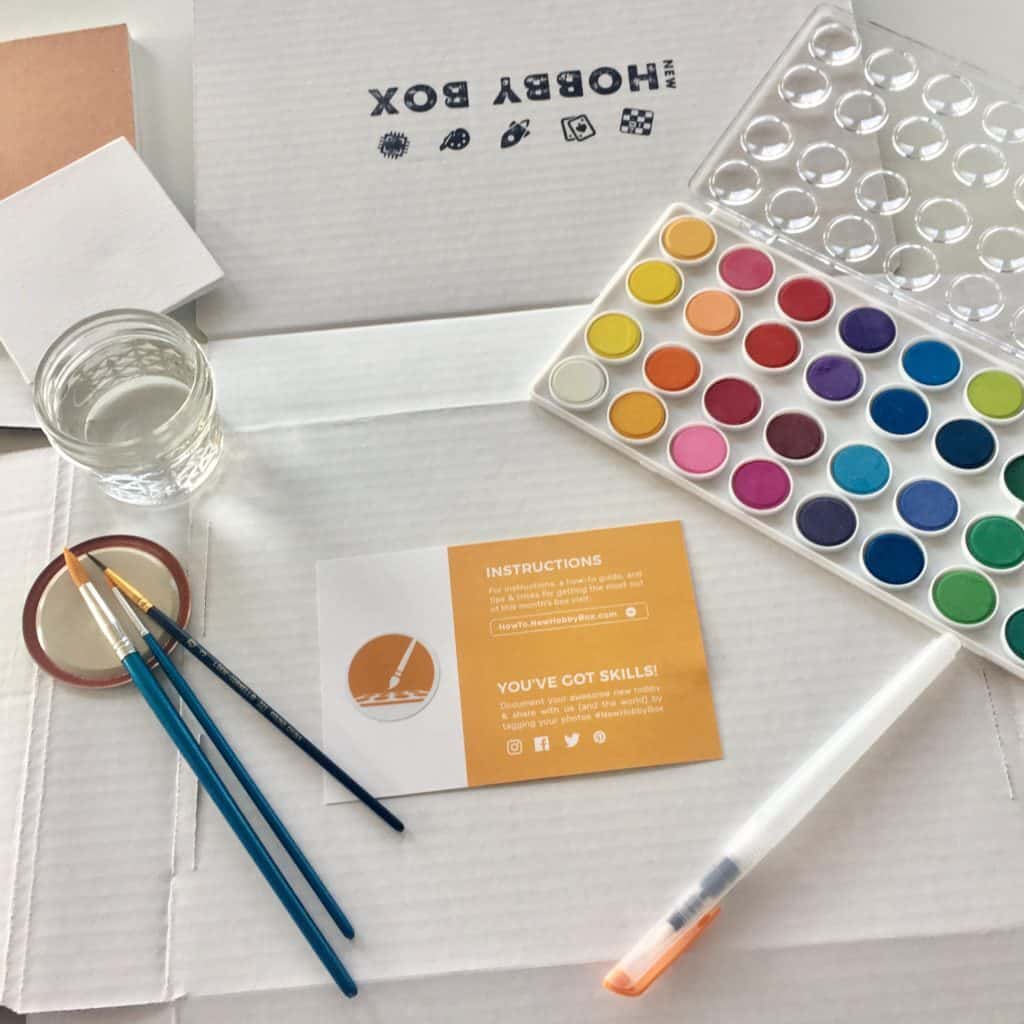
SUPPLIES NEEDED TO WATERCOLOR
Watercolor, or aquarelle as the French say, refers to the act of mixing water and paint to thin paint, creating transparent layers for artistic purposes. This art’s definition pretty much defines the supplies you need to watercolor: brushes, paints, paper, and water.
There are more items you can grab to make it more beginner-friendly, but at its core, watercolor can be done with a lean number of supplies and materials.
Here’s the New Hobby Box hitlist of favorite watercolor supplies and where to get them:
- Watercolor Paints: 36 Watercolor Cakes and Palette like the tutorial, or you can class it up with Rosa Gallery’s Watercolor Paints, which are of higher quality.
- Brushes: Watercolor Brushes – Beginner Assortment or if you want to level up your brushes, this Artegria 10-Piece Watercolor Brush Set will get the job done.
- Brush Pens: Watercolor Brush Pens Set (Self-Watering) you can find a higher caliber brush pen in many places, but we still use a relatively cheap option that works just fine. So no additional recos on brush pens.
- Paper/Canvas: You can paint on anything you want – this tutorial focuses on postcards, but you can purchase watercolor paper, use a box around the house, grab 50 Watercolor Postcards or take it to a canvas and use a Canvas Square. This is art – there are no rules here.
- Apron/Watercoloring Super-hero Cape: Not mandatory, but you deserve to look cool in this canvas apron.
As many of the supplies used in this tutorial were part of New Hobby Box’s watercolor kit, which used to be sold on the site, the items were directly from the manufacturers, some of the items will be different than the recommendations above.
Where you see a replacement, assume it’s at least the same quality at a lower price.
WATERCOLOR KITS FOR BEGINNERS
As a business that used to sell kits, we get the appeal of having all your supplies in one place. So let us make a couple of watercolor kit recommendations:
Chromatek Watercolor Kit:
Chromatek, a very well-respected art supply brand, created a solid kit for watercolor beginners. It has absolutely everything you need – a wide range of paint colors (26 total), 8 brushes, paper, a palette, and 9 watercolor tutorials. This is a complete watercolor set at a great value, which is exactly what you want for a kit.
Wildflower Art Studio Watercolor Kit:
New Hobby Box worked with the good folks at Wildflower Art Studio on a calligraphy project, where they supplied all the materials and supplies. What’s great about Wildflower is the attention to detail in their tutorials. Sure, you get a product that’s fine, but the instruction you get is what separates them from the pack, which is the reason they’re a Star Seller on Etsy, and this watercolor kit is an Etsy’s Pick.
Alright, it’s time to switch gears and actually put brush to watery paper. Once you have your supplies or kits, proceed.

HOW TO WATERCOLOR FOR BEGINNERS
First things first, you’ll need to get your work area set up. This includes grabbing the following items:
- Cup of Water!
- Scrap Paper – For testing colors before adding to watercolor paper
- Salt – If you have it handy!
- Cardboard box – Unfold and use it as a placemat
Have everything? Great, let’s continue.
1. Set Up Your Watercolor Studio
Painting is more than the objects in hand, you need to create an inspirational space to get the juices flowing. Fill your area with important photos, and plants, throw on a special playlist, and light a candle that sets a creative mood (or make the candle yourself and be inspired by your serious skills.)
Whatever you do, fill your physical surroundings with things that draw emotion out of you. Now then, back to painting.
2. Wet A Few Paint Colors And Put Them on Scrap
When you’re ready to start playing with your colors, use your paintbrush to add several drops of water to an individual paint you’re wanting to use. No need to water them all at once, just identify a few colors that you love and start there.
Keep in mind that the longer water sits on a color, the more vibrant it will become.
Pull out your scrap paper when ready, and get an idea of how they look on paper.
3. Mix Colors to Create Your Own
Odds are pretty good that you have a ton of different colors at your disposal, so if you feel inspired to try mixing colors, we won’t stop you. Use the lid of your watercolor set as a mixing pallette – this space will be where you perfect your color recipes.
GENERAL RULES OF WATERCOLOR
This form of painting is a delicate balance of water and paint – if you find a color too saturated or not saturated enough this is what you do:
- Decrease Saturation: Add more water.
- Increase Saturation: Add more paint OR add a small drop of saturated brown.
Not sure how to make the color brown? It’s perhaps the easiest color to make because you can pretty much throw the kitchen sink of colors at it and you’ll end up with brown. To understand how to mix the color wheel, let the following be your guide:
WATERCOLOR’S COLOR WHEEL GUIDE
- Brown: Red + Yellow + Blue
- Turquoise: Blue + Small amount of Yellow
- Purple: Red + Blue
- Pink: Red + White
- Orange: Yellow + Red
- Green: Yellow + Blue
There’s nothing worse than creating a color you love, only to forget how you made it. It happens all the time and it’s no fun. So kick the mistake and write down your mix of water to colors. Keeping notes while you watercolor is always a good idea.
4. Test Color Temperatures
So far you’ve experimented with the saturation of watercolor and how to control it with water. You’ve also hit basic color theory with the color wheel. And now it’s time to work through temperature.
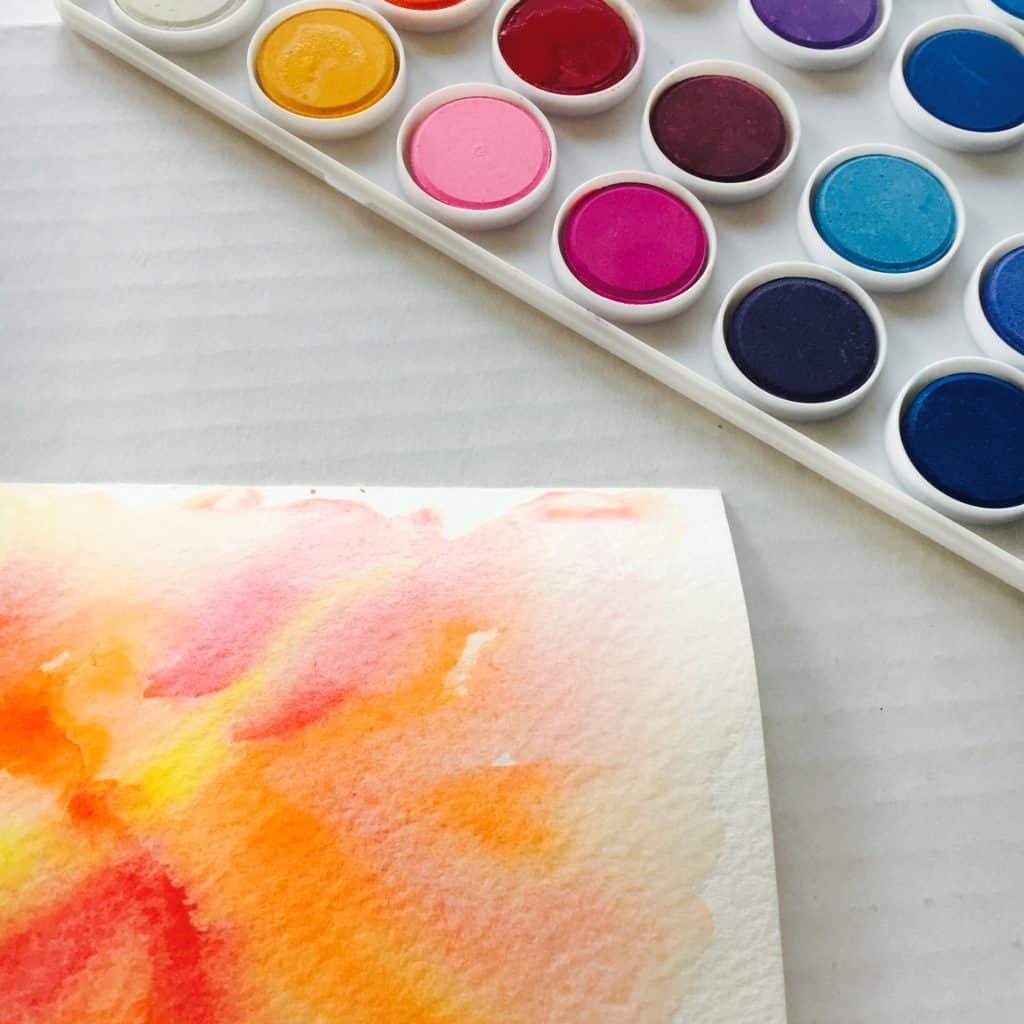
Any color born of yellow, orange, or red is considered warm, whereas cool colors are green, blue, and purple. My semester dedicated to color in design school is paying for itself now.
The proper way to get a watercolor beginner going hinges on understanding warm and cool colors, so one of the more meaningful first steps of your watercolor journey will be creating pieces dedicated to one or the other. Think of it as fire and ice.
On their own, they work well and feel cohesive. But mix the too and it’s a mess.
The same is true of watercolor, and you don’t have to look any further than the color brown. Do you remember how the color brown is made? That’s right, it’s a combination of warm and cool colors. For your first foray into watercolor, keeping the two separate is a good idea.
However, that’s not to say you shouldn’t ever use both – that would be ludicrous. Life is full of warm and cool colors, and the simultaneous contrast can highlight important details or distract from them.
But to break the rules of warm and cool colors, that is mixing them, you have to know them first. And with a medium like watercolor which is metaphorically and literally fluid, it can be difficult to prevent a muddy look in the early stages.
So, try two separate pieces here – consider painting something that’s fiery, taking advantage of a wide spectrum of warm colors. Once you finish remember to wash and dry your brush – you’ll need to do this between every new color by the way.
Otherwise, you’ll move that muddy brown right into your paints. You can “dry” your brushes with your apron, scratch paper, or an old rag. On top of this, keep an eye on your water and change it out if it starts to get super dark.
Next, paint something inspired by the frost on a new sheet. Blues, teals, purples, greens – all of those hues can have a place in this piece.
Now then, let me show you what happens when you mix fire and ice.
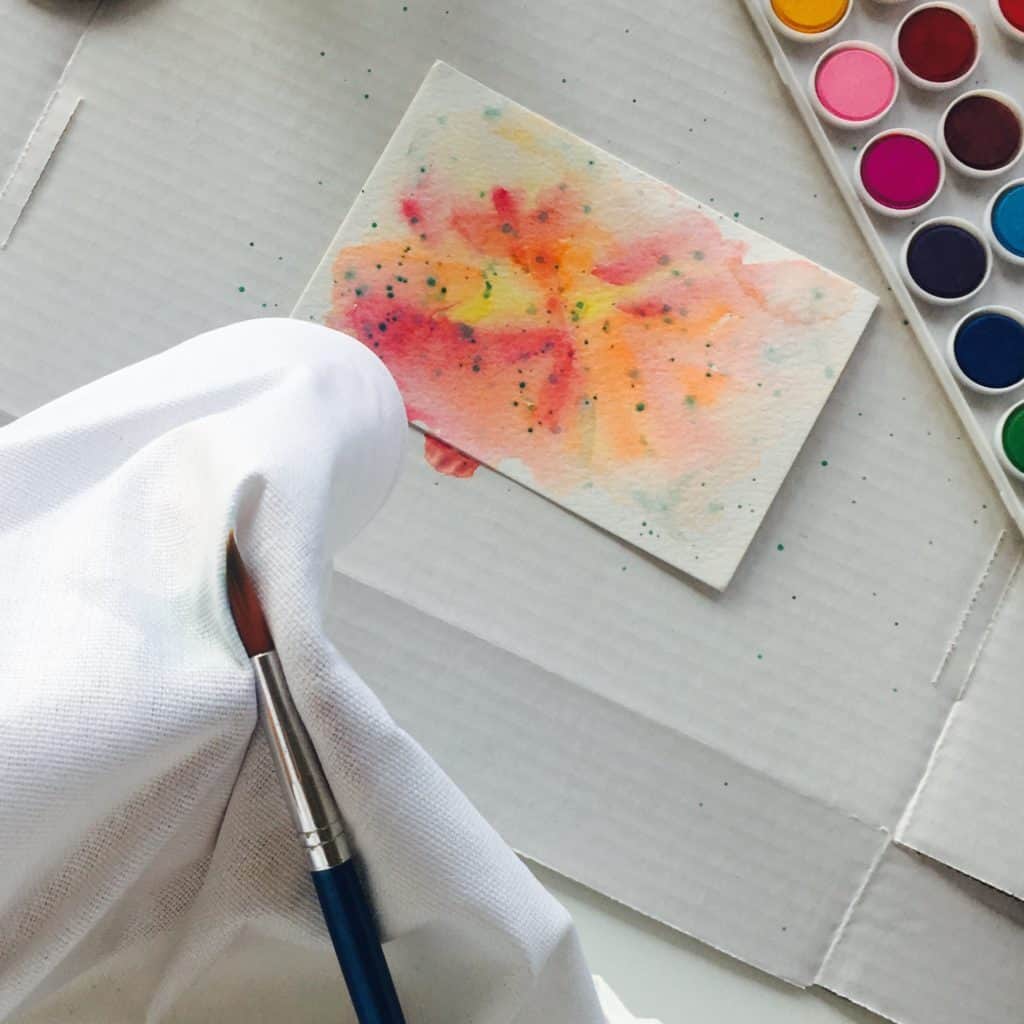
I broke both those rules above and barely got away with it because of the nearly full saturation of blue. If I had done anything more pronounced than dots of blue, or any lower saturation, you can bet that each blue dot would have a brown look to it.
For cool and warm temperatures to work in watercolor, you either need to layer saturation and colors correctly or keep the spaces separate altogether. This starts to get into technique, so let’s go on a video tour together.
5. Wet-on-Wet Watercolor
As you may have guessed, there are many ways to watercolor. And for a beginner, this may feel a little overwhelming. Instead of mastering all the things, peruse the following videos and see if there’s a technique that suits your fancy. Once you’ve got it, then stick with that one for a period.
Wet-on-wet watercolor is a popular technique and one of those terms that define its meaning. It’s also the classic idea of what most people imagine watercolor to be.
Before applying paint to your artwork, you first apply a layer of water. If you grabbed a water brush, this is a perfect time for that little magical tool.
While the paper is still wet, you then apply drops of color to allow them to spread naturally, just like in the video above.
6. Salt for Texture in Watercolor
Remember how we slipped salt into your supply list? Yeh, now’s the time to grab that salt from the kitchen. Once you have the salt, hit play on the video above. What you’ll see is that salt, among many other household items, can be used to create interesting textures in watercolor.
7. Watercolor Landscapes and Skyscapes
Okay truth time, landscapes are my least favorite subjects. I still remember an old art teacher hating them as well. I just don’t get them, but putting my own bias aside, I know that many people love them, and watercolor seems built for it because of its ability to mimic nature’s fluidity.
If you want to give it a go, grab your brush and follow along with the video above. It’s a solid instructional video for watercolor landscapes.
If skies and sunsets are more your speed then the two videos above have you covered.
8. Sketching into Watercolor
It’s pretty challenging to free brush an entire painting and have it true to a subject you’re studying. It’s even more difficult if you’re new to watercolor. So that’s where sketching comes in.
Sketch your subject first – lay out your blueprint so to speak – then do your paint-by-numbers thing.
Remember, if you like any video to this point or below, paint alongside them! The best way to learn this art is to practice, practice, practice!
9. Abstract Watercolor
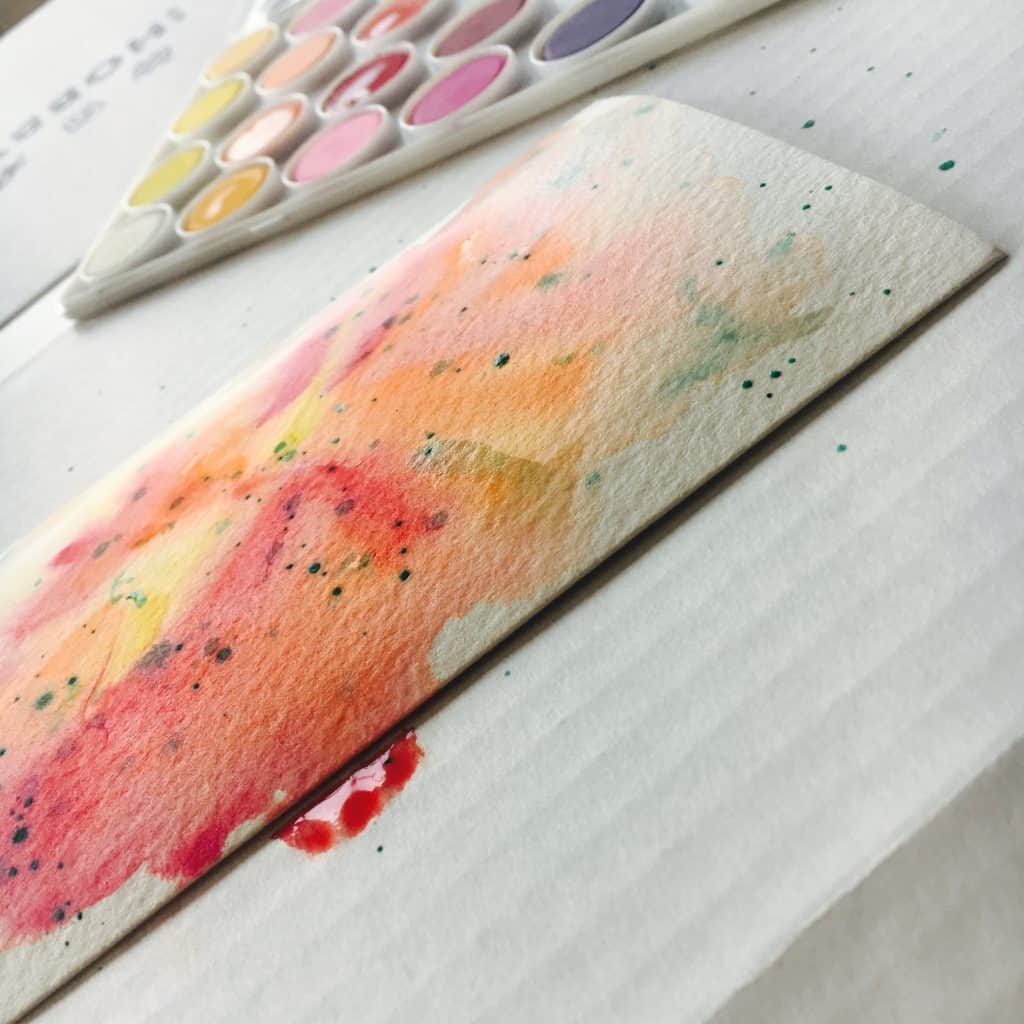
There are no rules for getting abstract, just do it. This isn’t a rule, more so a recommendation: if you’re using a “splatter technique” be sure to have some sort of cover on your working space.
10. How to Guide Water in Watercolor Paintings
Finally, this video gives a closer look into how to control water. When the water has a mind of its own it can be frustrating. So this video is a helpful lesson on how to get ahead of that. It matters more so when you’re trying to paint with precious, and less so for conceptual pieces.
IS WATERCOLOR FOR YOU?
One of the main purposes of this article was to show you all the different entry points to watercolor. We didn’t even cover a decent chunk of them. We also hope that you see how many quality video resources are available to you for free.
If you loved trying this out, start thinking about what you’ll paint first. If this wasn’t for you, try another tutorial from the arts collection, or check out this list of 19 meaningful hobbies that will hopefully get you headed in the right direction.
Happy Hobbying
